
Kit contents:
Coloring page section
White envelope
White card stock - 8 1/2 x 11 folded in half, 5 x 3 3/4 with hole punched and sentiment stamped on it.
Foam adhesive dots (dimensionals)

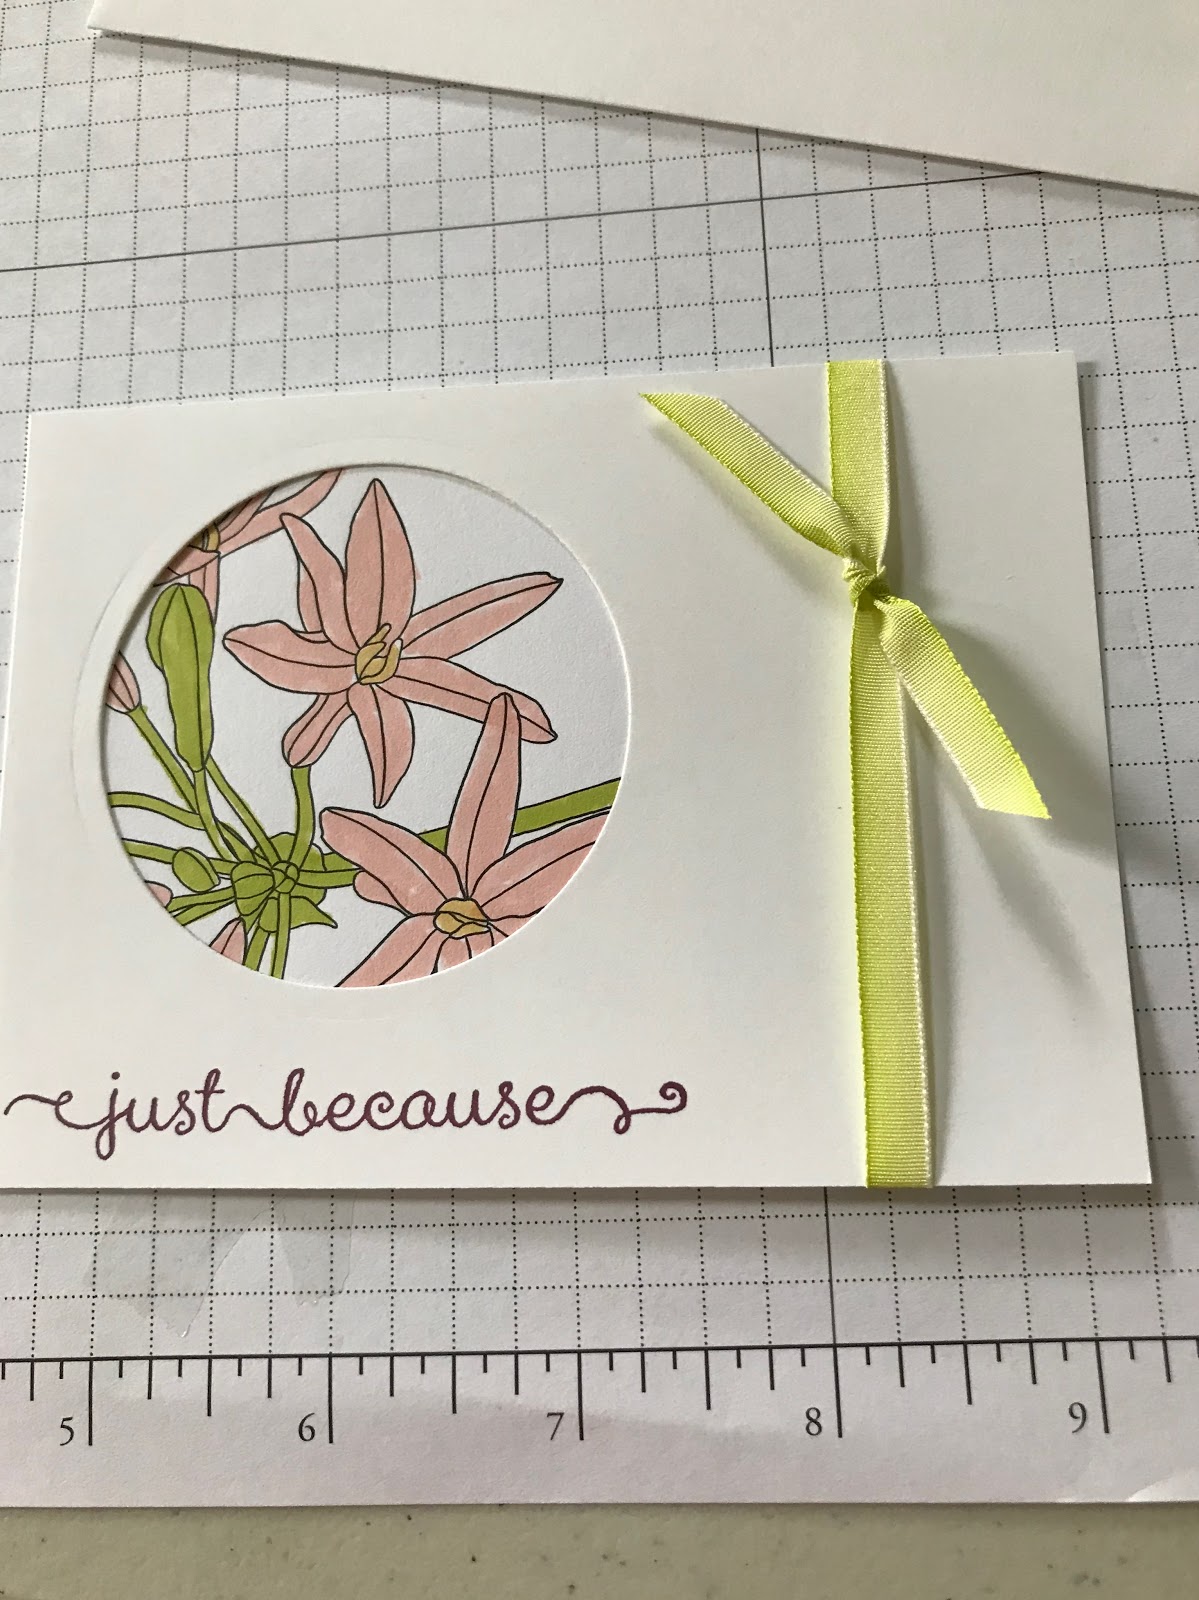
Place colored image behind the circle opening and adjust to get the image you want. If the color page extends past the edges of the white card stock, trim off the excess.

Holding the colored image in place, flip over and tape down to secure.

Decide where you want to place the ribbon - horizontal or vertical. Cut a length about 1 inch longer than the length/width of the card where the ribbon will lay.
Wrap one end behind the card stock and tape down.

Make sure it is laying flat on the front and pull the other end behind and tape down.

Turn the piece over and make sure it looks straight on the front. If not, remove one taped end and adjust.

Take the remainder of the ribbon and slide it under the attached ribbon, cross over the ends.

Wrap one end over the other like tying a knot. Pull the ends loosely

Adjust the position to where you want the 'bow' to sit by sliding the loop along the attached ribbon.

When placed where you want it, pull the ends securely.
Trim ends.

Add foam dimensionals - I like to do the corners and then one in the center on a larger piece like this.
Adhere to the front of the folded card stock.

I did not get a photo of the finished card from the tutorial photos but this is another that I did.
No comments:
Post a Comment