

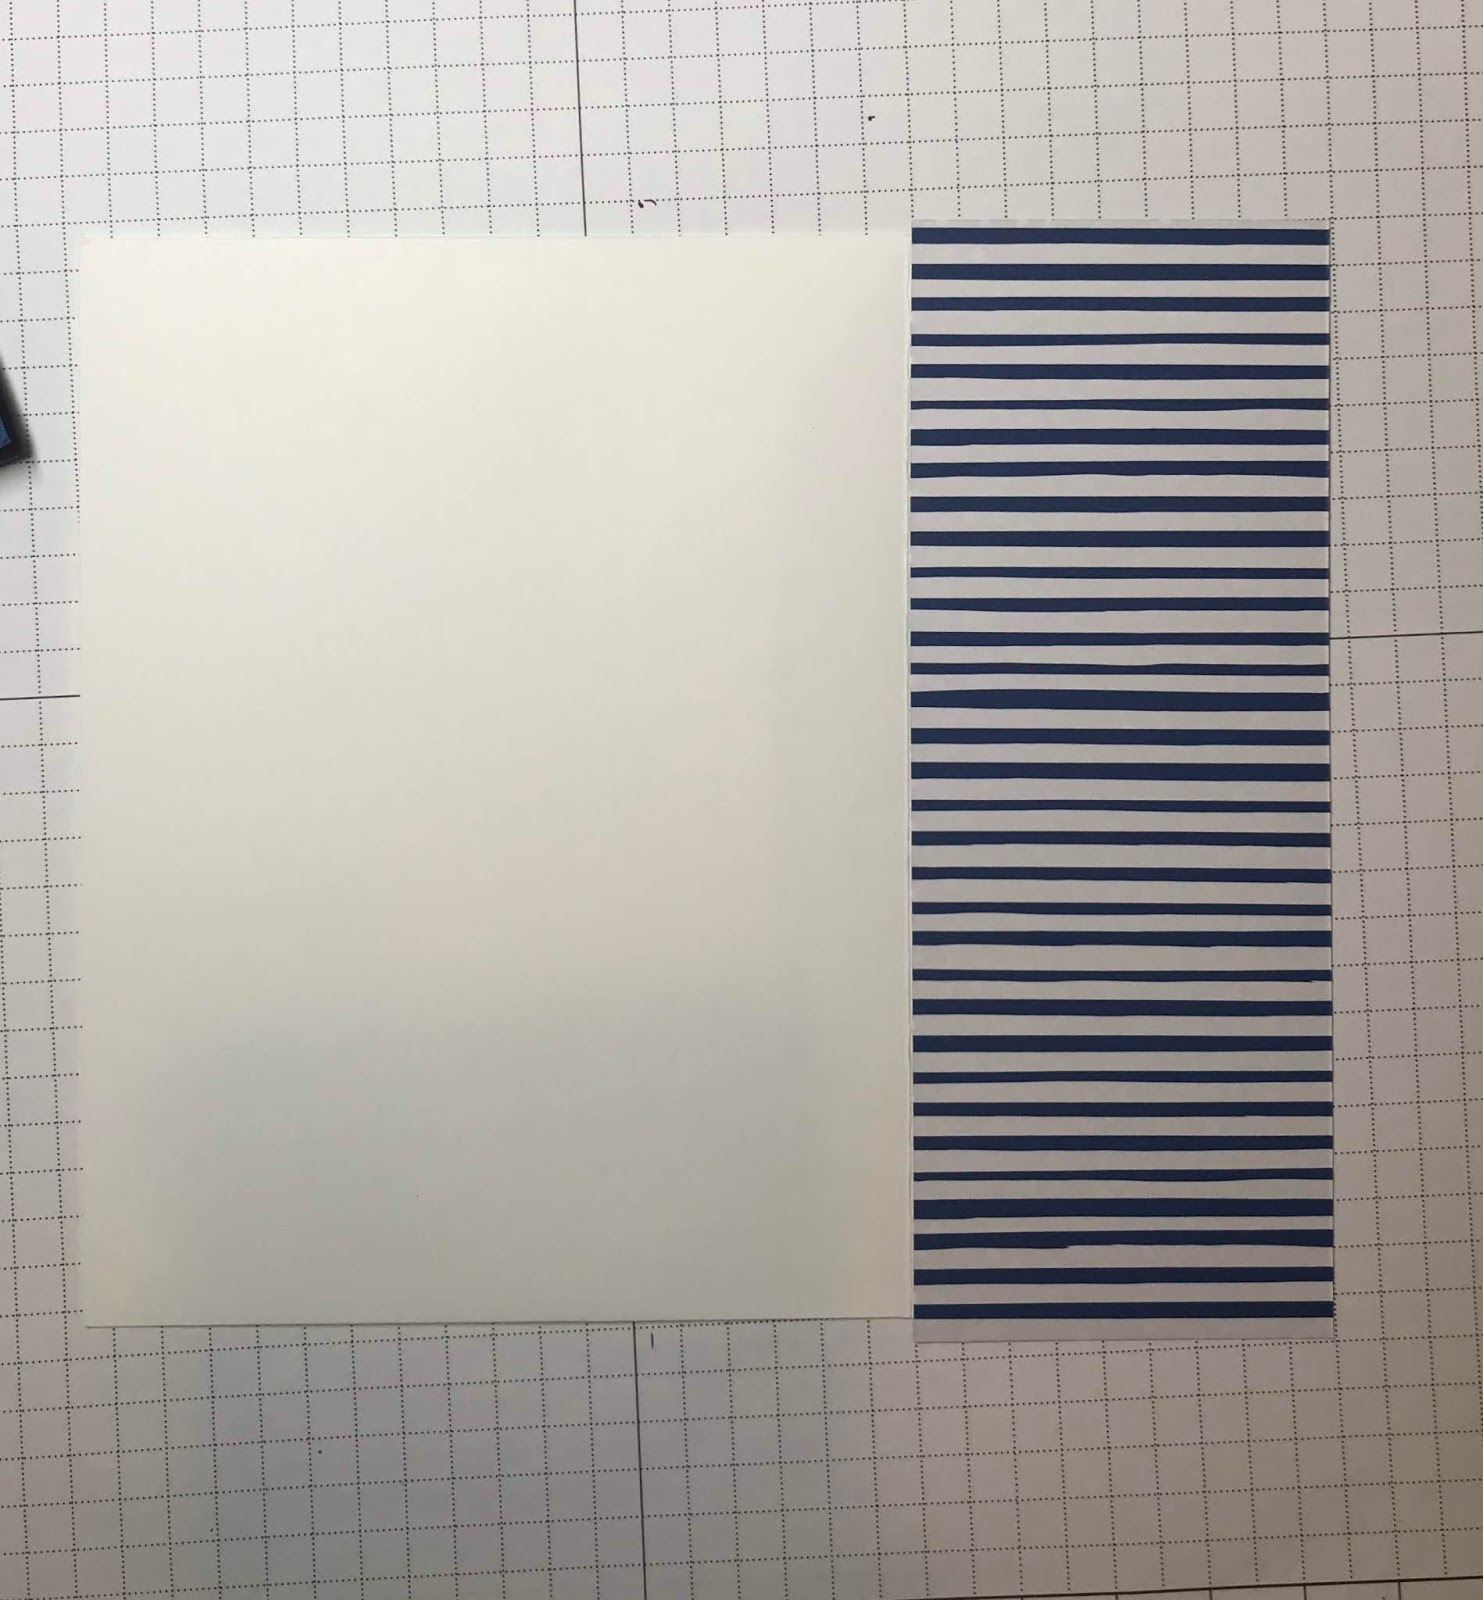
Here are the cut pieces.

Cut a piece of card stock in half at 5 1/2 alone the 11 inch edge.
Fold in half and adhere the DSP to the card front.

Stamp your image and trim it down. Measure the sides and cut another card stock mat 1/4 inch larger. In this case, the image was 2 3/4 x 3 so I cut the mat 3 x 3 1/4.

Position the image on the card front.
You can use the 2 1/4 x 6 piece to decorate the envelope flap. Add adhesive to the flap as close as possible to the fold and edges. Place the DSP on the adhesive

Turn the envelope over and trim off the excess DSP.

A beautiful combo.
Check out the variations below.

On this one I cut the DSP at 3 inches. I flipped one over then attached them to the card front.

You can also cut the rectangle on a diagonal and use one triangle on the card front

To cut the diagonal, place the corners in the cutting track.

If you cut opposite diagonals on 2 pieces of card stock you can flip one and use 2 triangles on the add front.

An interesting twist

For this one I cut a 7/8 inch strip off the DSP. I scored the card front 1 inch from the fold
then glued that 1 inch section to the back of the card. I added the images and it’s done.

Here are my 5 basic cards. Still some more ideas to share.
 M
M
Now those 1 inch scraps of DSP. I added those to a card stock mat. I place the first strip I’m the corner with a border of card stock. Then place the second next 2 it, watch the edges that they line up evenly. Then add the third strip. Trim down any excess card stock.

Another technique I like to use is paper piecing. I stamp the image on a scrap of DSP and cut out the portion I want to use. Glue the portion over that area of the blank stamped image.

Adding some enamel dots and tilting the image gives it a unique look

For this one I did a little different fold of the card base. Use the 8 x 5 1/2 card stock and score 2 1/4 from each of the short sides. Fold the ends together meeting in the middle but not overlapping.

Cut the 3 3/4 x 5 piece of DSP in half lengthwise ( 1 7/8 ). Adhere to each side of card front.

Add adhesive to only one half of the image.
And if you don’t want to decorate the envelope, trim that piece to 5 inches.

Mount the DSP to the card front off to one side and add the image.

Or mount the DSP to a piece of card stock 5 1/4 x 2 1/2.
What other ideas do you have for using the 6 x 6 DSP.


