Friday, October 20, 2023

Flurry of snowflakes shaker card

 Flurry of snowflakes shaker card


Things you need: 
Card stock 
     White base 4 1/4 x 11 folded to 4 1/4 x 5 1/2 
      Balmy blue 5 x 3 3/4 
      Misty Moonlight 3 1/4 x 3 1/4   
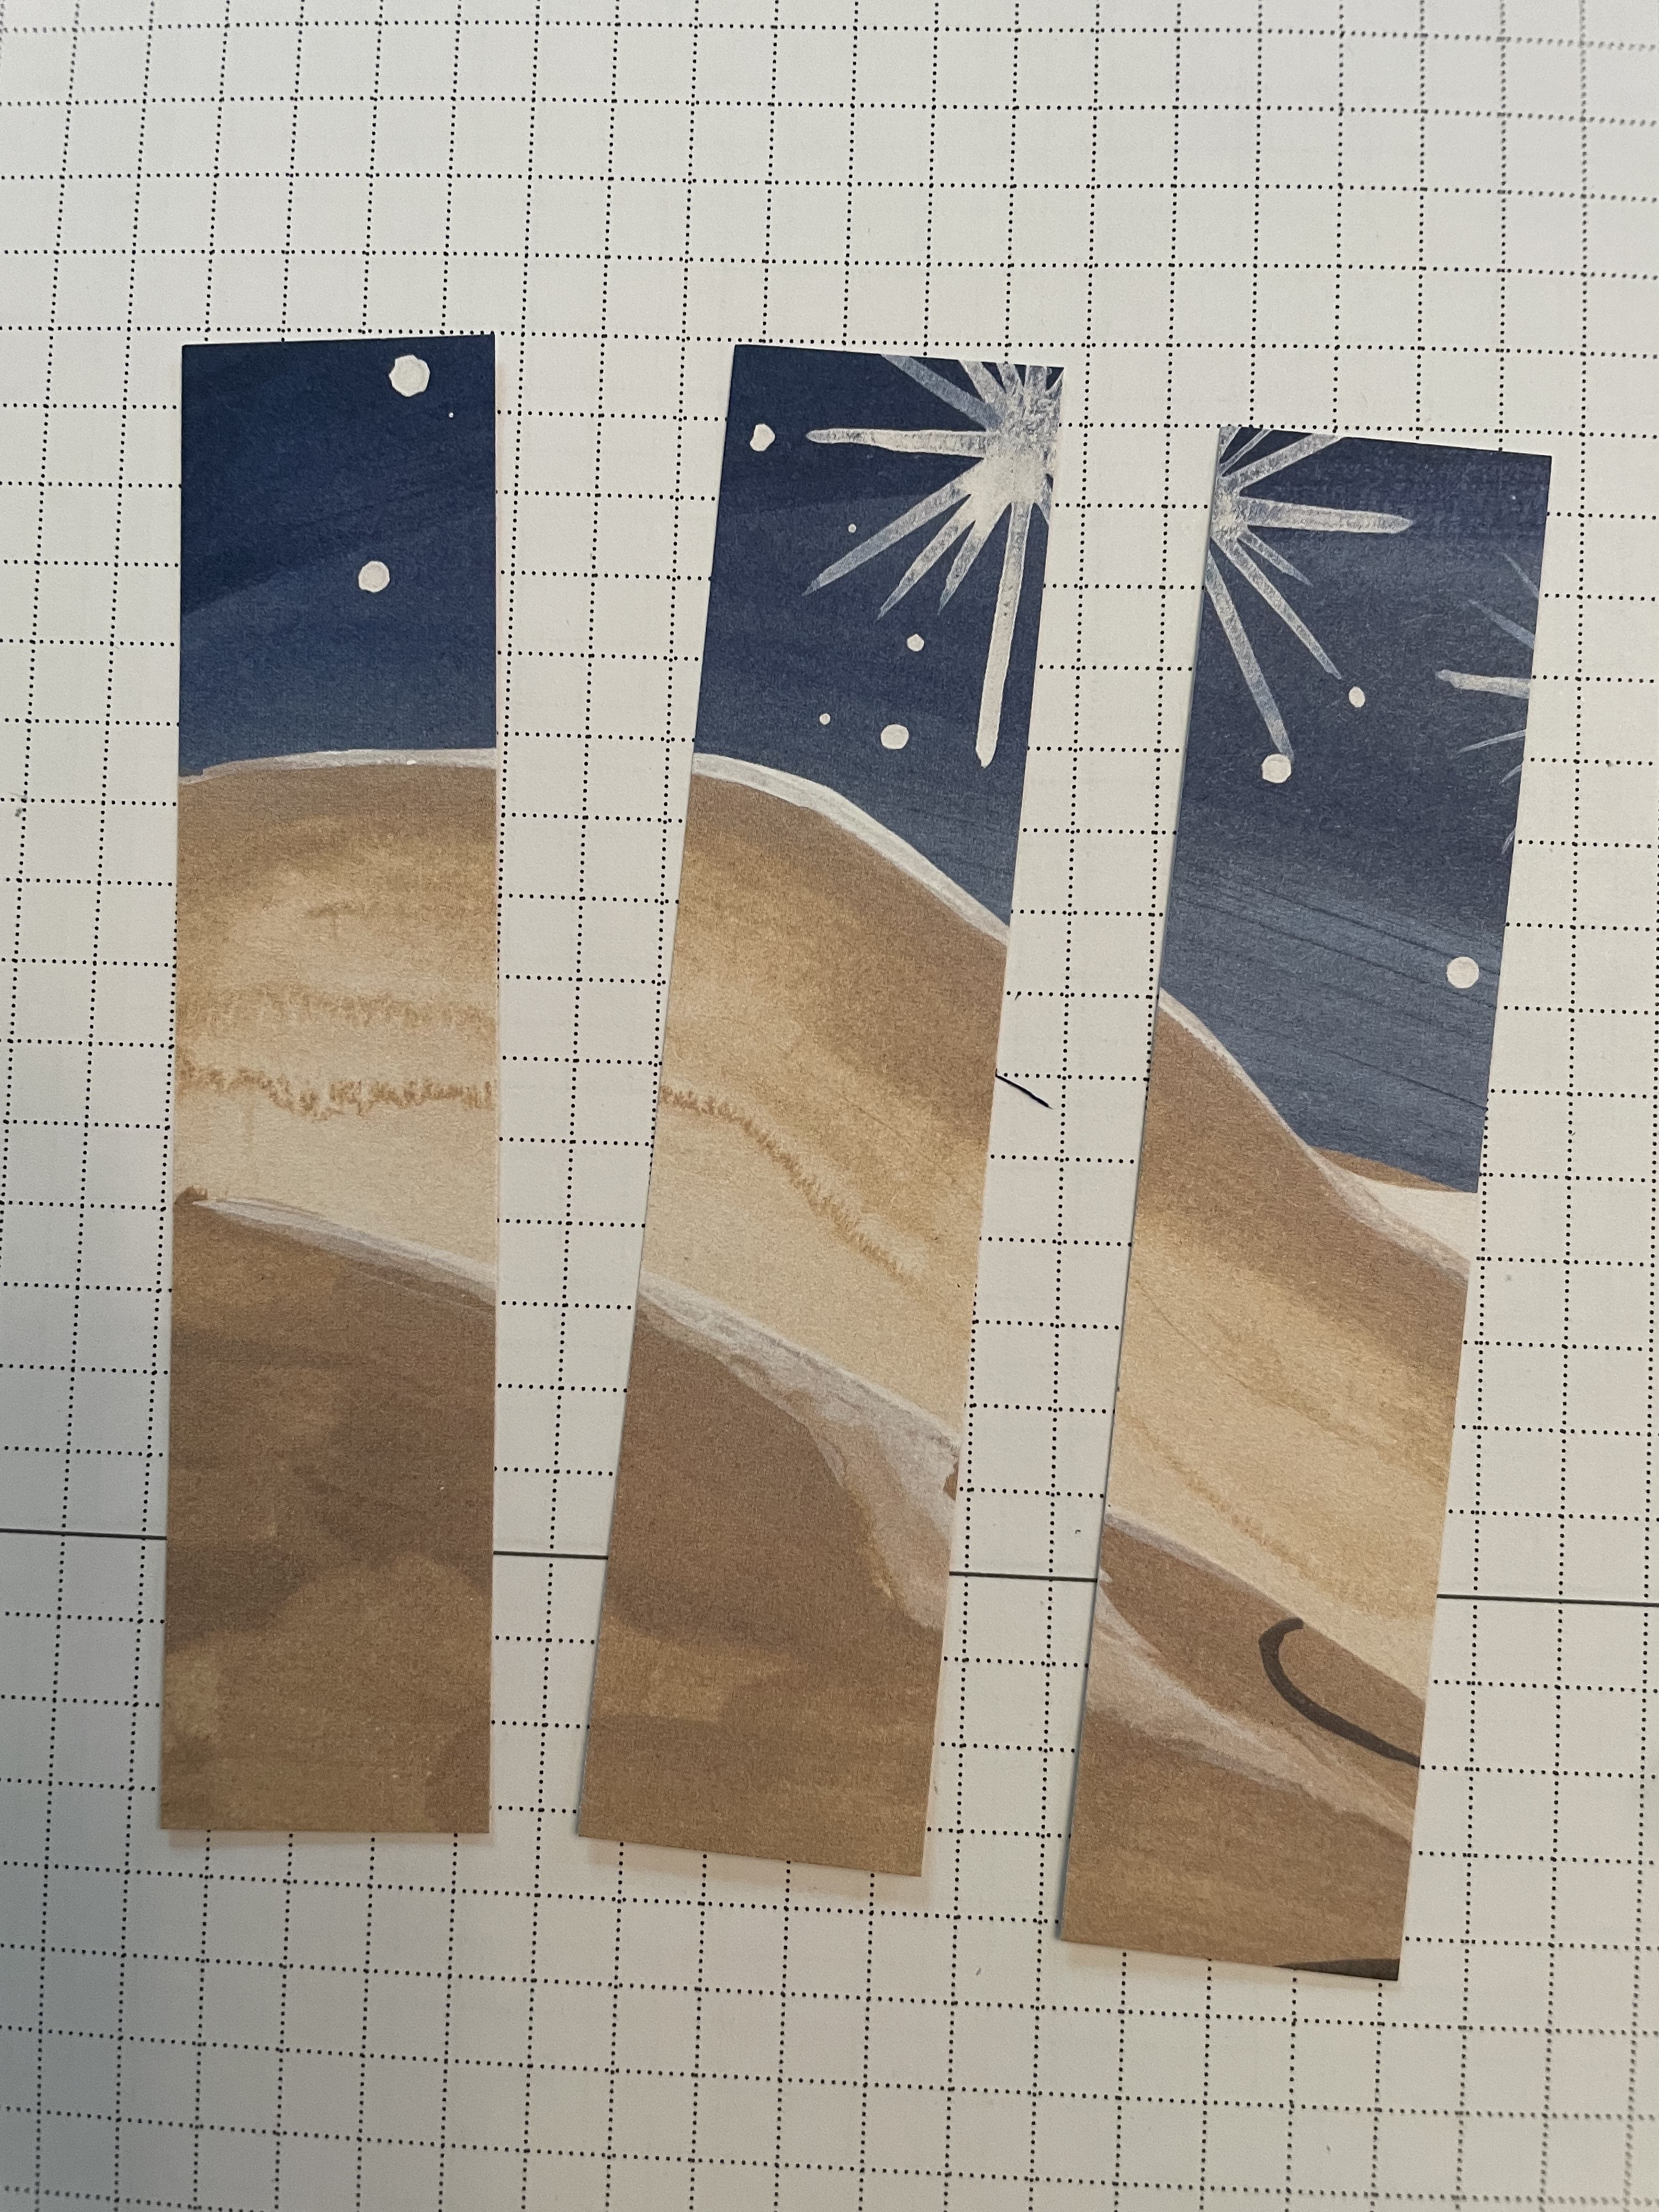
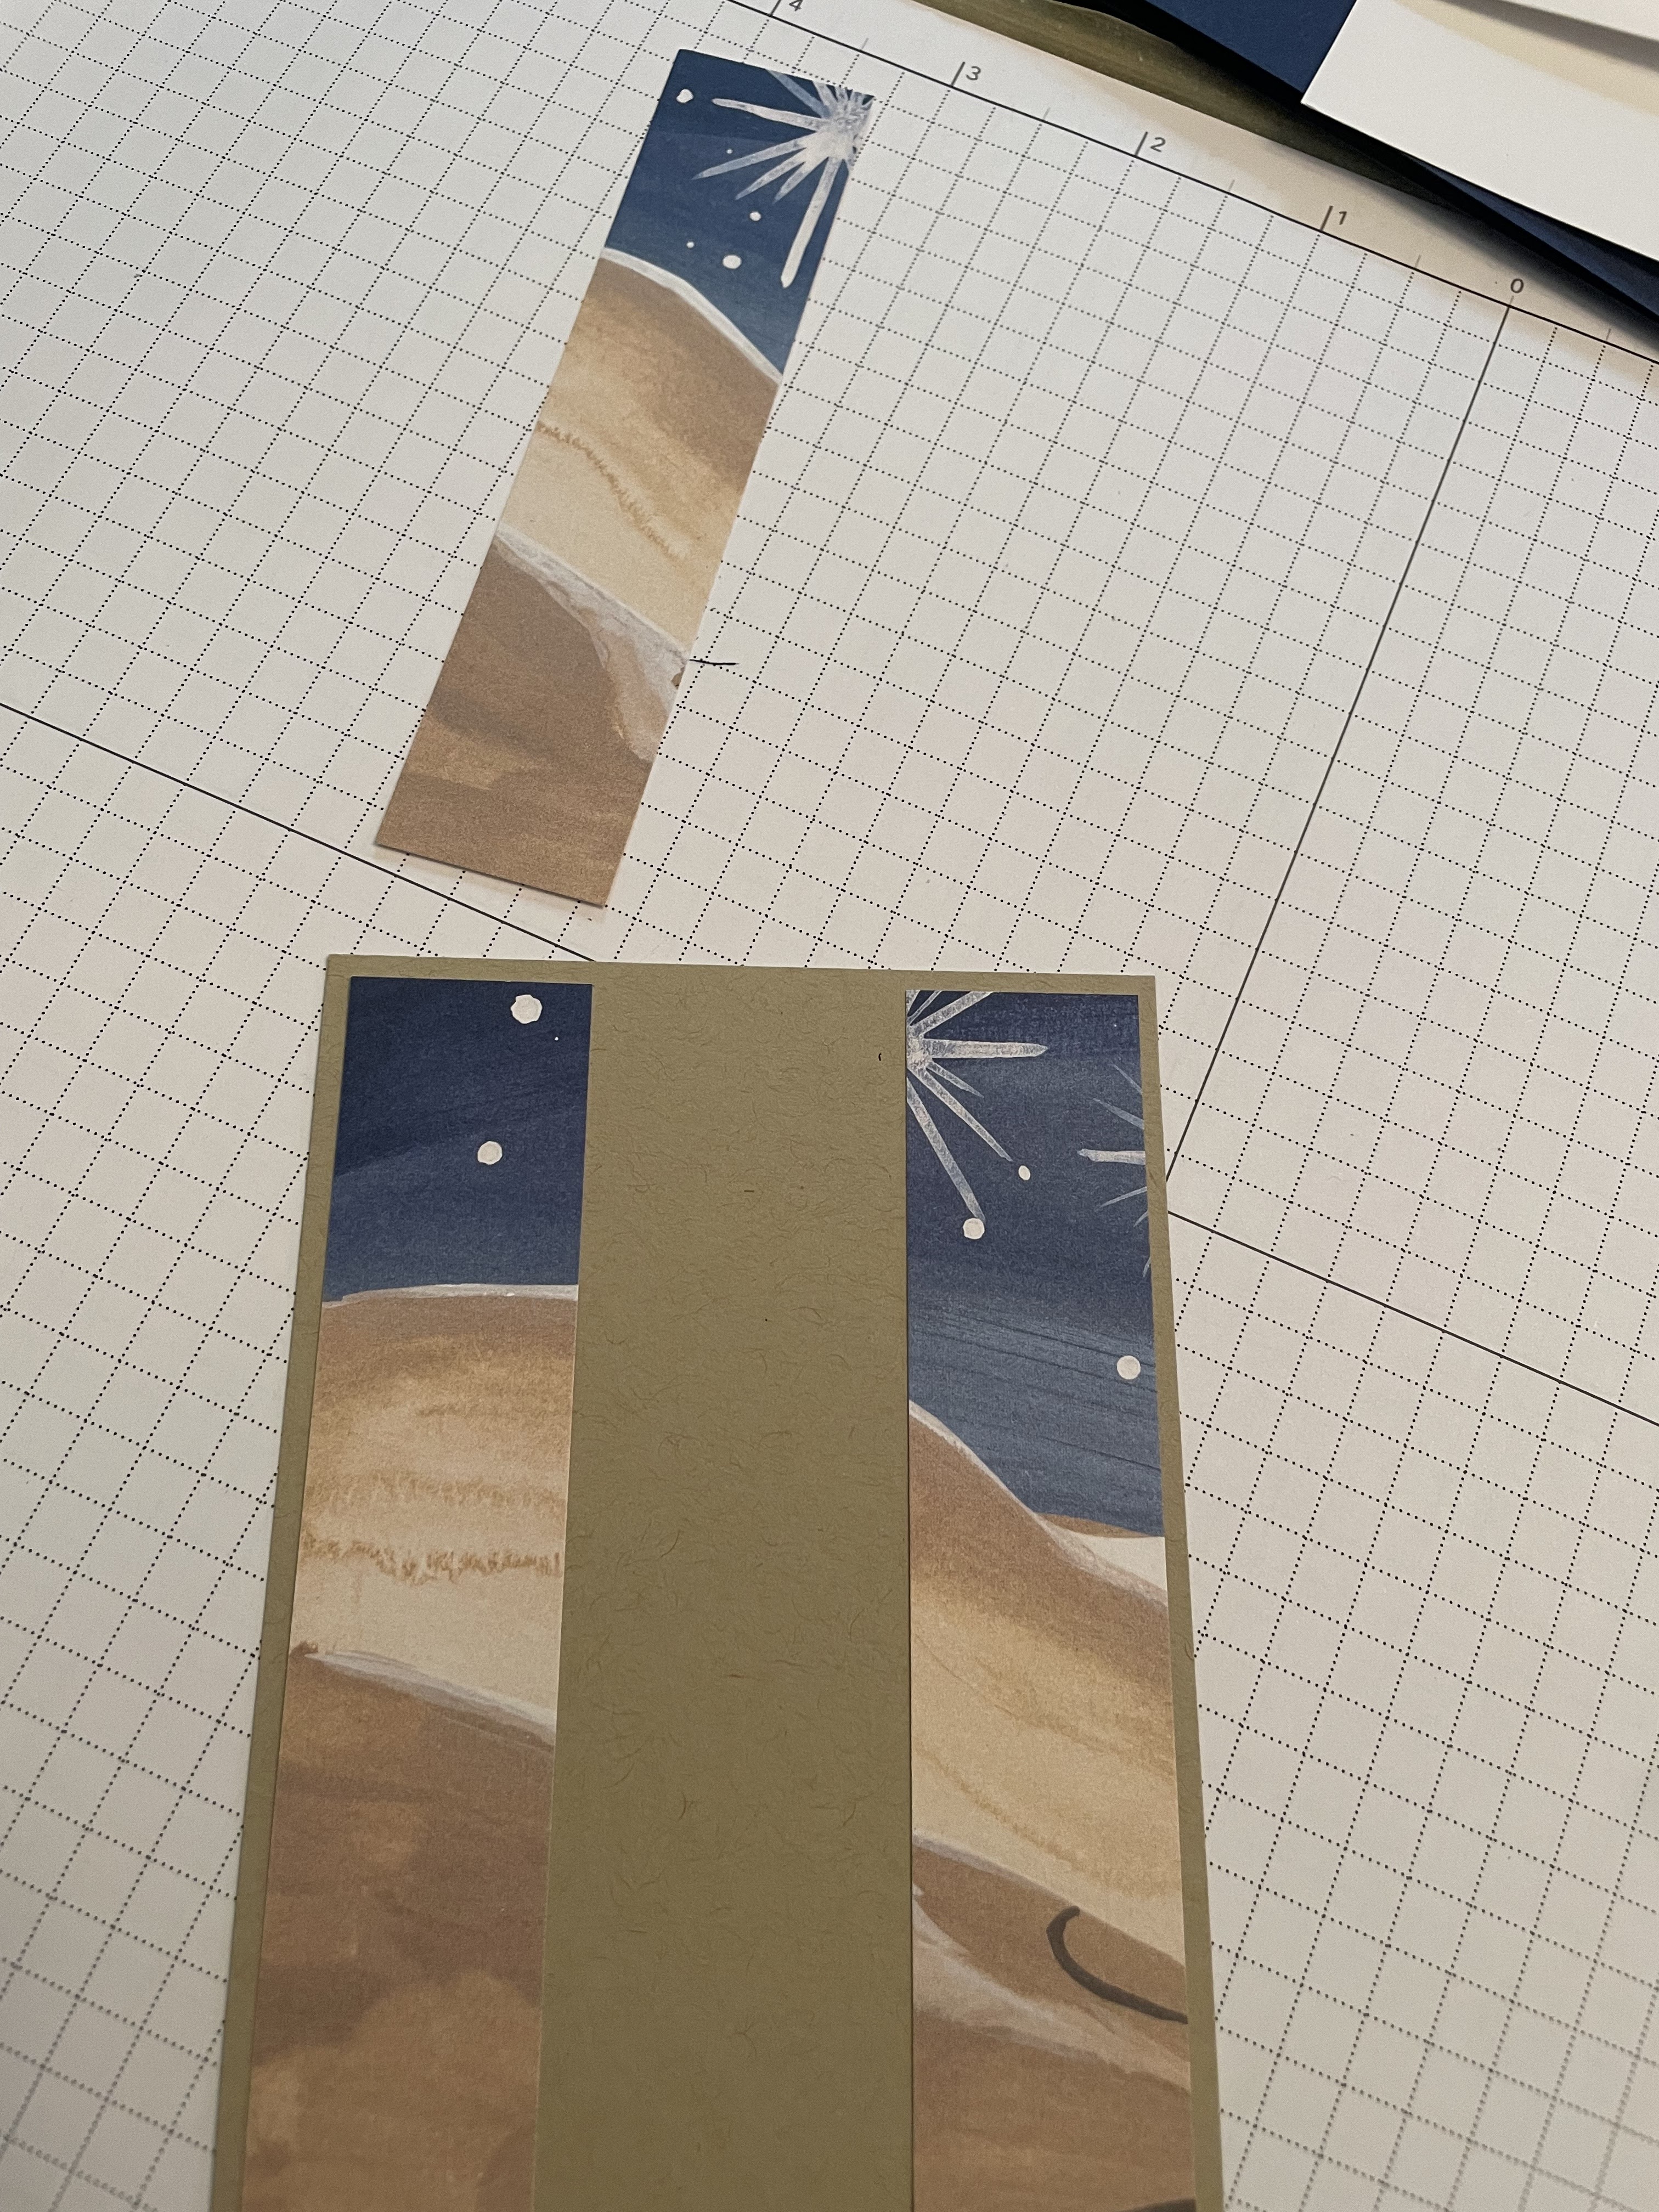
DSP 3 inch square of the snowflake print from A Walk in the Forest 
Window sheet 3 inch square
Layered square dies
Snowflake sequins
Snowflake Splendor ribbon
Balmy Blue stamp pad
Adhesive foam strips
Tear and peel tape 
Dimensionals. 
Optional - snowburst embossing folder 


Stamp snowflakes on white scrap of card stock.  Color with Wink of Stella clear pen.  Let dry. 

Stamp Flurry of Wishes inside card.  Set aside 


Cut smaller square from center of Misty Moonlight and next largest square from Balmy Blue center closer to the top.  Trim corners of Balmy Blue with corner round punch.  Emboss the Balmy Blue with the Snowburst folder if desired. 


Put small pieces of transparent tape on opposite edges of the Misty Moonlight back side.  


Place with tape sticky side up on work surface then lay Balmy Blue over it leaving a small frame of Misty Moonlight.  Press firmly. 


Flip to back side and add some Tear and Tape along the side edges. Do not remove the paper from the tape. Press firmly. 


Add tear and tape to the Misty Moonlight surrounding the window. Remove paper and add the window sheet over the exposed tape to make a window. 


Add foam adhesive strips all around the window making sure the corners meet up tightly.  
Add additional foam strips around the outer edge of the Balmy blue.  These do not have to meet up on the corners.  
I add a piece to the lower section behind the ribbon also. 


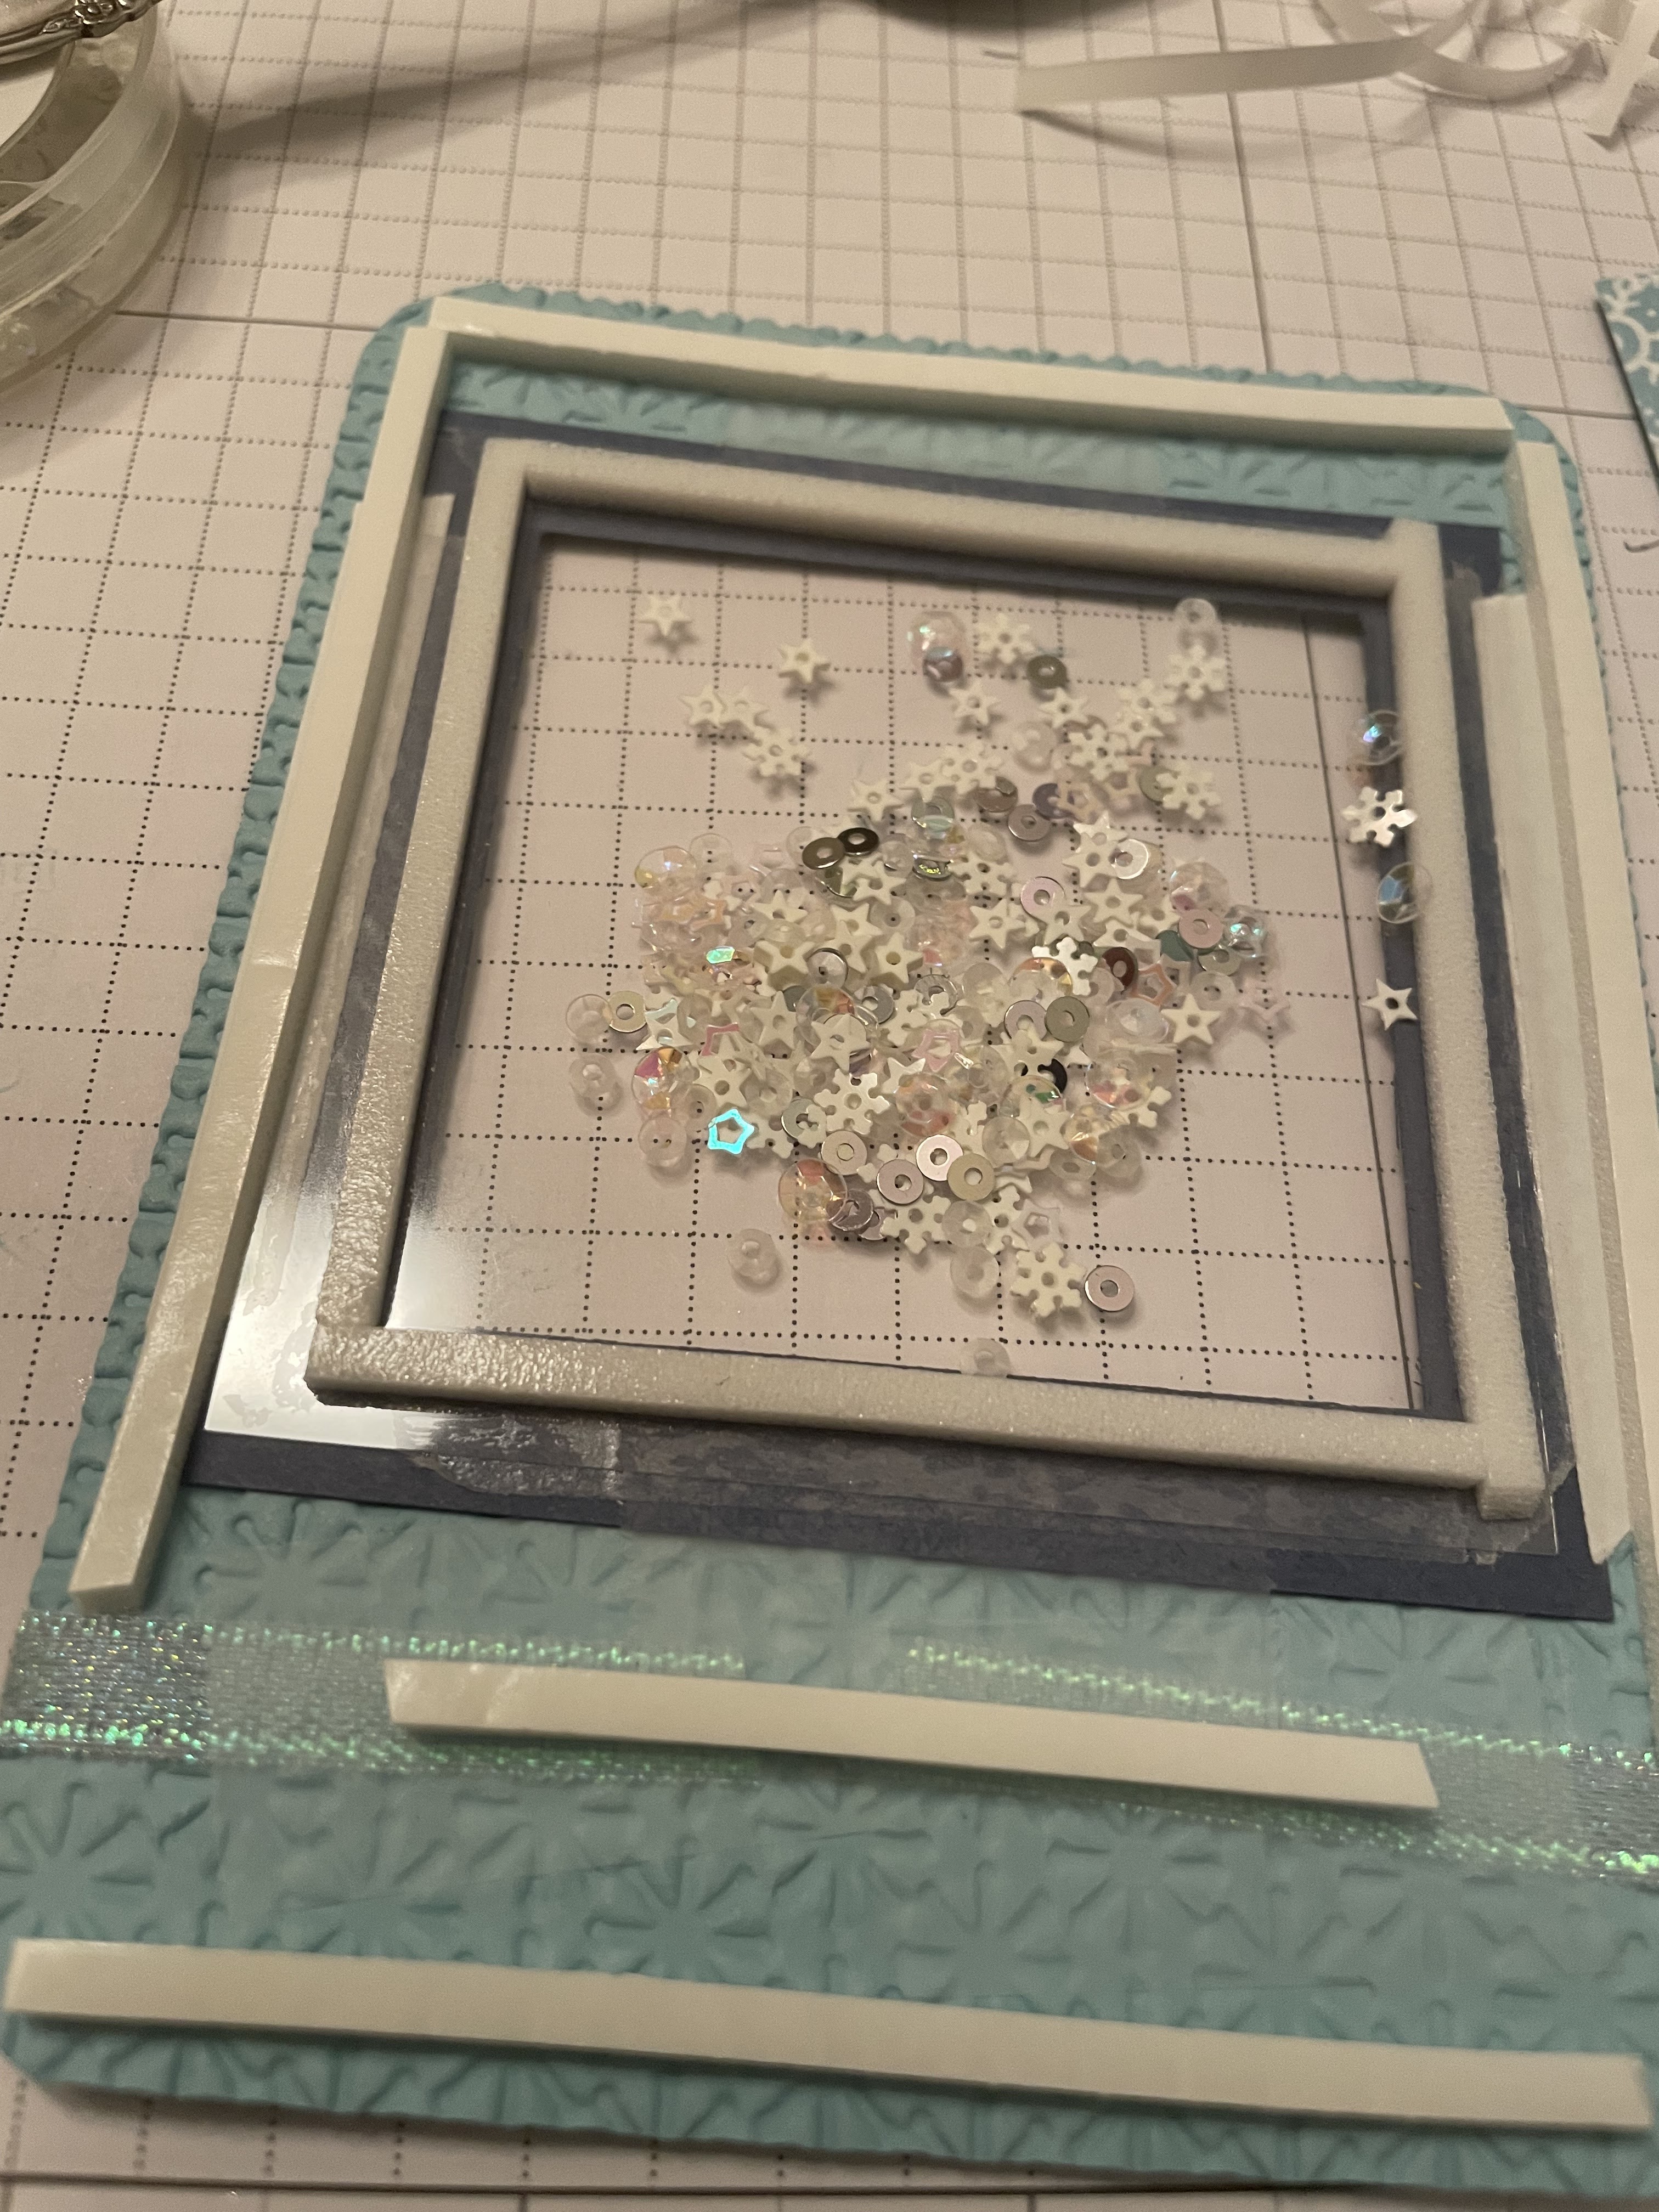
Add sequins to the enclosed window area. 


Remove the paper from the foam strips around the window only. Place DSP square facing down onto the exposed adhesive foam strips. Press firmly. 


Remove paper from the remaining strips and add to card front. 

Decorate with snowflakes and/or ribbon bow. 


ALTERNATE #1
Using the snowy paper from Bear Christmas DSP. 


ALTERNATE #2
Using Penguin Playmates DSP, Fresh Freesia and Soft Sea Foam card stock. 


ALTERNATE #3
Using Penguin Playmates DSP, Fresh Freesia and Just Jade card stock. 


Wednesday, October 18, 2023

Around the block card

Around the block card 

Class card made with Joy of Christmas DSP. Several alternative designs at the end of this post. 


You will need: 
DSP - Joy of Christmas 
     Two 4 1/4 x 1 inch strips - holly design
      Two 3 x 1 inch strips red mottled design
Shaded spruce card stock - 3 1/8 x 1 7/8 inches
White card stock - 
        4 1/4 x 11 inch card base, fold in half to form 4 1/4 
                         x 5 1/2
         1 3/4 x 3 inch for sentiment. 
Christmas stamps - I used a set from Hero Arts. You can 
         use anything that fits in the small white rectangle. 
Red rhinestones 
Shaded spruce ink pad 


Stamp desired sentiment on the small white rectangle.  Glue to the Shaded Spruce rectangle - very thin edge will show (1/16 inch) .


Glue one of the holly strips in the upper left corner so that there is the same width of white card stock exposed on the left edge and top edge. 
Glue one of the mottled red strips along the right side with the same width along the top and right edge. 


Continue with the other holly strip in the same manner along the bottom and right edges. 


Finish with the second mottled red strip along the bottom and left side.  

Glue the sentiment in the center of the card being careful to center between the strips.  You can use dimensionals on this piece if you like. 

This shows the raised center with dimensionals. 

Add red rhinestones to white sentiment. 


ALTERNATE 1:
Using blue DSP sheets from Joy of Christmas DSP. 
Birthday sentiment and blue rhinestones to make a wintry birthday card. 


ALTERNATE #2:
Use trees and lights from Merry and Bright 


ALTERNATE #3:
Use cheerful DSP and coordinating bling. 


Three panel scenic card

 Three panel scenic card 

The example is using O Holy Night DSP, the sheet that looks like the desert.  See below for other DSP available for my card class.


You will need :

Card base - Night of Navy card stock 5 1/2 x 8 1/2 inches, fold in half to form 4 1/4 x 5 1/2 card base 

White card stock - 3 3/4 x 5 inches plus scrap 

Crumb Cake card stock - 3 1/2 x 4 3/4 inches plus scrap 

DSP - O Holy Night, desert scene 3 x 4 1/2 inches 


Cut the DSP into three 1 inch x 4 1/2 inch strips   Lay them out on the work area in order to create the scene  


Glue left strip along left side of Crumb Cake are stock leaving about 1/8 inch border on top, bottom, and left edge  


Glue right hand strip to the right edge of Crumb Cake card stock allowing about 1/8 inch border on top, bottom, and right edge  


Glue middle strip centered between two other strips   This should complete the scene  


Glue scene to Night of Navy card base. 


Glue white card stock inside card base. 


Stamp sentiment on white cards stock and punch out with Word Window punch   I printed ‘peace on earth’ on white card stock then punched with Word Window punch.

Using Washi Tape punch, punch a piece of crumb cake card stock   Glue white sentiment to crumb cake washi shape   

Using dimensional, adhere to card front.  

Add additional champagne rhinestones of desired  


ALTERNATES: 


Alternate #1 

Use the village scene paper from O Holy Night DSP.

Instead of crumb cake card stock, use Pebbled Path   


ALTERNATE # 2

Use Winter Meadow DSP, deer scene.

Instead of Crumb Cake card stock use Pebbled Path  

Instead of Night of Navy, use Basic White card stock 

Instead of champagne rhinestones, use black or dark gray rhinestones (not SU) 

Do not need the white card stock 3 3/4 x 5 inches  

ALTERNATE #3

If you don’t like where the 1 inch vertical cuts will chop up the scene, adjust them.  

I wanted to keep the deer pretty much intact so I cut the right edge where I wanted (1 1/8 inch) then cut the left edge at 1 1/8 inch too.  This left a 3/4 inch strip in the center. 

I didn’t want my 1 inch cut to go through the middle of the deer’s head so I cut at about 5/8 inch from the left side then cut the same width on the right side leaving 1 3/4 inch in the center