Monday, June 20, 2022

Three Panel DSP

 Three Panel DSP


Supplies

Card base cut 8 1/2 x 11 or 4 1/4 x 11 fold in half

DSP  3 1/2 x 1 7/8 (2),  3 7/8 x 1 1/2

Coordinating card stock 5 1/4 x 4

Ribbon

Scraps to coordinate 


Lay out the DSP on the card stock to be sure you know which piece goes where and decide which on arrangement.  Glue one of the 2 pieces that are 3 1/2 inches long in a corner as shown.  Use the corners to place evenly along both sides.  

Add the other 3 1/2 piece again matching up the corner  


Add the third piece using the corners to position. 


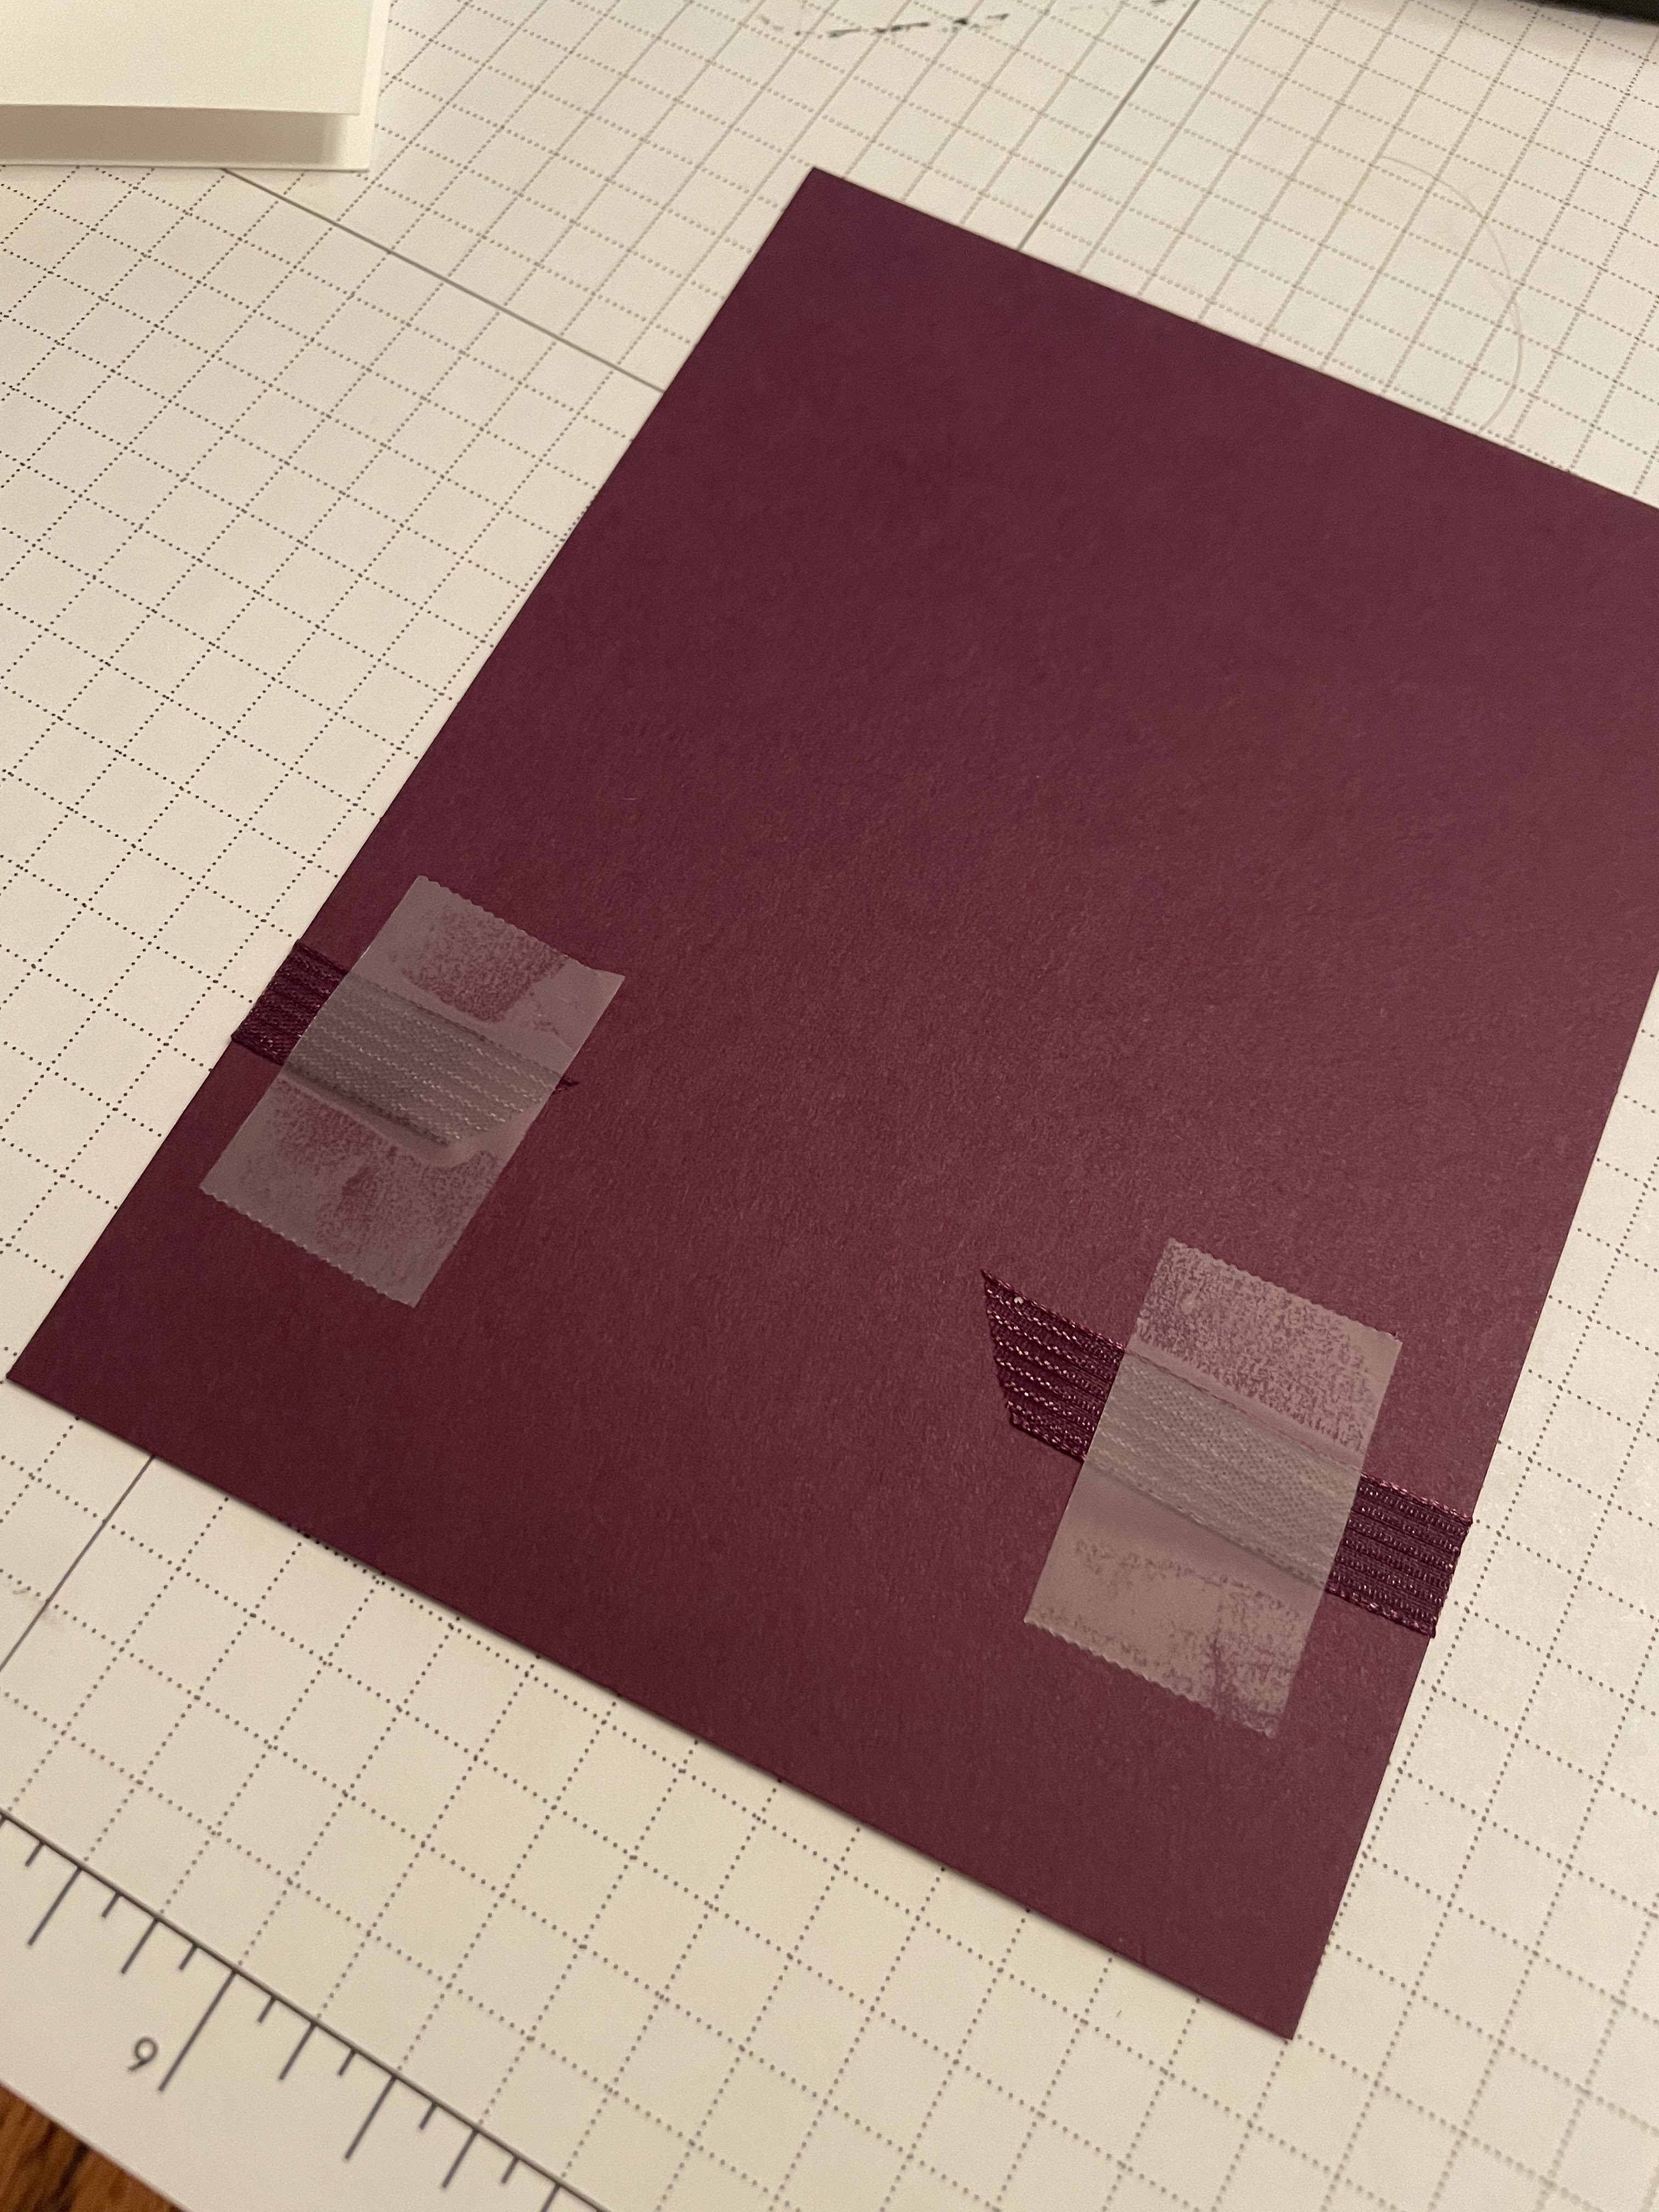
Decide where you want to place the ribbon.  

Wrap piece of ribbon around where desired and secure it using tape. 


Check placement on front. Adjust if necessary. 

Take a second piece of ribbon and place behind the attached ribbon and  tie loosely.  Adjust position to your liking then pull securely. 


Trim bow ends. 


Adhere to card front. 
Add sentiment using dimensionals. 


Split Front DSP


Split Front DSP


Supplies 

Card base 8 1/2 x 11 or 4 1/4 x 11 folded in half 

DSP 5 x 3 3/4  cut in half at about 2 inches from a short side  

Coordinating card stock 5 1/8 x 3 7/8

Coordinating ribbon and scraps 


Adhere larger piece of DSP using the corners to evenly spaced along the card stock edges  


Add second piece of DSP lining it up in the corners  it can overlap the first  


Fold ribbon back and forth and press against transparent tape to hold loops in place  


Place on back of sentiment and add dimensionals  


Trim ends of ribbon   Peel off protective paper from the foam pieces and place sentiment on card front  


Glue to card front  


Single panel DSP

 Single Panel DSP 


Supplies 

Card base cut 8 1/2 x 11 or 4 1/4 x 11  fold in half

DSP 3 5/8 x 4 7/8 

Coordinating card stock 3 3/4 x 5

Ribbon and scraps of card stock


Adhere DSP to card stock 5 x 3 3/4 


Wrap ribbon around and tape the ends on the back   


Add sentiment over the ribbon.