Wednesday, July 21, 2021

One Sheet Wonder #3

This is the third of my one sheet wonder designs.  

Here are three clean and simple cards I made using this template. 

This is the template. I usually cut the 1 inch strip from the bottom first.  Then cut down at the 3 inch line. 
Card A :  The two rectangles are about 1/4 inch separated under the strip of DSP.

I used a mat under the narrow strip of DSP. 
The six one inch squares are randomly scattered on the card front. You could also place them neatly in rows of 3 squares. 


One Sheet Wonder #2

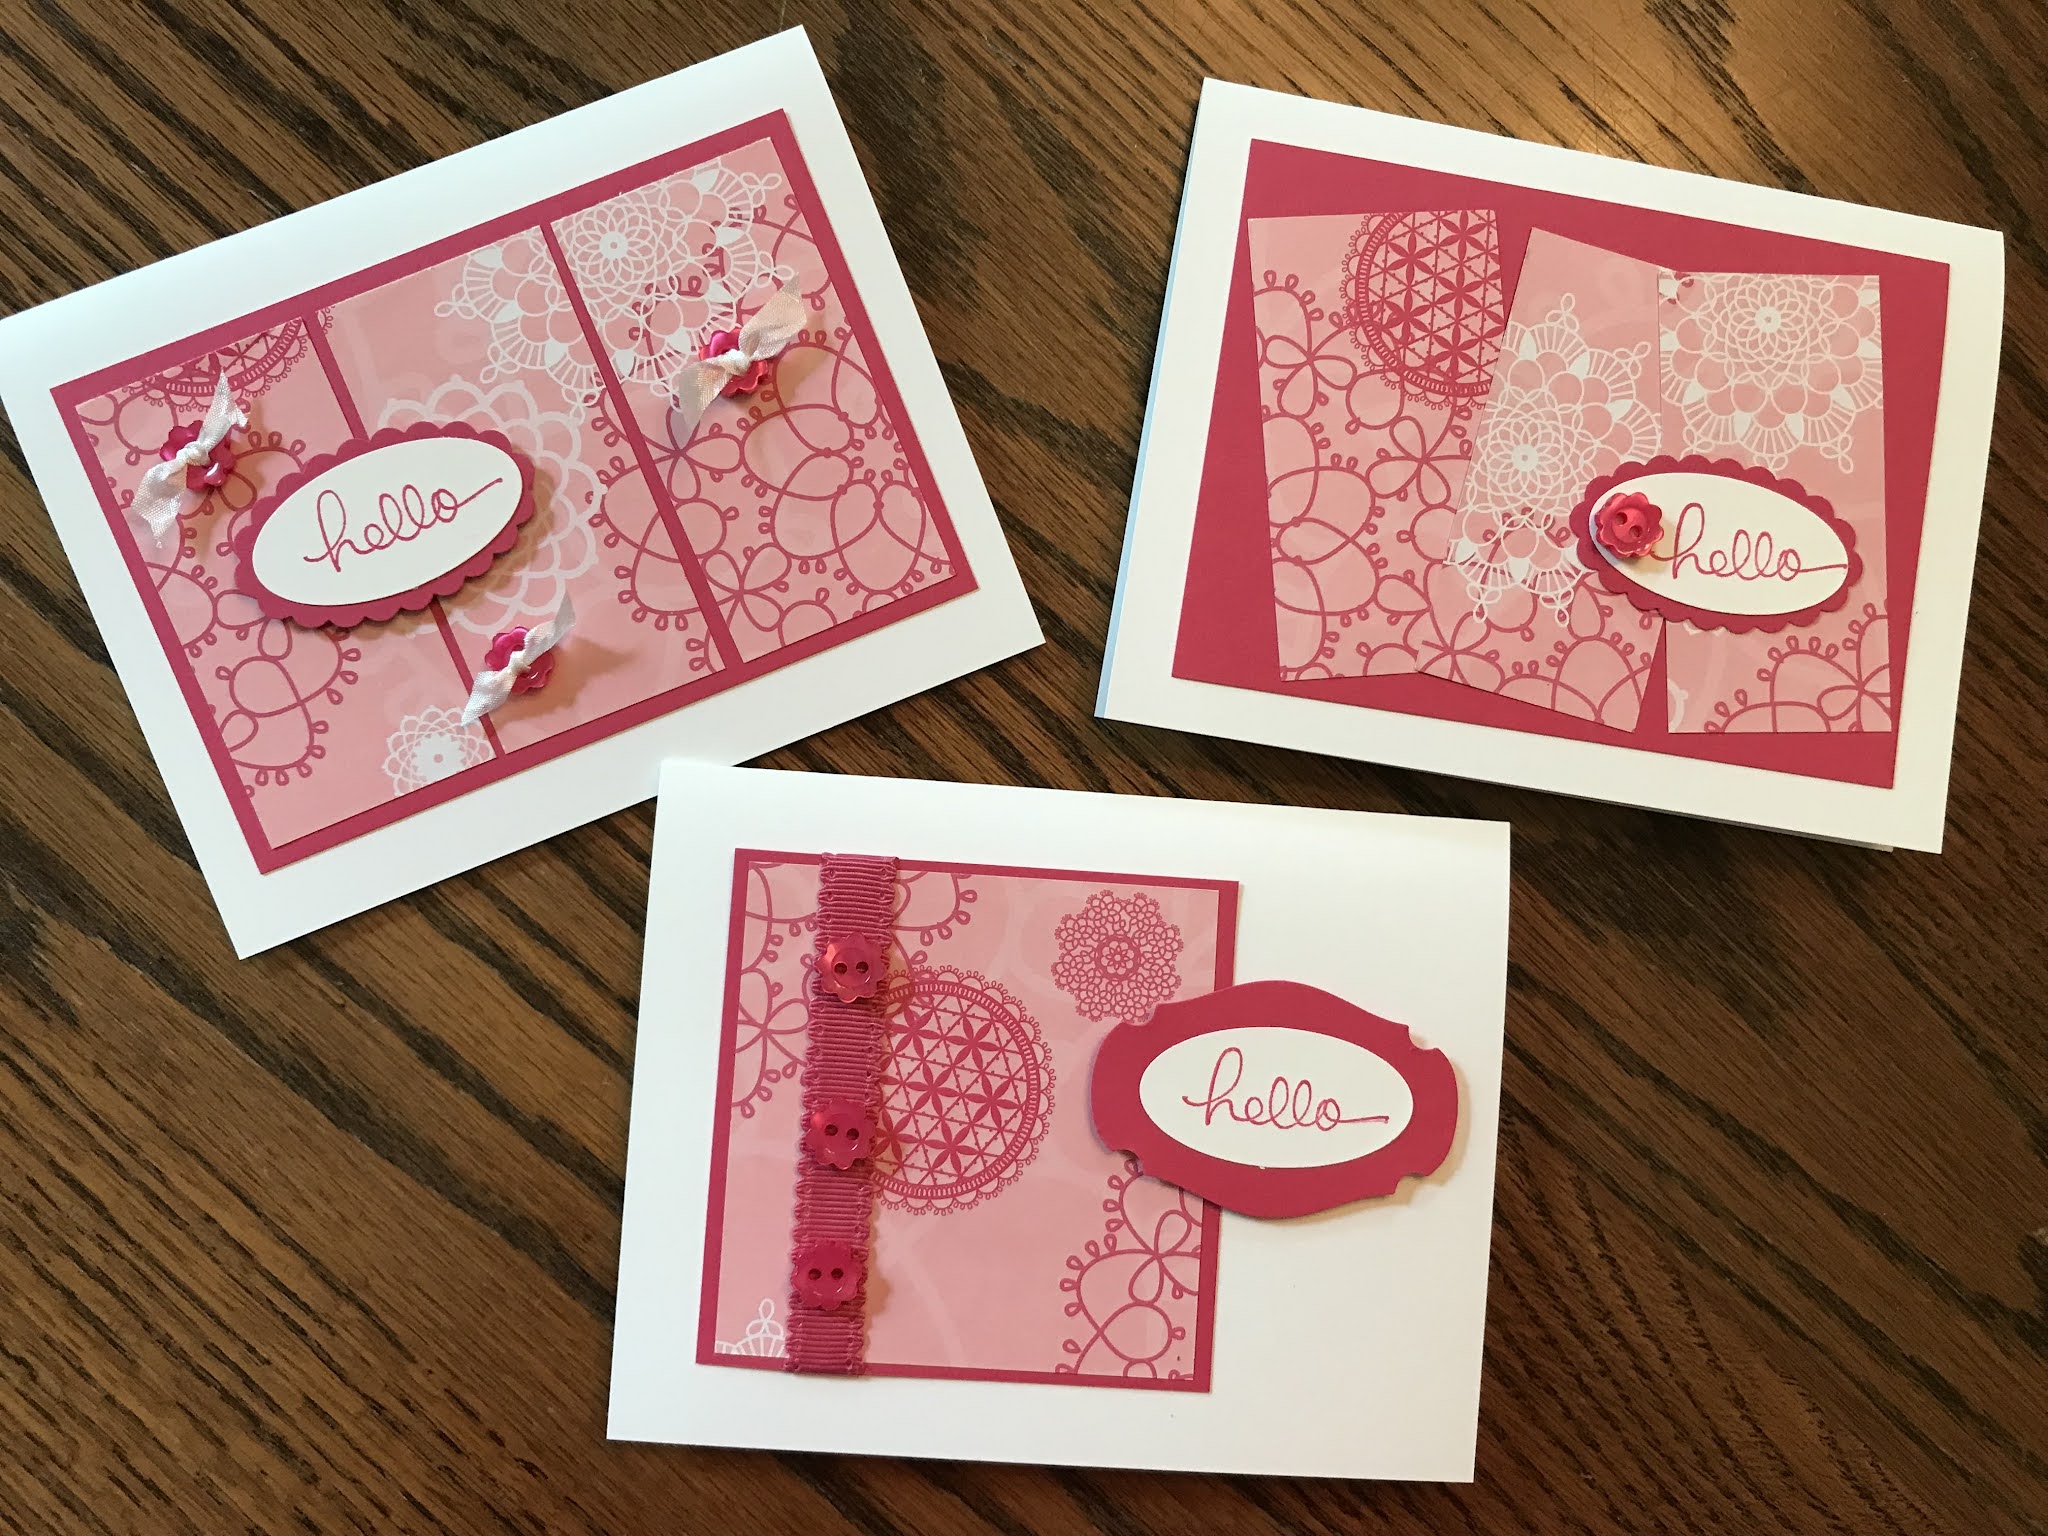
 This is the second of my one sheet wonder templates for 6 x 6 inch square of Designer Series Paper. 

I made two cards using this template. I wasn’t crazy about this sheet of DSP but I really love these cards. 
This is the template.  Cut the paper at 3 3/4 first.  If the is an up and down to the pattern be aware of how it will look on the care front. You can make the cards landscape or portrait to accommodate how the paper was cut. 
Cut 1 inch from the narrow end of the large rectangle.  This will give you a 3 3/4 x 5 inch rectangle for the card front and a 3 3/4 x 1 inch rectangle for a contrasting band.  
The 2 x 6 rectangle can be used to cover the envelope flap or can be used for a second card.  Here I opted to make the second card. 

Card A- Place the 5 x 3 3/4 piece on the card front. Add the 1 x 3 3/4 piece and flip it to the other design.  Glue it across the middle of the card front to create a contrasting band. Add sentiment of your choice. 


Card B- I lace the 2 inch strip along the fold of the card stock.  This can be turned landscape or portrait layout, whichever you like with your DSP. 
These cards can be stepped up by adding mats, adding ribbons, using embossing folders, etc. 

One Sheet Wonder #1

 This is a one sheet wonder for a 6 x 6 inch square of Designer Series Paper. 

This is template #1.  I made these 3 cards using this template. 


Basically cut the paper into 3x3 inch squares.  One of the squares you cut diagonally but not from corner to corner.  That is for Card C.  The other three squares you cut in half to make rectangles 3 x 11/2 inches. If the paper has an up and down pattern be sure to cut them all accordingly.  
Here are the three cards I made. They are clean and simple cut you can dress them up using mats, ribbons, embellishments, fussy cuts, embossing folders, etc. 

Card A - arrange three of the rectangles randomly on the card front. Add a sentiment and embellishments. 

Card B -  arrange three of the rectangles on the card front in a straight line.  I usually try to pull out three pieces that were side by side to make a continuous design but with the polka dots that doesn’t really matter. 


Card C - place one of the remaining pieces in the center top of the card front. Place the second piece below it lining up the sides and leaving a gap for a stamped sentiment.


Here is a set where I used mats and buttons.  Instead of cutting the one piece in the diagonal, I left it whole.