 These are two I made for a club in April.
 You will need a piece of Designer Series Paper (DSP) cut 5 1/4 x 4. I used Sweet and Sour but Stampin Up has so many beautiful papers, it is hard to choose.
Card stock in coordinating colors -
Card base - 5 1/2 x 4 1/4 (I used Pumpkin Pie)
Pull strip - 9 x 2 ( I used Pumpkin Pie)
Base for images - 2 x 2 inch squares, you need 4 (I used Rose Red)
Stamped images - 1 3/4 x 1 3/4 inch squares, you need 4 (I used Daffodil Delight)
Cross-bar - 4 1/4 x 1 inch (I used Daffodil Delight)
You will also need 1 3/8 inch circle punch, two brads, sticky strip, your favorite adhesive and other items as need to decorate the card if desired.
 Stamp your images on the 1 3/4 inch squares and trim if desired. I like using the round corner punch on opposite corners. This stamp set is a retired one but I just received it this week from a friend. I love it!
Mount these on the 2 inch squares and set aside.
 Adhere the piece of DSP to the 5 1/2 x 4 1/4 inch piece of card stock. The card stock I used here had been embossed using the Big Shot butyou can just use plain card stock.
 Using a tiny bit of Snail Adhesive or Tombow liquid ahesive on just the narrow edges of the 1 x 4 1/4 inch place in across DSP. Do not put any adhesive in the middle as that is where your 'waterfall' will slide.
 Using the circle punch, cut a half-circle in the center of the short edge.
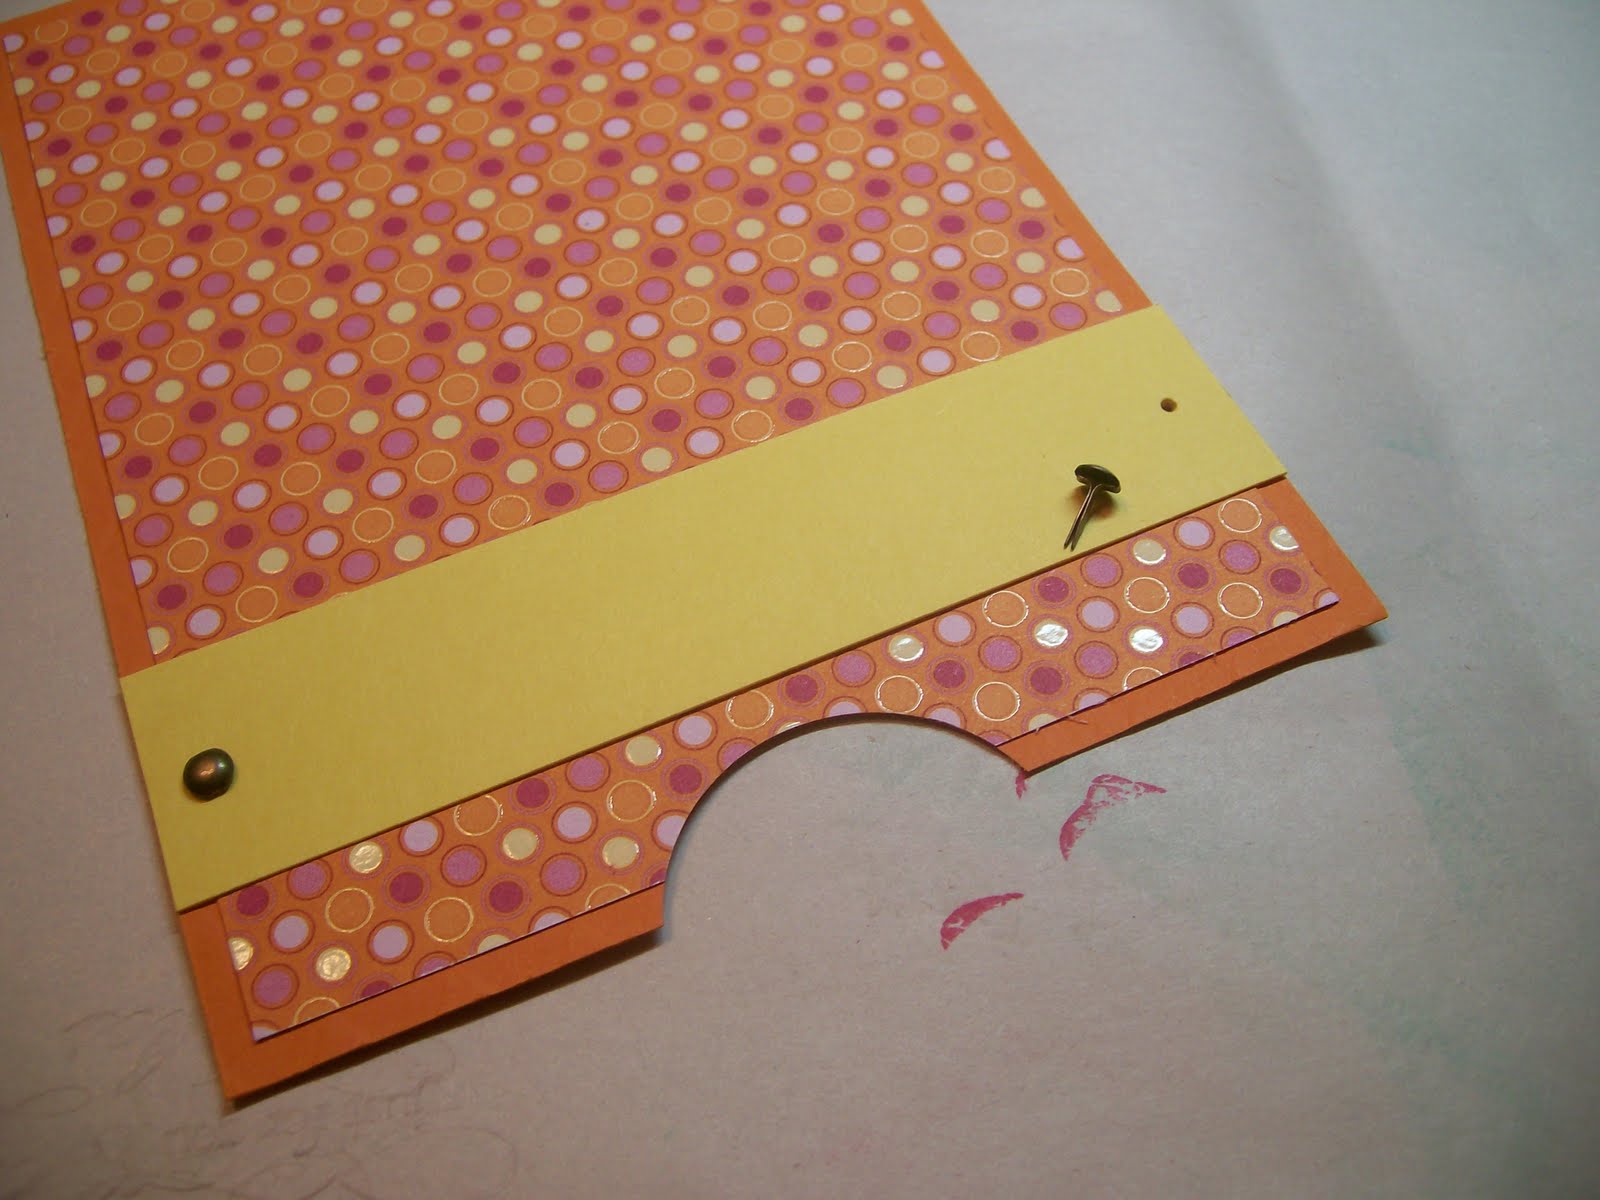 Add a couple brads to the edges of the cross-bar strip.
 Along the long edge of the 2 x 9 inch strip - score at 2, 2 3/4, 3 1/2, and 4 1/4 inches. Fold all in the same direction.
 The pull strip should look like this.
 Slide the longer portion (4 3/4 inch long) under the cross - bar.
 Adhere a strip of Sticky Strip to the bottom edge of the cross-bar. Expose the adhesive.
 Line up the free edge with the lower edge of the brace.
 Place the first 2 x 2 square item onto the end that was just placed behimd the brace. This first image will actully be the last one to display.
 For the second image piece, only put adhesive along the upper 1/2 inch of the square or it will adhere to the previous image.
 Place the second image lined up with the score line.
 This picutre shows that only the top 1/2 inch of the image has adhesive so the square is free to flip up and over.
 Stamp a greeting on the pull strip if desired.
 Add a ribbon to the pull tab if you like.
 Here is the finished card.
 If you want to cover the bards on the back, here is an idea.

Punch two circles. Remove brads and glue just 1/2 of each circle over the brad holes.
 From the back, pierce a hole through the circle front for the brad.
 Put the brad through. DO NOT push the brad through the circle on the back of the card.
 Glue down the remaining 1/2 of the circle to cover the brad.

This is the finished card.
This is another card I made using the shoe stamp set. The scallop circle pieces were embossed with the Vintage Wallpaper embossing folder. I stamped the shoes on Whisper White and colored using the Many Marvelous Markers.
 Such fun stamps, shoes and 4 greetings.
 If you make a waterfall card, please post a comment so I can bounce over and see yours.
No comments:
Post a Comment