Topsy-turvy Flap Card

Card front

DSP - 5 1/4 x 4 inches (2) plus scraps
Card stock - 5 1/4 x 4 inches, 3 x 5 inches, (2), 5 x 3 plus scraps to punch 2 balloons
White card - 5 x 3 3/4, 2 3/4 x 3
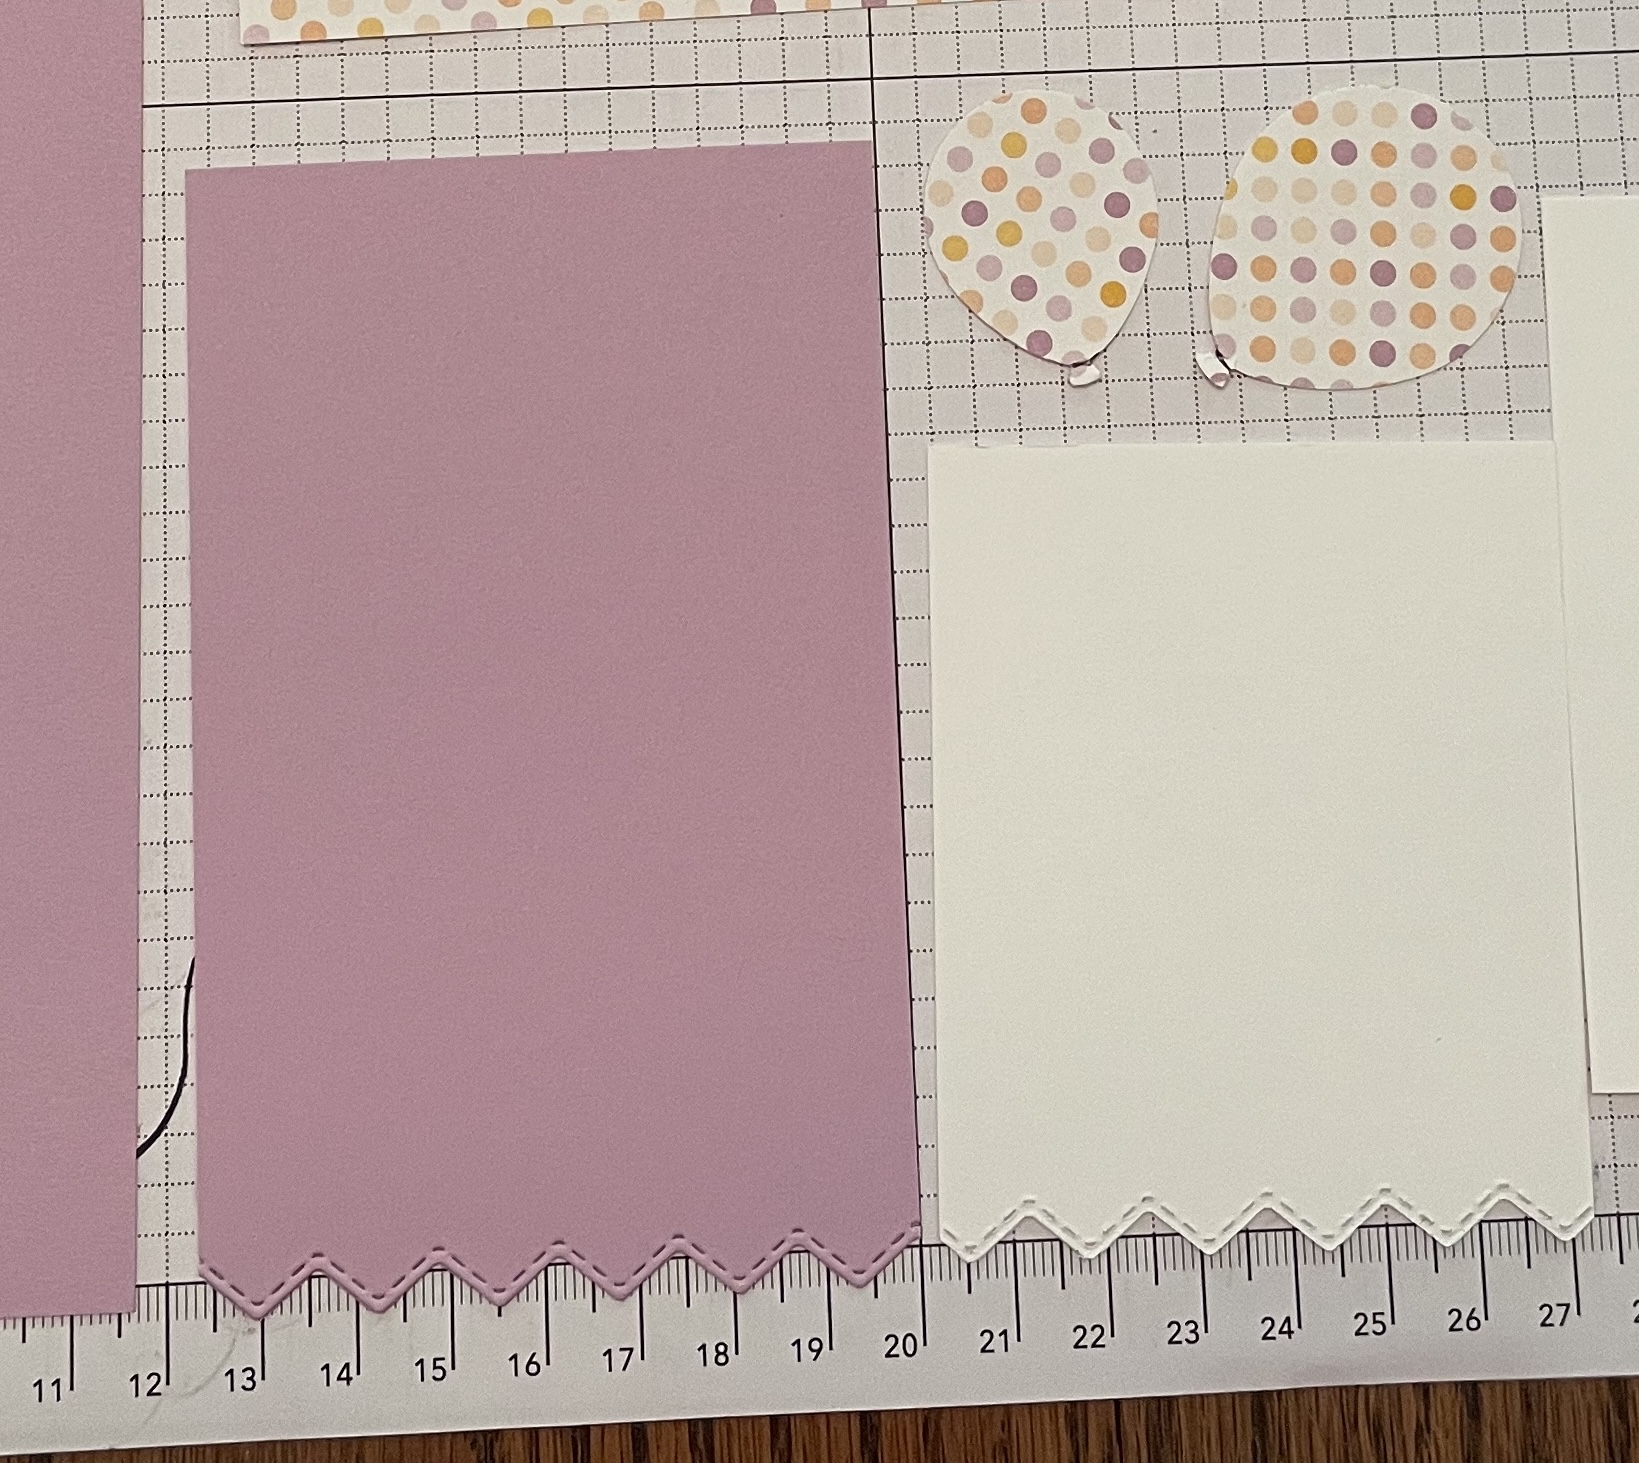
Trim 3 x 5 piece on one short edge with the zig zag basic corner die. Trim short edge of white to match.
Stamp birthday greeting on the white card stock off to one side. Using the balloon stamp, ink up the string only and stamp along the other side leaving room for a balloon punch. Stamp string on the 5 x 3 3/4 piece of card stock leaving room for a balloon punch.
Punch balloons from the DSP and glue to the images.
Trim the small white piece to 3 inches so it now measures 2 3/4 x 3 inches.
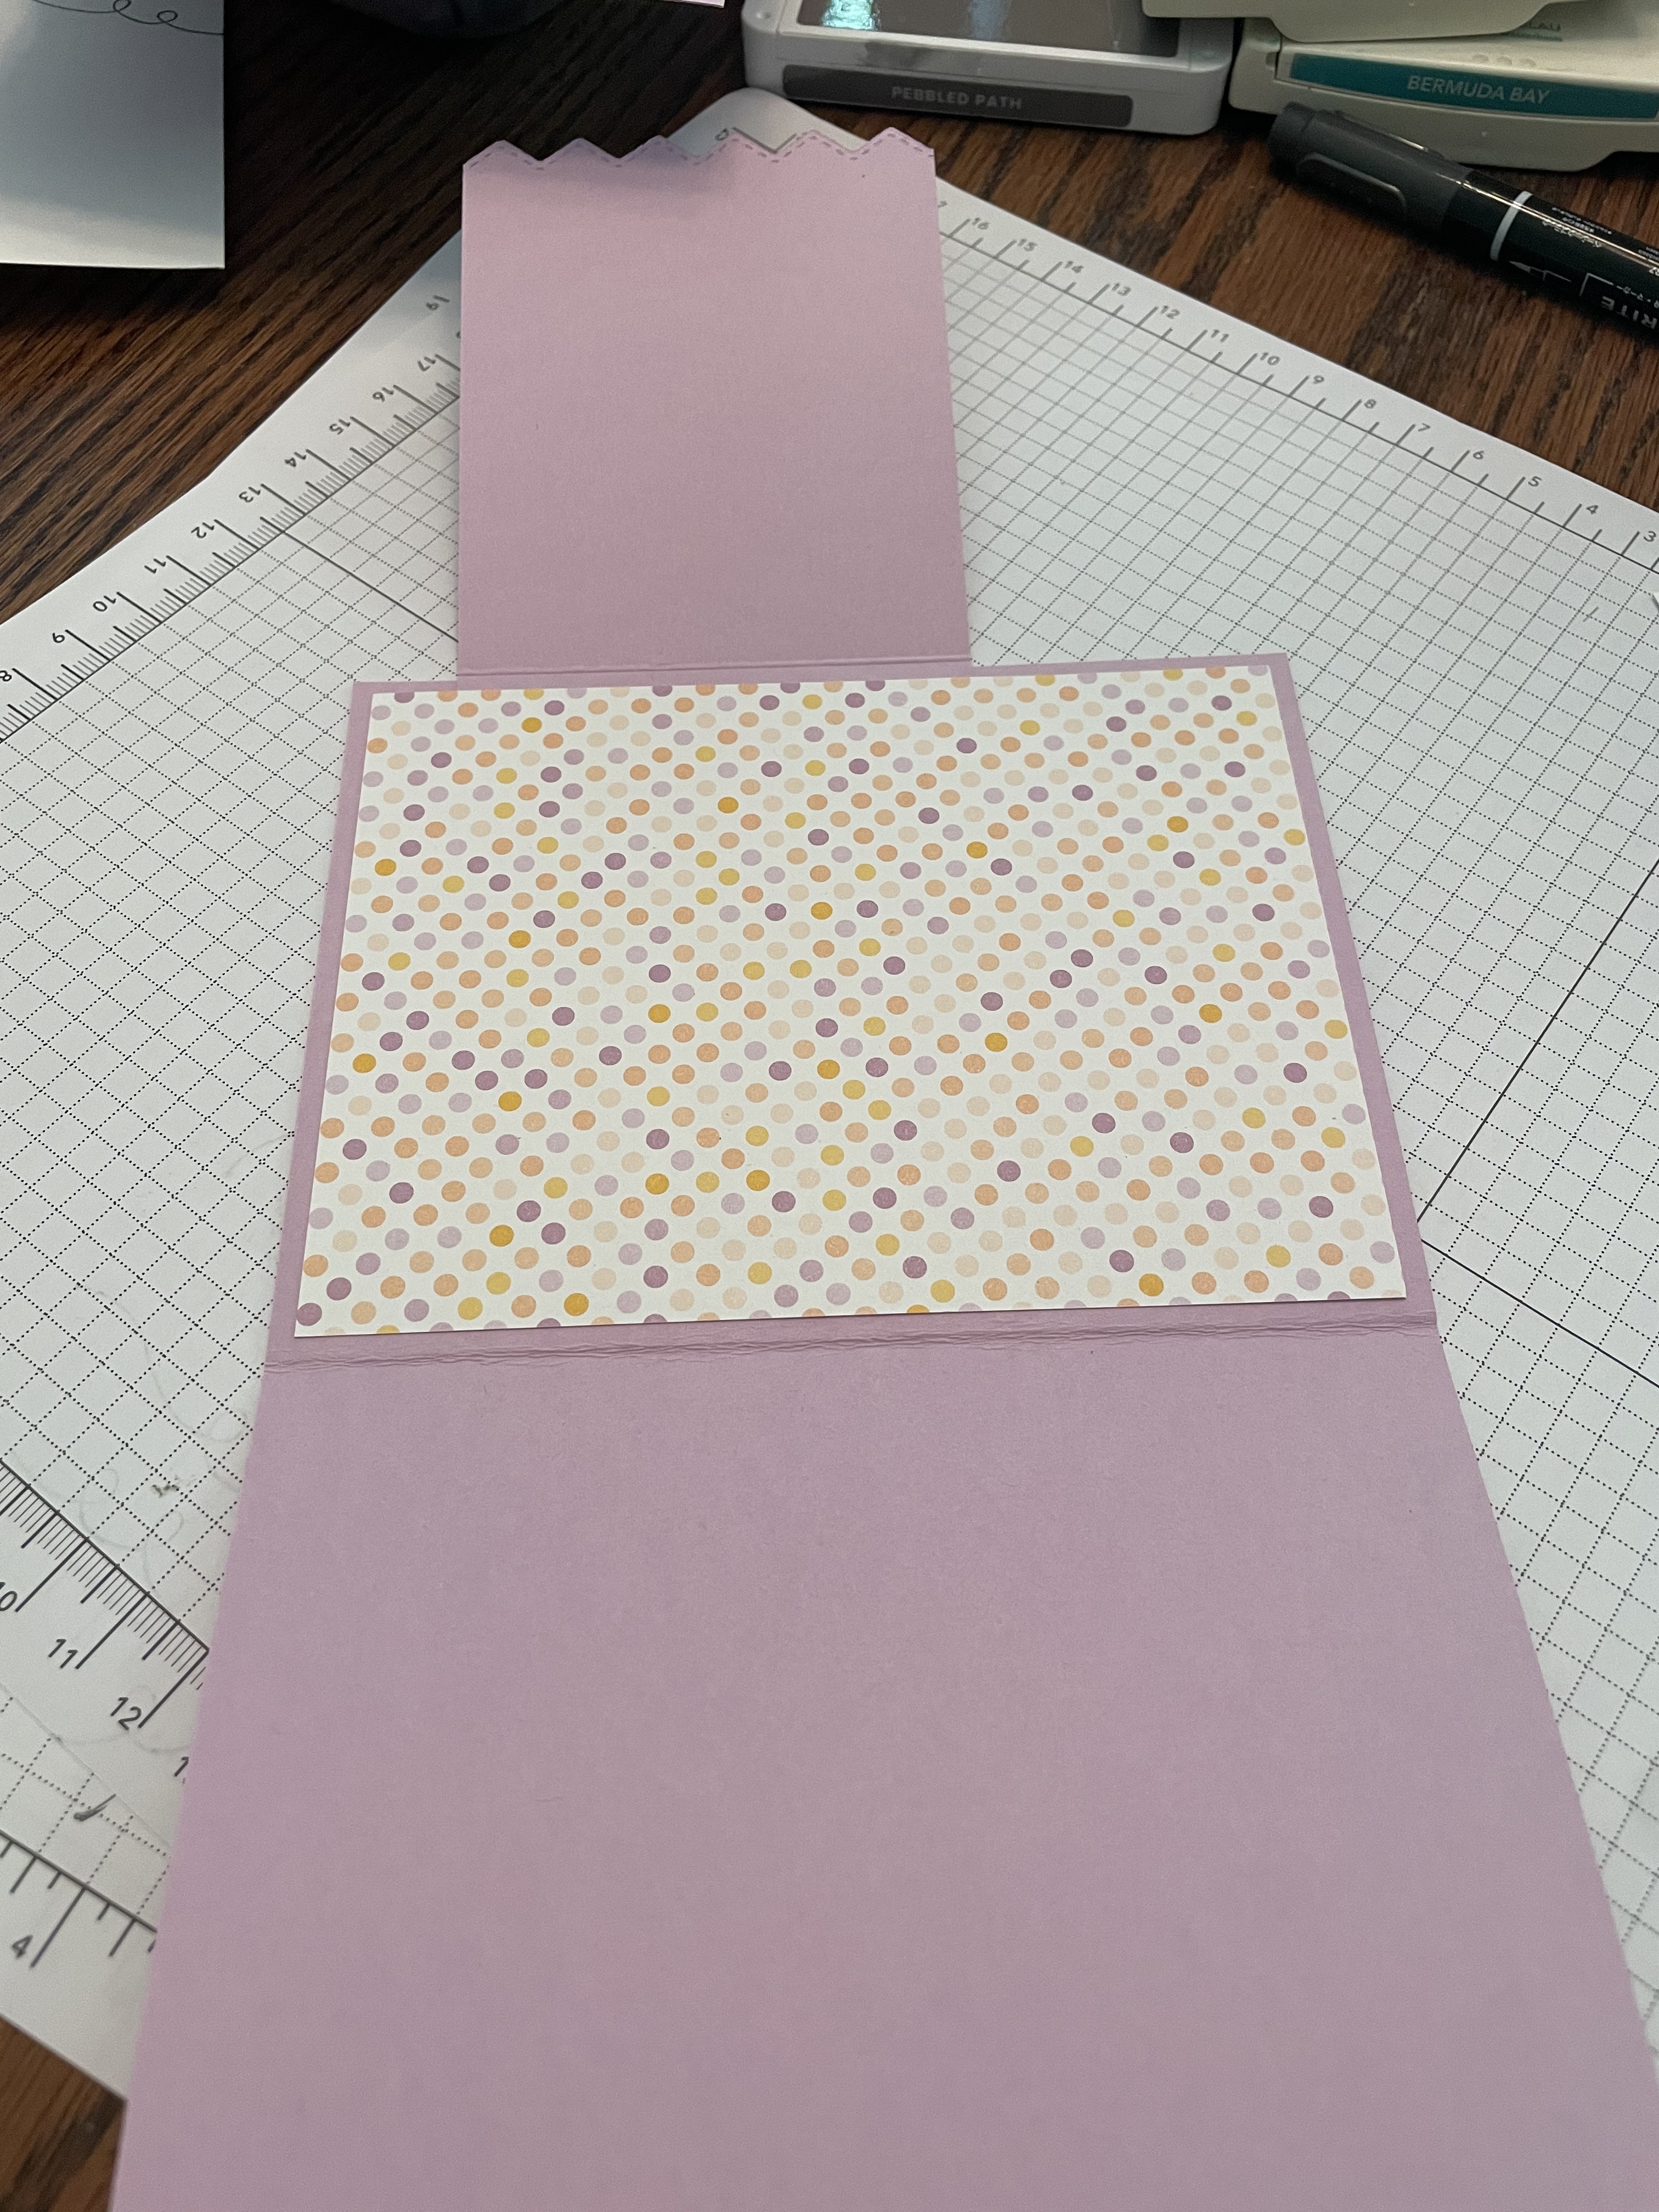
Score the trimmed piece of card stock 3 1/4 inches from the trimmed edge. Fold toward the back.

Add adhesive to the back flap as shown in the picture.

Fold the card base in half. Place the fold downward and slide the scored flap over the top edge of the card front only.

Holding in place, close the card pressing the adhesive section of the flap against the inside of the card back.

Glue one piece of DSP to the card front.
Glue the second one inside the card covering the edge of the flap.

Glue the white card stock inside the card opposite the DSP.

Glue the small white piece to the flap on the flap.
No comments:
Post a Comment