Monday, February 3, 2020

Pocket Cards Tutorial

These cards are an outer pocket of DSP with a piece of card stock inside.  I have done these in a couple sizes. The tutorial is for 5 1/2 x 4 1/4 so they fit in a medium envelope.


Cut a piece of DSP to 6 x 9 1/4.  Card stock for the insert should be 5 1/2 x 4.  


Score the DSP along the long edge at 2 3/4 and 7.  

 Scoring at 7 inches


Along the short edge at the bottom of the pocket (be sure to check that you are placing this score at the bottom if there is an up and down to the design.  


Here you can see the scoring.  Fold all in the same direction. 


Cut away the small rectangles on the left and right, leaving the center piece.  I angle the but a little to make it lay flatter.  


Test the folds by closing the rectangles on the left and right.  Lift the bottom flap up and make sure it lays flat.  If not, trim off a little bit more on the left and right side. 

Place adhesive on the right said on one edge and the wrong side on the opposite edge.   I like to use tear and stick


Saturday, January 19, 2019

Stacked Strips DSP card

An easy but cute way to use up DSP scraps. 

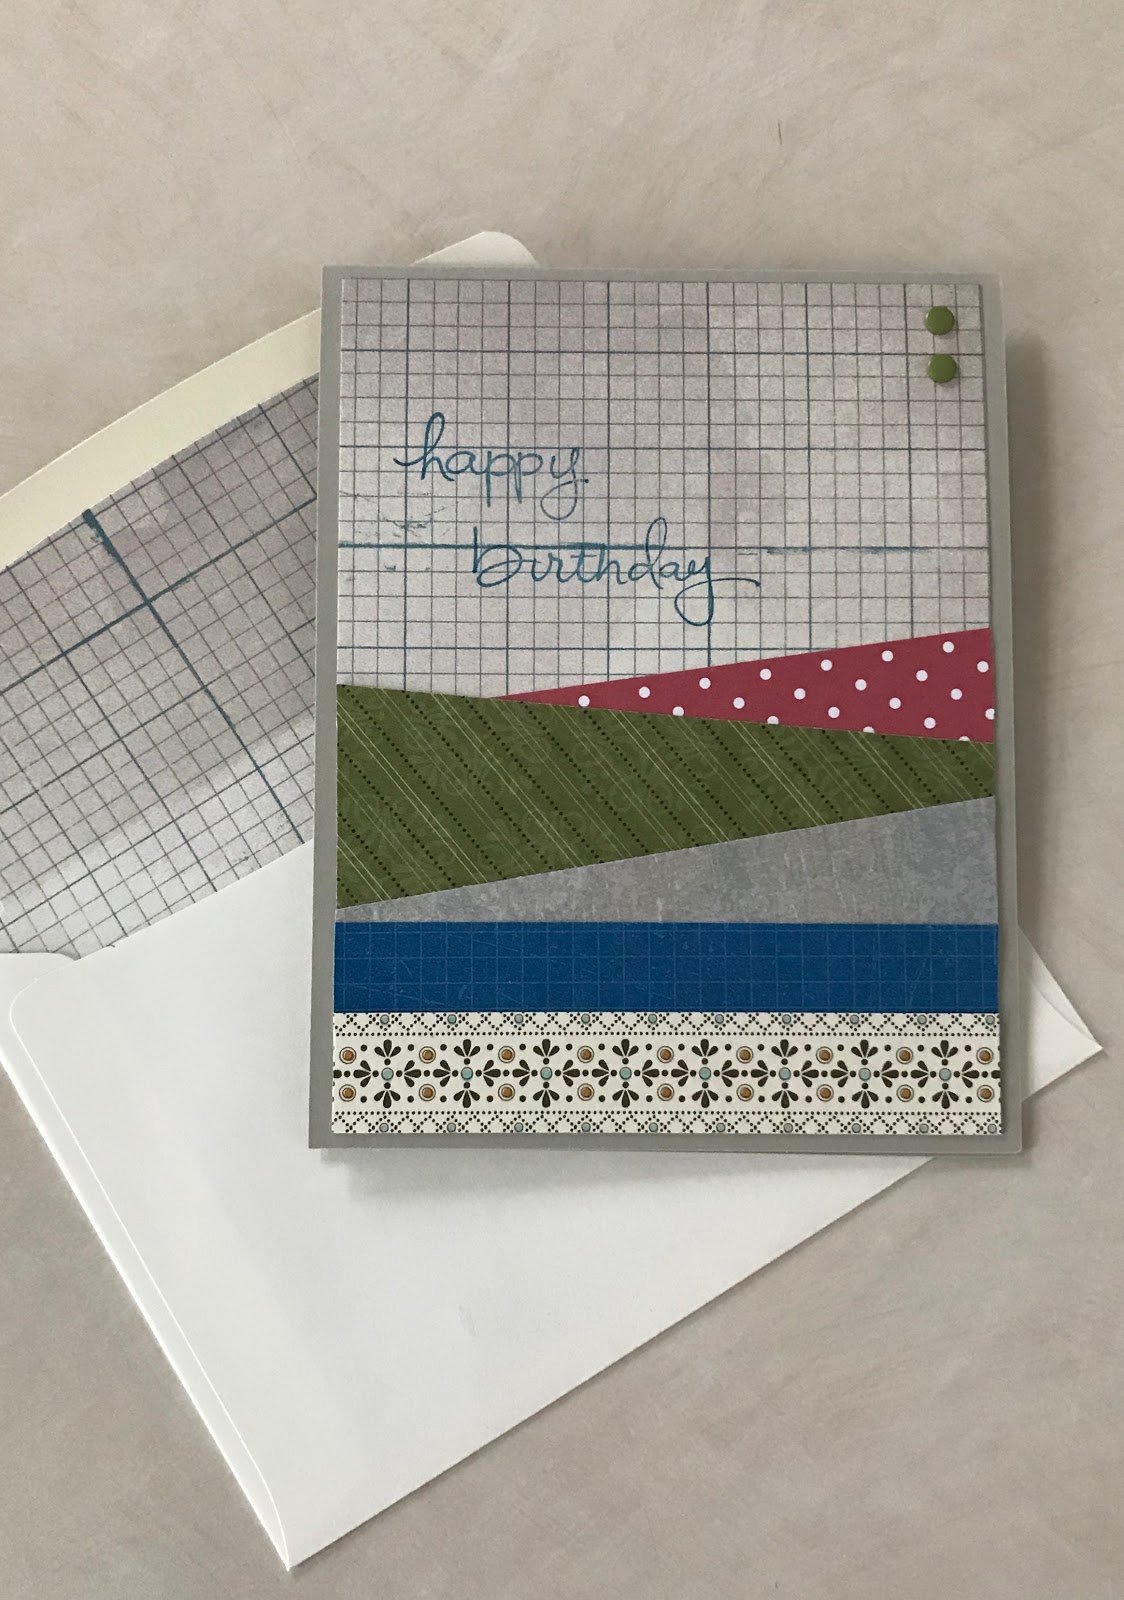
 Here is the finished card.  I will post some others at the end of the instructions just to see how different DSP strips can give it a different look.


You will need a card base and 5 strips of DSP.   I prefer the 4 1/4 x 11 strip as the base for this card.  The DSP strips should be at least 1 inch wide although you could use 3/4 or 1/2 inch for one depending on how you arrange them.  Notice the blue strip is short, it is not even 4 1/4 to span the card front.  By placing it as the top strip I can use it.


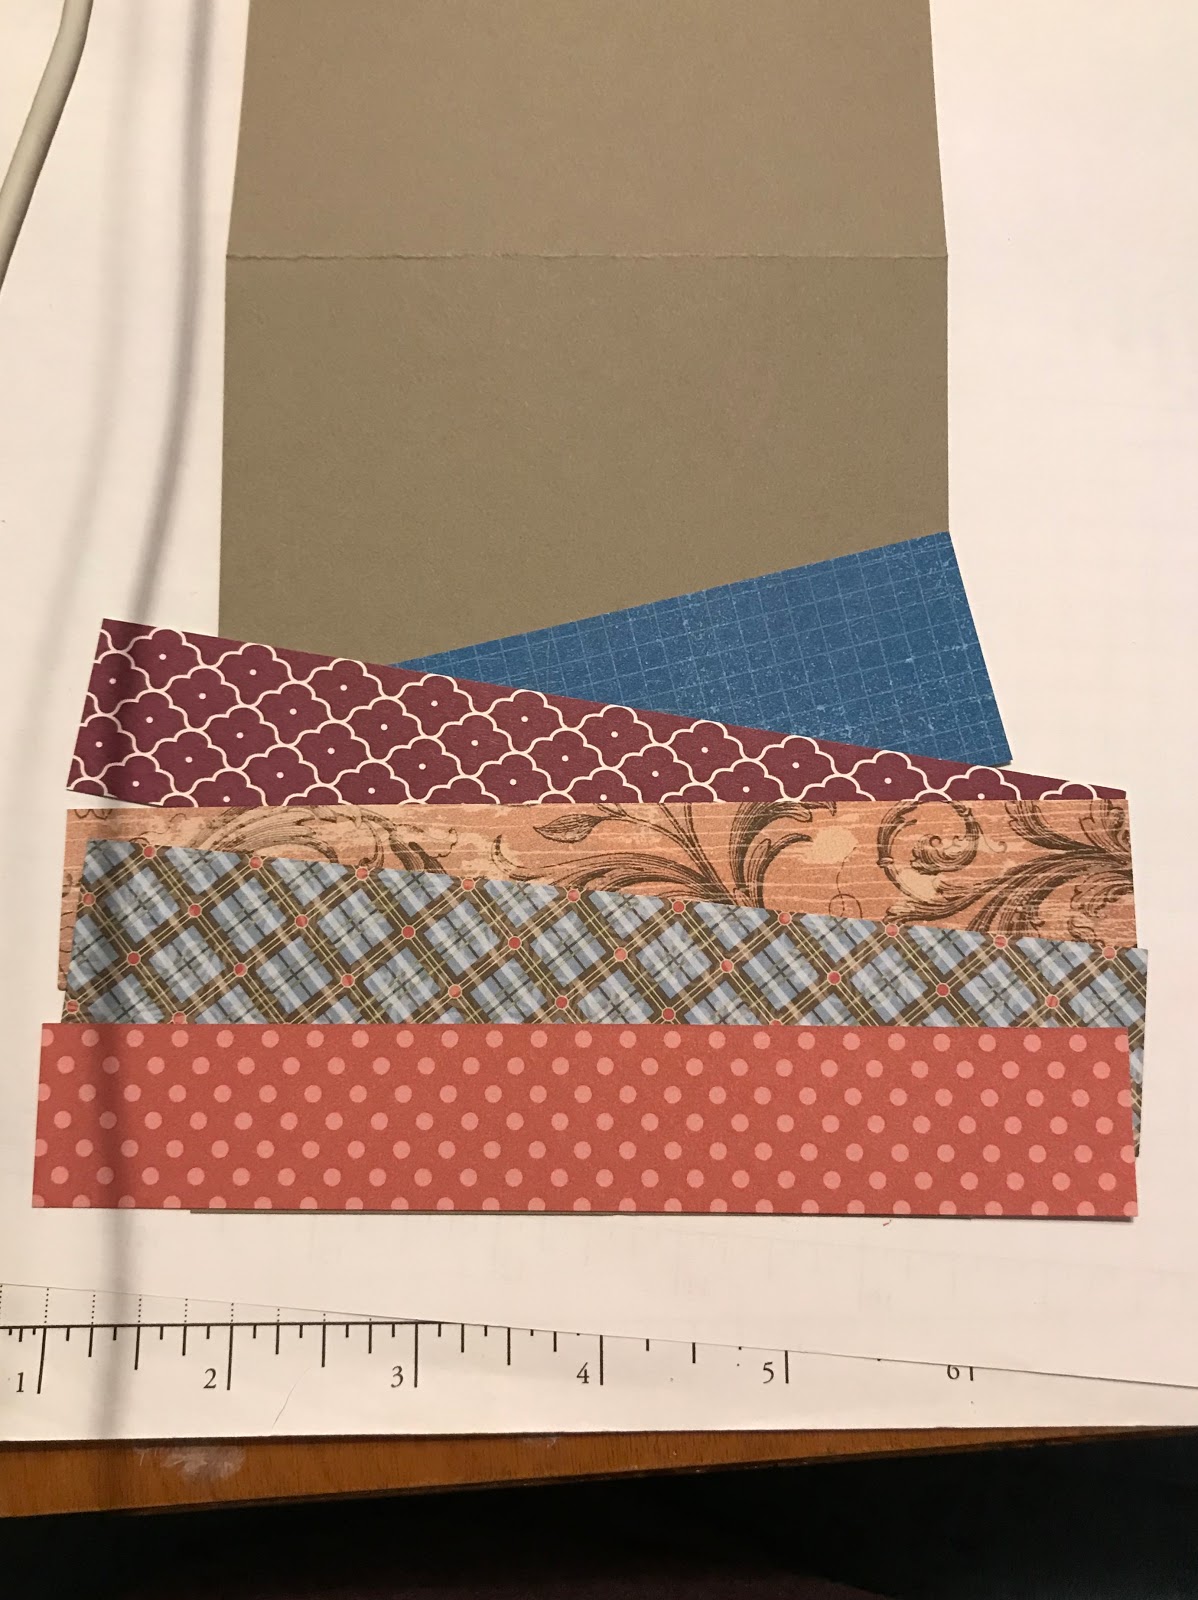
Place the first strip at least halfway up the card front. Angle it being sure the right hand edge extends past the card stock edge - don't worry if the left hand side is too short.

I lay out the strips without any adhesive first to get an idea how I want to arrange them.  Place the second strip.  Be sure to cover the upper left corner of the first strip and that both ends extend past the card stock edges.


Lay third strip,  Again you want to be sure it extends on both sides of the card stock base.   Visualize where the edges are and how much of the strips will be exposed. 

 Continue with the 4th and 5th strip.  Strip #5 will lay even with the bottom of the card stock.
Look over the strips and be sure they are arranged in the order you want and that you like them all together- if not, try some other colors or patterns.  I try to use a variety of patterns/designs as well as make sure the same colors are not next to each other.  For this card, 2 of the strips are primarily blue so I made sure there were not side by side. 
Now that you are settled on the strips and arrangement, remove them and repeat the layering using adhesive to secure the strips. 

 Once you have all 5 strips adhered, turn the card over to expose the excess DSP on the sides.  Using the card stock as a guide for the scissor blade, trim off the DSP. 

 Your card front is done.  Add a sentiment, ribbon, embellishments, or whatever you want to make it your own unique design. 

 I used a script sentiment and a couple buttons.   Each card is different and special.

Here are a group I made.  I love seeing how the different papers look together.  Some are patterns I would never think to put together but when all put together I really liked them.

This is a slight variation.  I layered the strips of DSP on a separate piece of DSP cut to 5 1/4 x 4 inches.  Then I adhered the larger piece of DSP to the card front. 

Hope you like this design.  Let me know if you try it. 

Thursday, September 6, 2018

Autumn Leaves Thanksgiving card


Supplies -
Very Vanilla card stock - 5 1/8 x 3 7/8 inches plus scraps
Baked Brown Sugar card stock - 5 1/4 x 4 inches
Delightful Dijon card stock - 4 1/4 x 11 inches folded in half to make a 4 1/4 x 5 1/2 inch card base
Cajun Craze card stock - small scrap
Ink pads - Baked Brown Sugar, Delightful Dijon, Cajun Craze, Tangerine Tango
Stamp set and punches of your choice to create the mat and sentiiment

Stamp leaf images and some random splatters over the Very Vanilla card stock. 
Layer the Very Vanilla on the Baked Brown Sugar on the Delightful Dijon.
Mat the sentiment using the Cajun Craze card stock.  Adhere to the card front with dimensionals.

Envelope- add some leaves and splatters to the envelope front to match the card.

Jigsaw Card - Fundraiser kit #1


DSP  3 1/4 x 4 1/4 - try to pick a design that will be make a little puzzle when cut apart.
Additional DSP to to cover the envelope flap if desired.  Will depend on the style of envelope you have.
Coordinated card stock - 1 rectangle 5 1/4 x 4 inches
                                         4 rectangles 2 1/4 x 2 3/4 inches
Neutral card stock (White) - 1 rectangle 5 x 3 3/4 inches
                                          1 card base 8 1/2 x 5 1/2 inches

Cut the DSP rectangle into 4 equal pieces by cutting along the long said at 2 1/8 then cut each 1 5/8
Arrange to match up the design and decide which of the 4 pieces you will not use.  If the reverse design is subtle you may want to stamp the sentiment on that side like the Thank You card in the photo.  If not, you can just stamp the sentiment on the card front or a scrap of card stock,  If you stamp directly on the card front, you may want to do that before placing the other pieces so you don't smudge them with any excess ink on the stamp.

Adhere the DSP rectangles to the 4 small card stock rectangles and arrange them on the neutral rectangle to get an idea of the placement.  Make sure your design matches up on the edges - hence the 'puzzle'.   When you have them set, adhere them one at a time leaving the others laying there to help with placement.

If you are using the reverse of the DSP or another scrap of card stock for the sentiment, adhere it to the 4th small solid rectangle.  Adhere it to the front in the open area.

Layer the neutral rectangle on the colored rectangle and then on the card front.

For the envelope, adhere a piece of DSP to the exterior side of the envelope flap.  Trim off the excess DSP.


DSP strip card


A basic layout for DSP on a card.  So many beautiful DSP designs and colors, sometimes you just don't need much else. 


Strip of DSP at least 5 1/2 inches long and 2 inches wide (width can vary).  I like cutting the DSP in 2 inch strips and then cutting them in half so you wind up with 12 strips that are 2 x 6 inches. 
Coordinating card stock that is 2 1/4 inch wide and over 5 1/2 inches long. 
Scraps of the card stock and a neutral (white or ivory) for the greeting.


Layer the sentiment oval on the scalloped oval and add embellishments as desired.


Center the DSP strip over the card stock.  


Adhere the DSP strip to the card front.  

Place the sentiment on the card front without adhesive to figure out where you want to place it.


Once you decide, adhere with dimensionals. 


Trim off the excess from the DSP strip. An easy way is to turn the card front over and cut along the edge of the cardstock. 
With all the beautiful DSP that Stampin Up offers, you can make a wide variety of these cards. 

Wednesday, September 5, 2018

Spiced Cider gift folders

Spiced Cider gift folders

Each folder holds 2 pouches of spiced cider mix.
For each folder you will need the following Stampin Up products:
DSP (Designer Series Paper) cut to 8 inches x 11 inches.
Coordinating card stock  (I used Summer Starfruit) -  8 1/2 inches x 5 1/2 inches
Ribbon - I used a wide ribbon and cut about 24 inches for each folder.  I wanted
to make a nice big bow since the ribbon is wide.  A narrower ribbon might
not require as much. 

Decorative front - 
Card stock (chocolate chip) 3 pieces  -  2 that are 5 1/8 x 3 3/8 inches 
and one that is 3 7/8  x 2 5/8 inches
DSP - 5 x 3 3/4 inches
Card stock (very vanilla) with stamped images - 3 3/4 x 2 1/2 inches


DSP 8 x 11 - Score along the long side at 5 1/4 and 10 1/2 on the wrong side of the paper.
Fold on the score lines so that the 1/2 inch flap overlaps the other end of the DSP.


Turn and score along the folded side at 3 3/4 and 4 1/4 inches.


Using a circle punch, cut out a half circle on the sides that are not folded. 

 Punch through 2 layers first, then line up with the opposite side and 
punch through the other 2 layers. 


Put sticky strip (or other strong double sided tape) along the 1/2 inch flap on the wrong side. 


Fold up so the 1/2 inch flap is over the opposite edge of the paper.  Adhere by removing the protective red strip on the sticky strip. 


Score the 8 1/2 x 5 1/2 inch piece of card stock at  4 and 4 1/2 inches along the long side. 


Place sticky strip down the spine of the DSP insert.  Be sure you have the sticky strip on the side that has the 1/2 inch overlap so that is hidden when you put the folder together. 


Remove the protective covering and adhere the DSP onto the card stock matching the 1/2 spines.  Center the DSP between the two edges of the card stock - should have about 1/4 inch extending on each side.  


You should now have 2 sleeves or pouches formed by the DSP inside the cardstock cover.


Attach one ribbon to the outside front cover.  Be sure to place the tape far enough from the edge that the 5 1/8 x 3 7/8 chocolate chip card stock will cover it. 
Once the ribbon is placed on the front of the folder, line up the other ribbon on the back to match the front and tape it as well. 


For the back, take one of the larger chocolate chip rectangles and add adhesive to the edges.  I used sticky strip along the one long side that will go over the ribbon to make it stronger.
The other edges have snail adhesive. 
Center on the back, covering the end of the ribbon and the tape used to attach it. 


For the front,  layer the pieces then adhere the adhere to the front in the same way the piece was added to the back.


Place a pouch of spiced apple cider mix inside the pouches and tie the ribbon to close it up. 


I made these for some friends - I thought they turned out really cute!   


Monday, September 3, 2018

Awesomely Epic kit instructions


Adhere DSP along the left edge of the card front.  It will extend a little
A simple way to trim off the excess DSP is to turn the card over and cut using the card bases cardstock as your guide. 


Perfect!


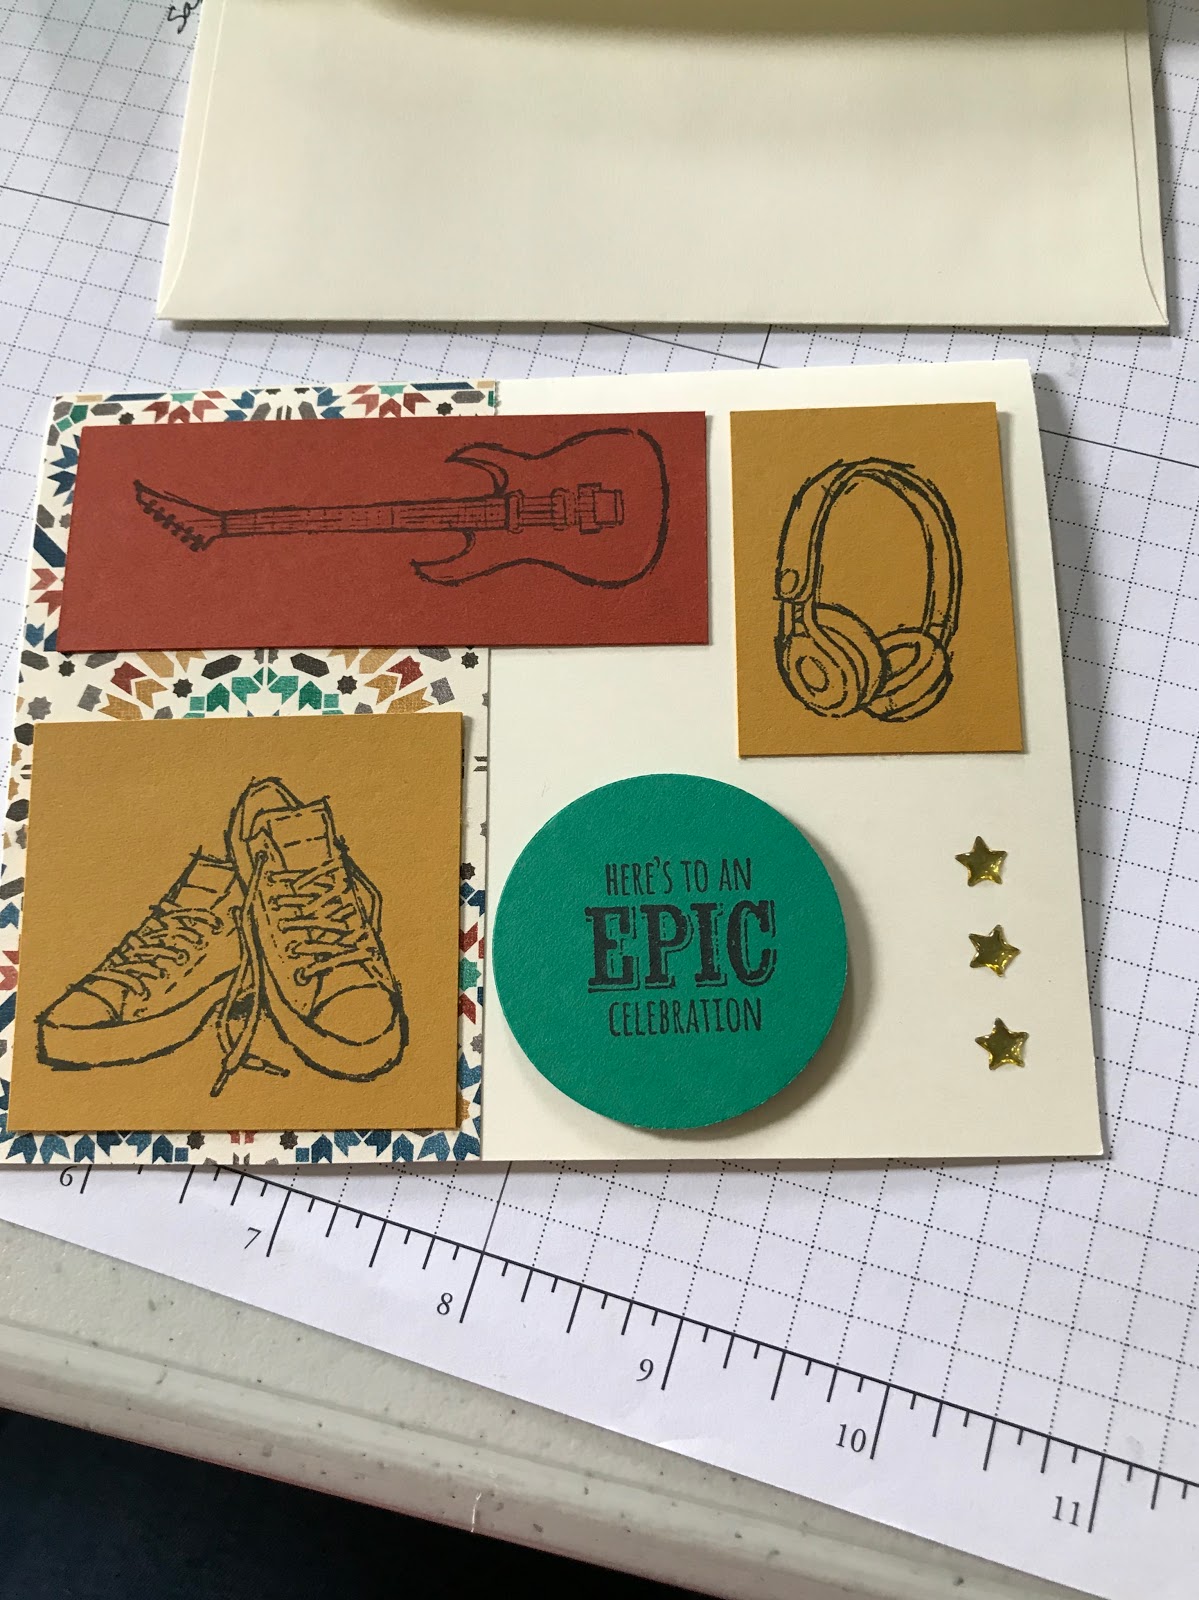
Arrange the stamped pieces on the card front to determine the layout you want to use. 


Adhere the pieces and add the star embellishments as desired. 


Add some glue to the envelope flap. 


Place the longer strip of DSP on the flag, lining it up against the fold for the flap.  

Turn it over and trim off the excess.