Wednesday, June 28, 2023

Custom card

 A friend requested an 80th birthday card for her first boss, the owner of the local chain ice cream restaurant.  

Here’s how I did it. 

I found these logos on Pinterest and printed a copy. 

Using a lightweight card stock I made 2 copies of the current logo. 

From one copy I cut the red background.  From the other copy I cut the orange and blue accents. 

I placed a little bit of adhesive behind the red background piece. 

The glue held it in place on a piece of red card stock while I cut out the shape. 

So now I have a solid red background and the blue and orange accents. 

Now I placed the red background on top of the original copy I printed from Pinterest.  If you want you could put a little bit of adhesive on the back to held it steady. 

I added adhesive to the pointed ends if the accent pieces and using the printed image placed them in place. 
Now - to add the numbers. 

I cut a small piece of adhesive paper. 
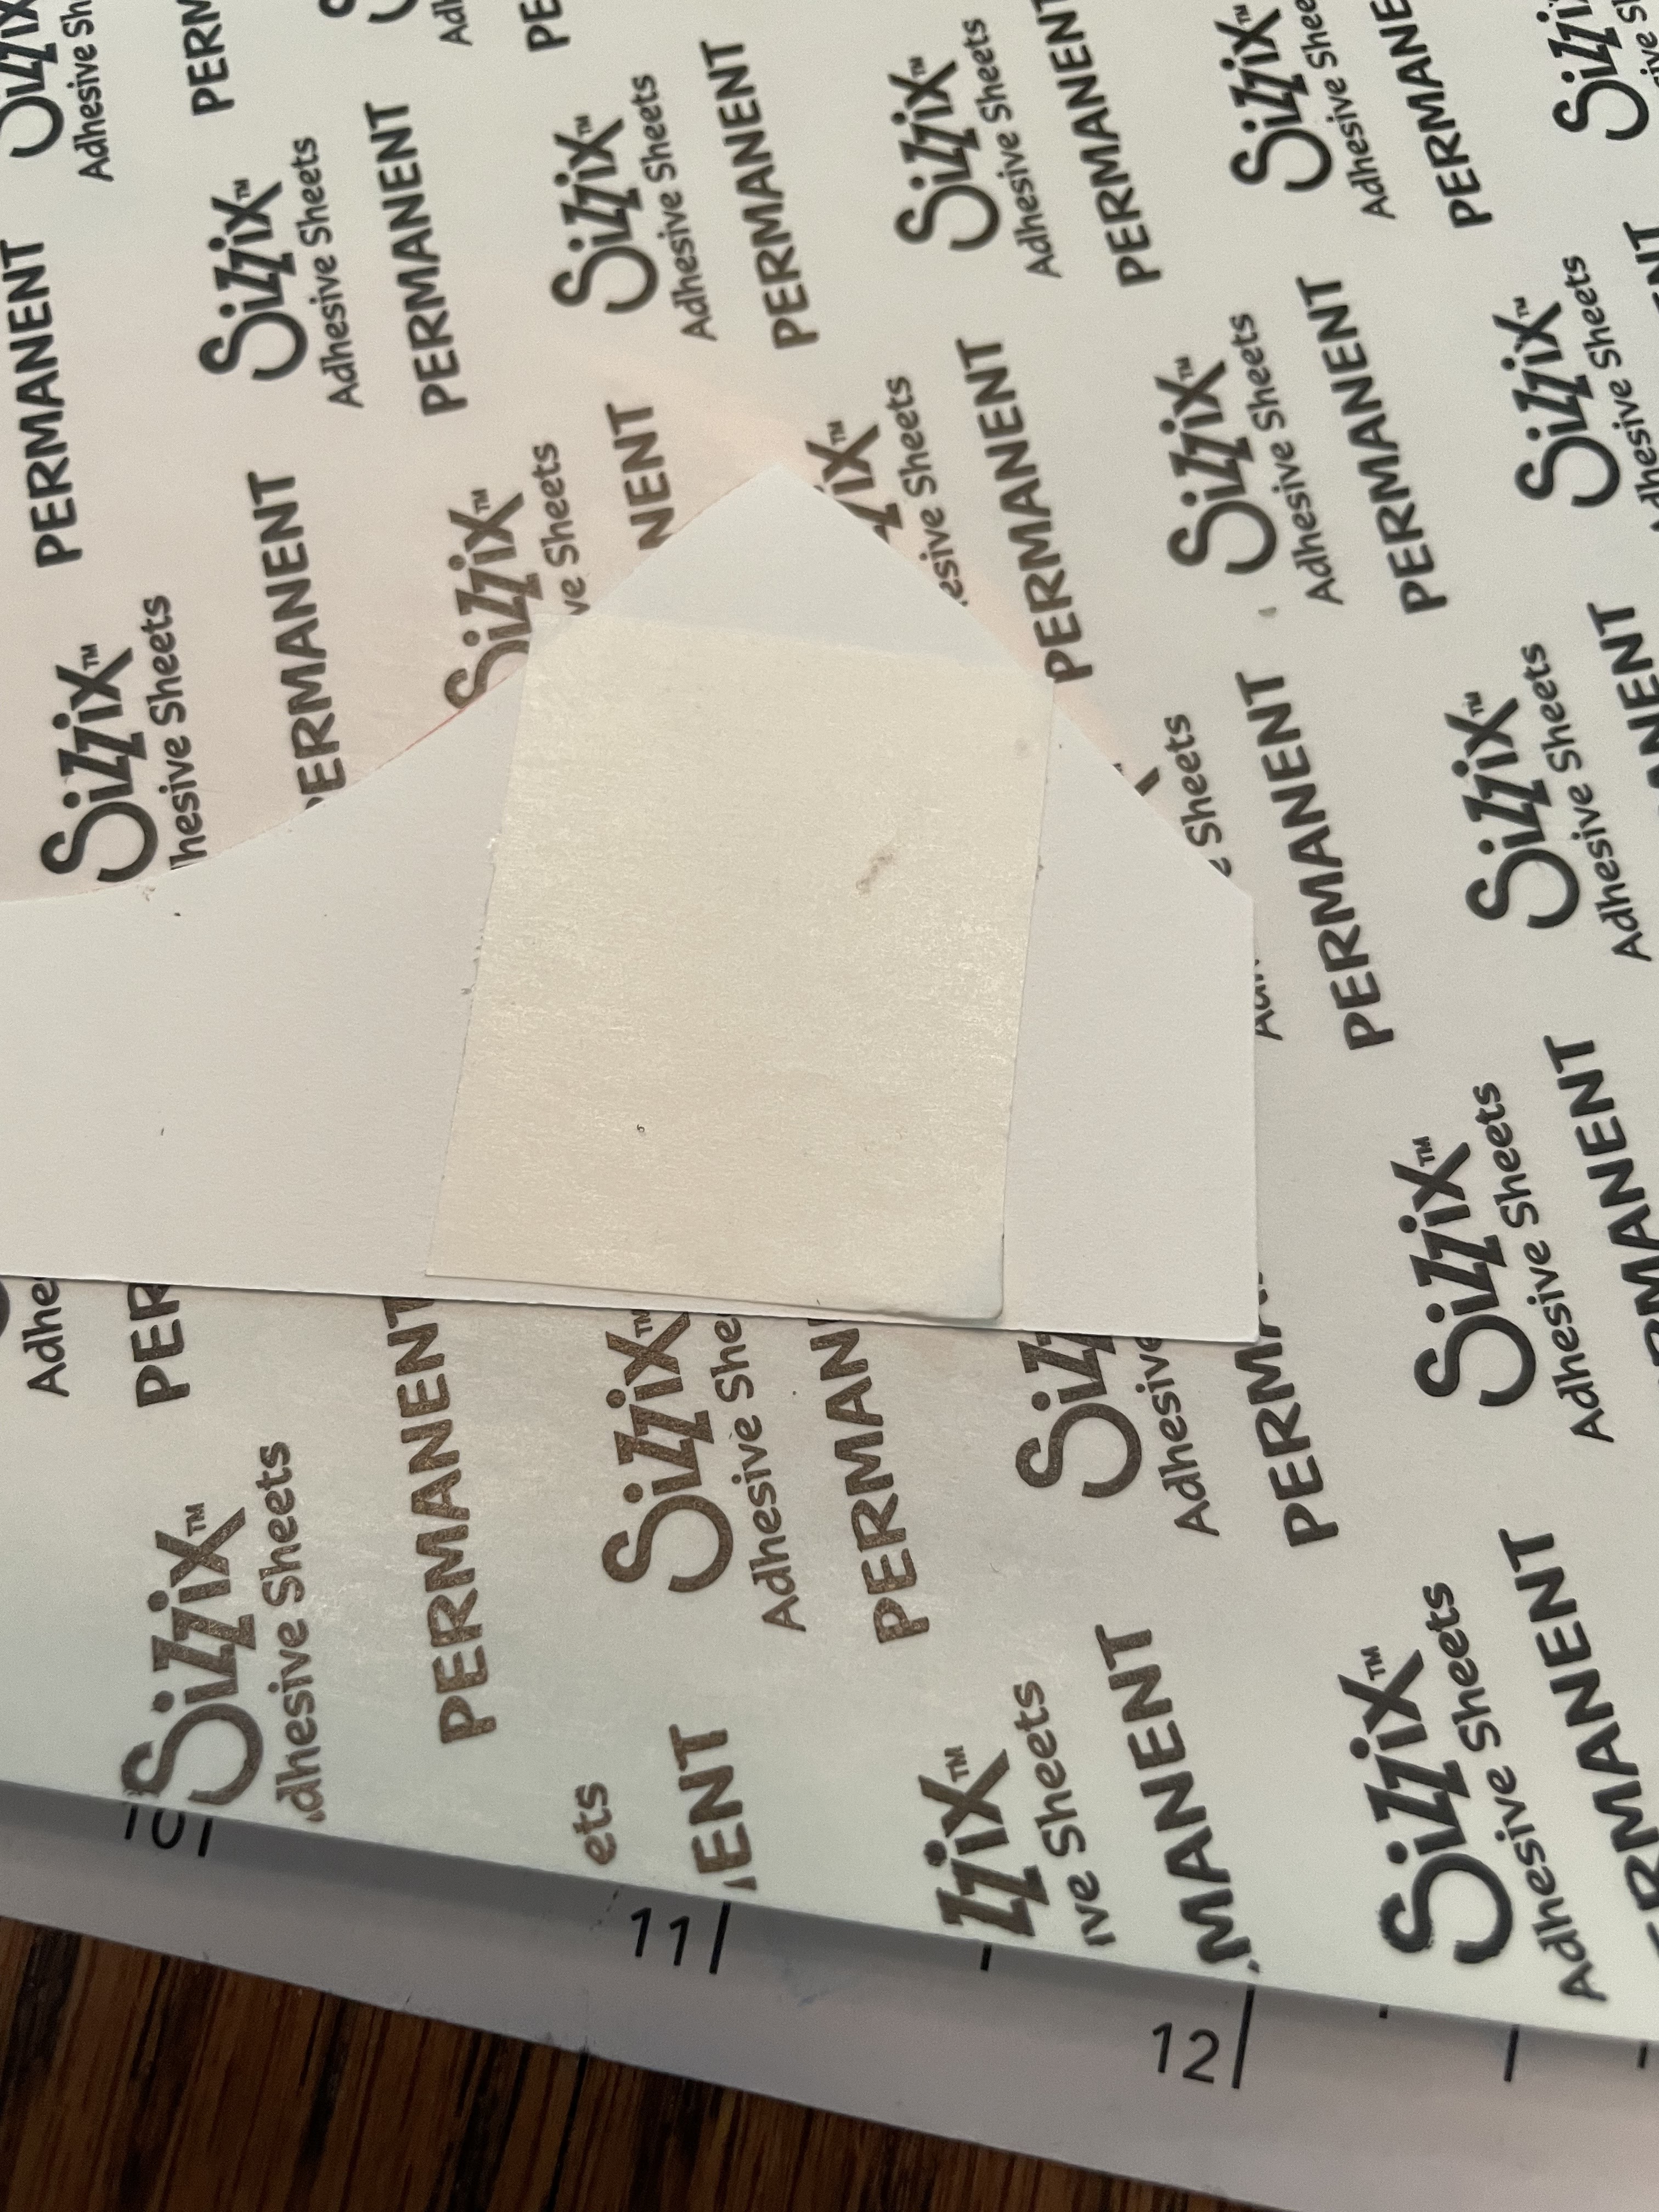
Removed the protective film from one side and then placed it in a scrap of white card stock. 

A small piece but enough to get everything I needed. 
The ‘TH’ is one die but the letters come out separately and it’s very hard to place these tiny, sticky pieces so I came up with a trick. 

I removed the protective film from around the letters.  The film is still on the letters. 

So I removed it using a piercing tool. 

At this point it is just the white card stock that is still in the die. 

I flipped it over and placed it where I wanted on the red background (it’s little bit crooked but this was all scrap card stock used to re-enact my process). 

Using the piercing tool again I poked gently through the holes.  

Then I lifted off the due and the letters remained on the card stock, perfectly spaced. 
You may notice little dots on the letters which is from the holes in the die.  If you want to minimize them, you can run it through the die cut machine sandwiched between pieces of card stock. 

And this was my finished card. I think it turned out great and I’m sure the recipient will love it.  


Friday, January 27, 2023

Sloth altered image


 I wanted to use the sloth from Back on Your Feet but didn’t want the bandage on his leg. So I did a little magic with the stamparatus, post it notes, clear acetate film and my printer/copier. 

I stamped the image on a post-it (could use regular paper since I didn’t use the sticky part ). I cut out the bandaged leg so I could mask it when I stamped my image. I stamped the image using my stamparatus on the platform itself   Then I placed the bandaged leg mask over the image - just taping it at the far edge for now. 

Leaving the mask attached I slid my paper under the mask    


Then I stamped the image  the mask would prevent the bandage leg from stamping on the paper  


Remove the mask and your image is missing a leg. 


Put the paper aside.   Stamp the image on a piece of acetate sheet.  If you don’t have this you can use the acetate film that comes on the photopolymer stamps.  If is easily washed clean afterwards.


This is stamped on a piece of acetate but it’s hard to tell.  After stamping you have to be very careful to NOT move the acetate in the next step.  


Without moving the acetate, slide the stamped image on the paper under the acetate and line up the rear unbandaged leg on the acetate fills in the gap.  


Without moving the stamp clean it well and carefully just ink up the rear unbandaged leg.  Carefully remove the acetate sheet without moving the stamped image on your paper.  


Stamp the leg on your image.  Mine did not exactly match up but I was able to use the basic black marker fine top end and fill in the outline of the leg.  


Using my printer/copier I copied the completed image several time on plain white paper. (I will be saving this in my binder for future use since my 3 year old granddaughter loves her stuffed slothy. ). 
I then copied it on Sahara Sand card stock so I did not have to color the whole image.  I used Cinnamon Cider and Mossy Meadow Stampin Blends to color the branch and leaves. 
The sentiments I used are from the Love Cats stamp set. 


Monday, June 20, 2022

Three Panel DSP

 Three Panel DSP


Supplies

Card base cut 8 1/2 x 11 or 4 1/4 x 11 fold in half

DSP  3 1/2 x 1 7/8 (2),  3 7/8 x 1 1/2

Coordinating card stock 5 1/4 x 4

Ribbon

Scraps to coordinate 


Lay out the DSP on the card stock to be sure you know which piece goes where and decide which on arrangement.  Glue one of the 2 pieces that are 3 1/2 inches long in a corner as shown.  Use the corners to place evenly along both sides.  

Add the other 3 1/2 piece again matching up the corner  


Add the third piece using the corners to position. 


Decide where you want to place the ribbon.  

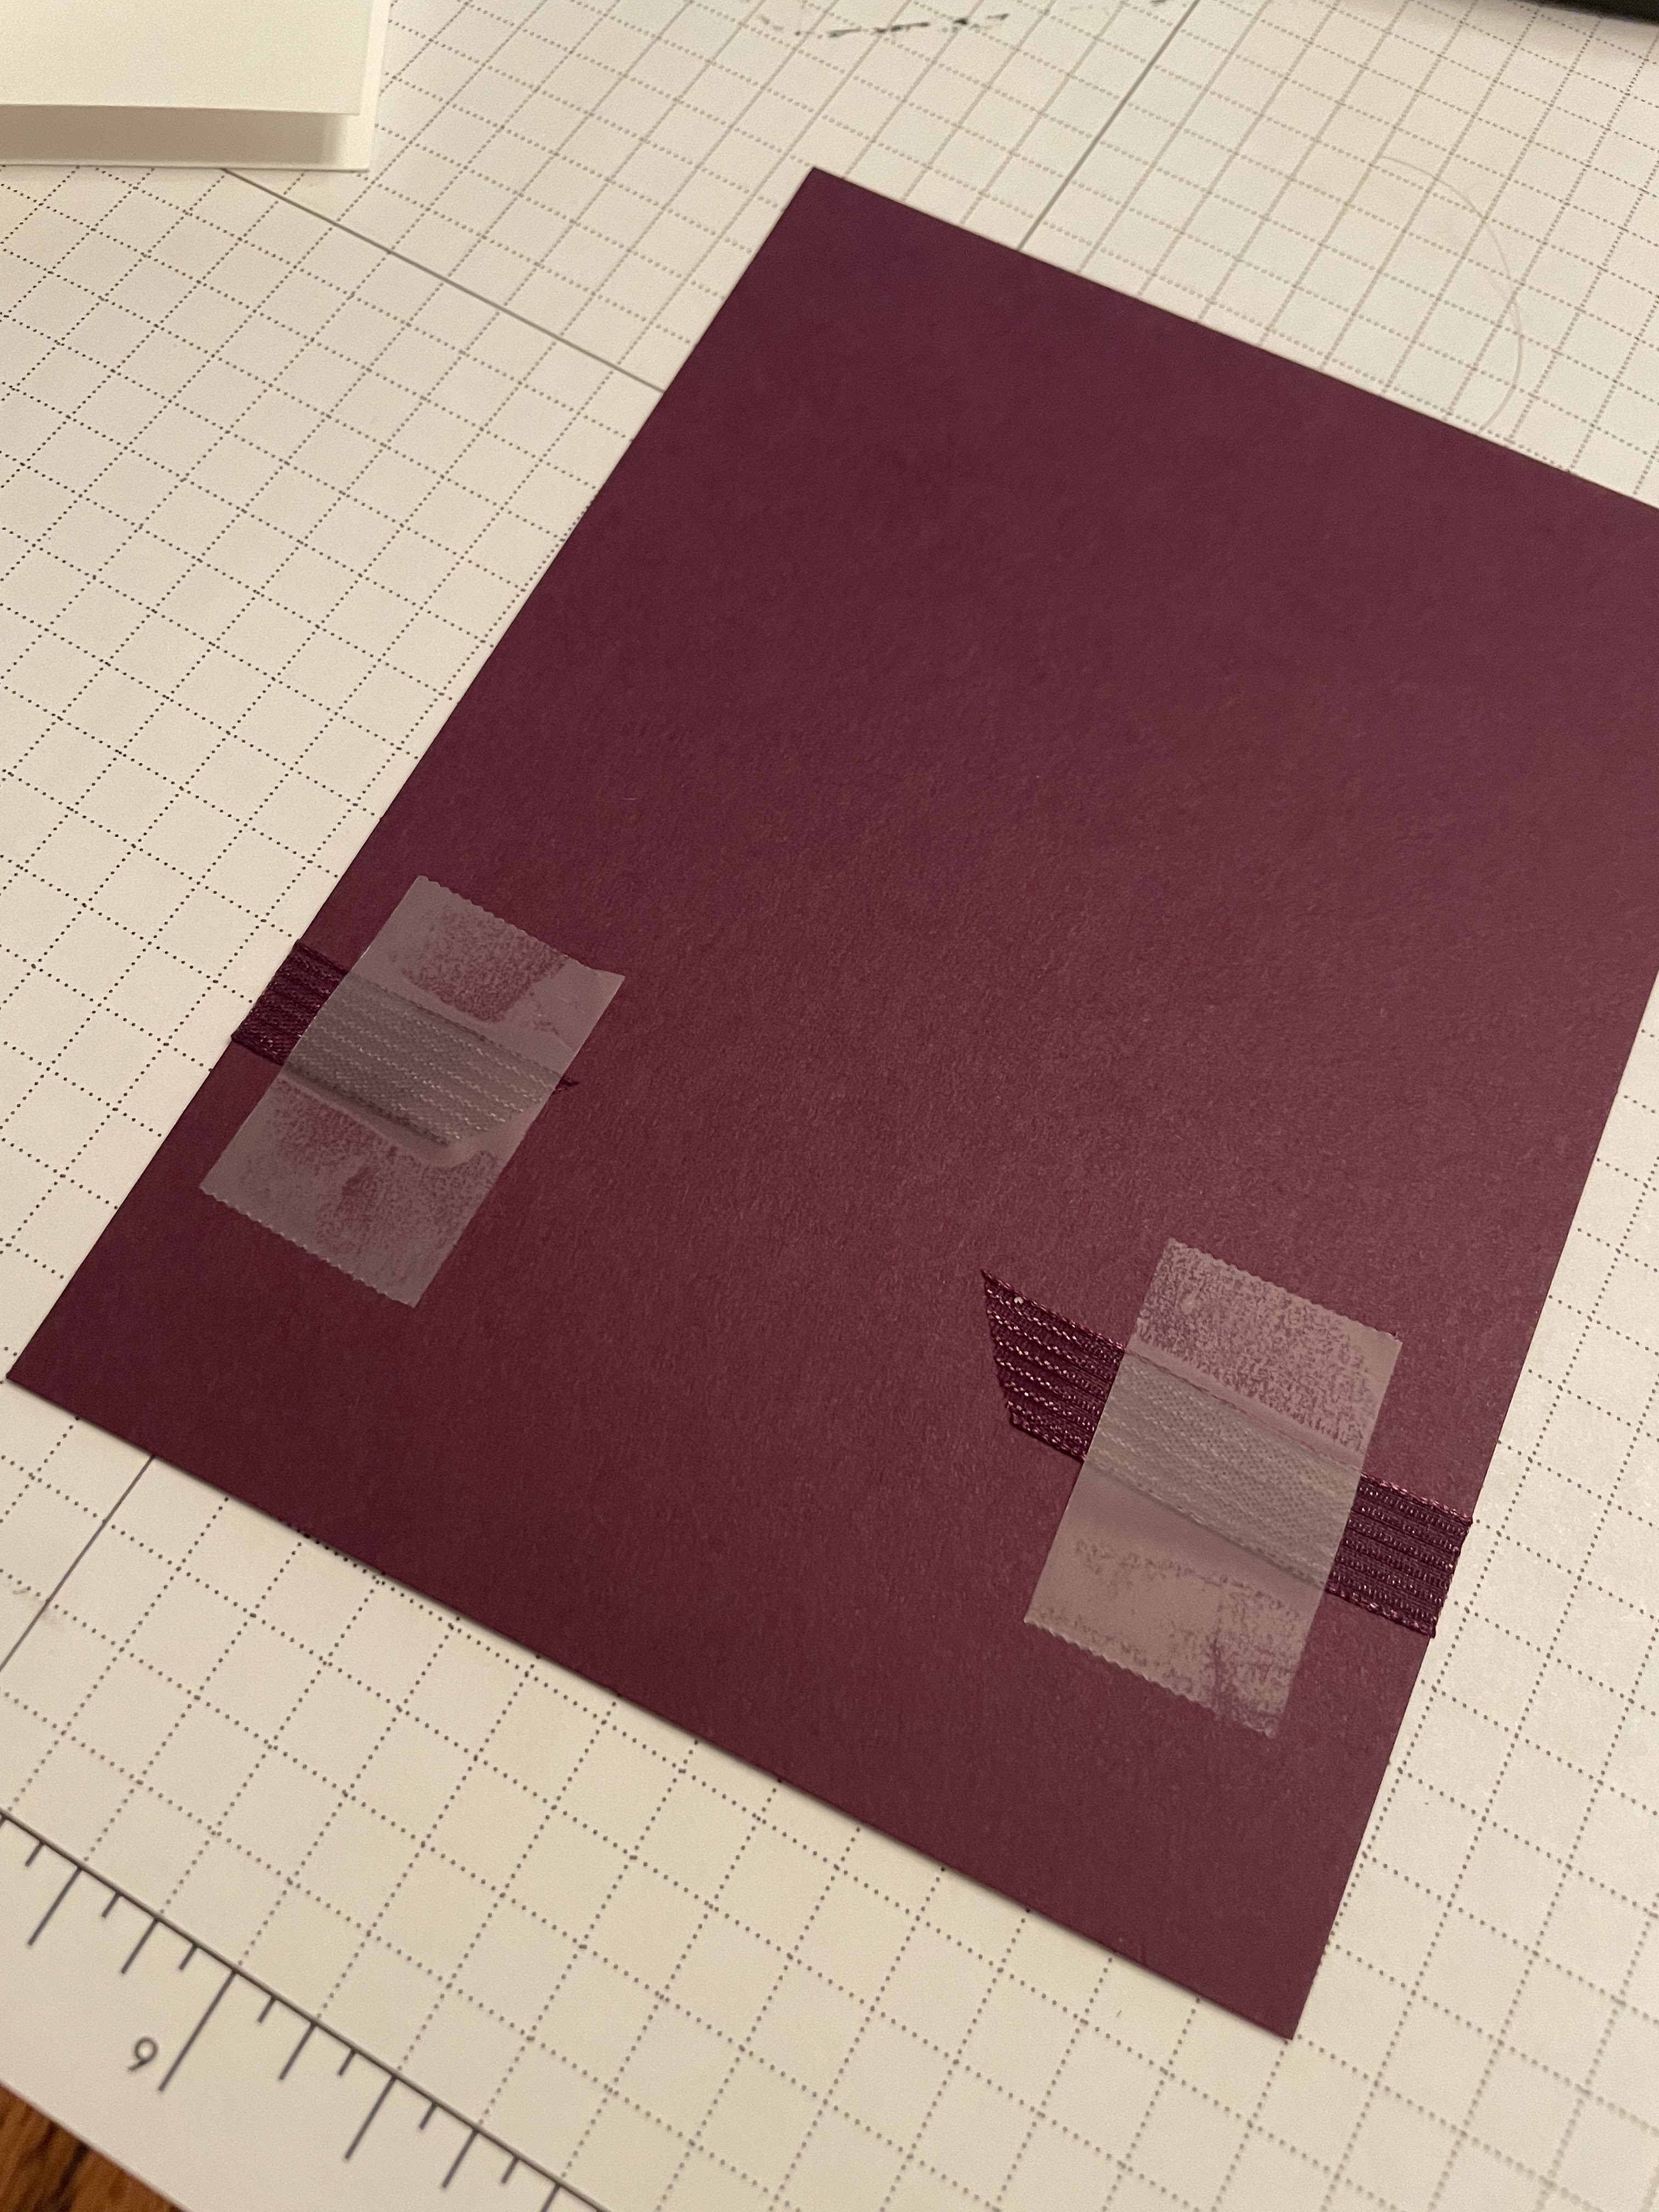
Wrap piece of ribbon around where desired and secure it using tape. 


Check placement on front. Adjust if necessary. 

Take a second piece of ribbon and place behind the attached ribbon and  tie loosely.  Adjust position to your liking then pull securely. 


Trim bow ends. 


Adhere to card front. 
Add sentiment using dimensionals. 


Split Front DSP


Split Front DSP


Supplies 

Card base 8 1/2 x 11 or 4 1/4 x 11 folded in half 

DSP 5 x 3 3/4  cut in half at about 2 inches from a short side  

Coordinating card stock 5 1/8 x 3 7/8

Coordinating ribbon and scraps 


Adhere larger piece of DSP using the corners to evenly spaced along the card stock edges  


Add second piece of DSP lining it up in the corners  it can overlap the first  


Fold ribbon back and forth and press against transparent tape to hold loops in place  


Place on back of sentiment and add dimensionals  


Trim ends of ribbon   Peel off protective paper from the foam pieces and place sentiment on card front  


Glue to card front  


Single panel DSP

 Single Panel DSP 


Supplies 

Card base cut 8 1/2 x 11 or 4 1/4 x 11  fold in half

DSP 3 5/8 x 4 7/8 

Coordinating card stock 3 3/4 x 5

Ribbon and scraps of card stock


Adhere DSP to card stock 5 x 3 3/4 


Wrap ribbon around and tape the ends on the back   


Add sentiment over the ribbon.