A friend requested an 80th birthday card for her first boss, the owner of the local chain ice cream restaurant.
Here’s how I did it.
I found these logos on Pinterest and printed a copy.
Using a lightweight card stock I made 2 copies of the current logo.
From one copy I cut the red background. From the other copy I cut the orange and blue accents.
I placed a little bit of adhesive behind the red background piece.
The glue held it in place on a piece of red card stock while I cut out the shape.
So now I have a solid red background and the blue and orange accents.
Now I placed the red background on top of the original copy I printed from Pinterest. If you want you could put a little bit of adhesive on the back to held it steady.
I added adhesive to the pointed ends if the accent pieces and using the printed image placed them in place.
Now - to add the numbers.
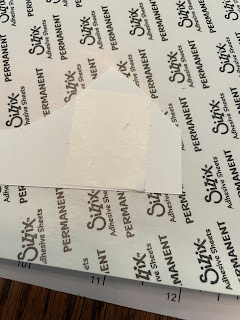
I cut a small piece of adhesive paper.
Removed the protective film from one side and then placed it in a scrap of white card stock.
A small piece but enough to get everything I needed.
The ‘TH’ is one die but the letters come out separately and it’s very hard to place these tiny, sticky pieces so I came up with a trick.
I removed the protective film from around the letters. The film is still on the letters.
So I removed it using a piercing tool.
At this point it is just the white card stock that is still in the die.
I flipped it over and placed it where I wanted on the red background (it’s little bit crooked but this was all scrap card stock used to re-enact my process).
Using the piercing tool again I poked gently through the holes.
Then I lifted off the due and the letters remained on the card stock, perfectly spaced.
You may notice little dots on the letters which is from the holes in the die. If you want to minimize them, you can run it through the die cut machine sandwiched between pieces of card stock.
And this was my finished card. I think it turned out great and I’m sure the recipient will love it.


No comments:
Post a Comment