Friday, January 27, 2023

Sloth altered image


 I wanted to use the sloth from Back on Your Feet but didn’t want the bandage on his leg. So I did a little magic with the stamparatus, post it notes, clear acetate film and my printer/copier. 

I stamped the image on a post-it (could use regular paper since I didn’t use the sticky part ). I cut out the bandaged leg so I could mask it when I stamped my image. I stamped the image using my stamparatus on the platform itself   Then I placed the bandaged leg mask over the image - just taping it at the far edge for now. 

Leaving the mask attached I slid my paper under the mask    


Then I stamped the image  the mask would prevent the bandage leg from stamping on the paper  


Remove the mask and your image is missing a leg. 


Put the paper aside.   Stamp the image on a piece of acetate sheet.  If you don’t have this you can use the acetate film that comes on the photopolymer stamps.  If is easily washed clean afterwards.


This is stamped on a piece of acetate but it’s hard to tell.  After stamping you have to be very careful to NOT move the acetate in the next step.  


Without moving the acetate, slide the stamped image on the paper under the acetate and line up the rear unbandaged leg on the acetate fills in the gap.  


Without moving the stamp clean it well and carefully just ink up the rear unbandaged leg.  Carefully remove the acetate sheet without moving the stamped image on your paper.  


Stamp the leg on your image.  Mine did not exactly match up but I was able to use the basic black marker fine top end and fill in the outline of the leg.  


Using my printer/copier I copied the completed image several time on plain white paper. (I will be saving this in my binder for future use since my 3 year old granddaughter loves her stuffed slothy. ). 
I then copied it on Sahara Sand card stock so I did not have to color the whole image.  I used Cinnamon Cider and Mossy Meadow Stampin Blends to color the branch and leaves. 
The sentiments I used are from the Love Cats stamp set. 


Monday, June 20, 2022

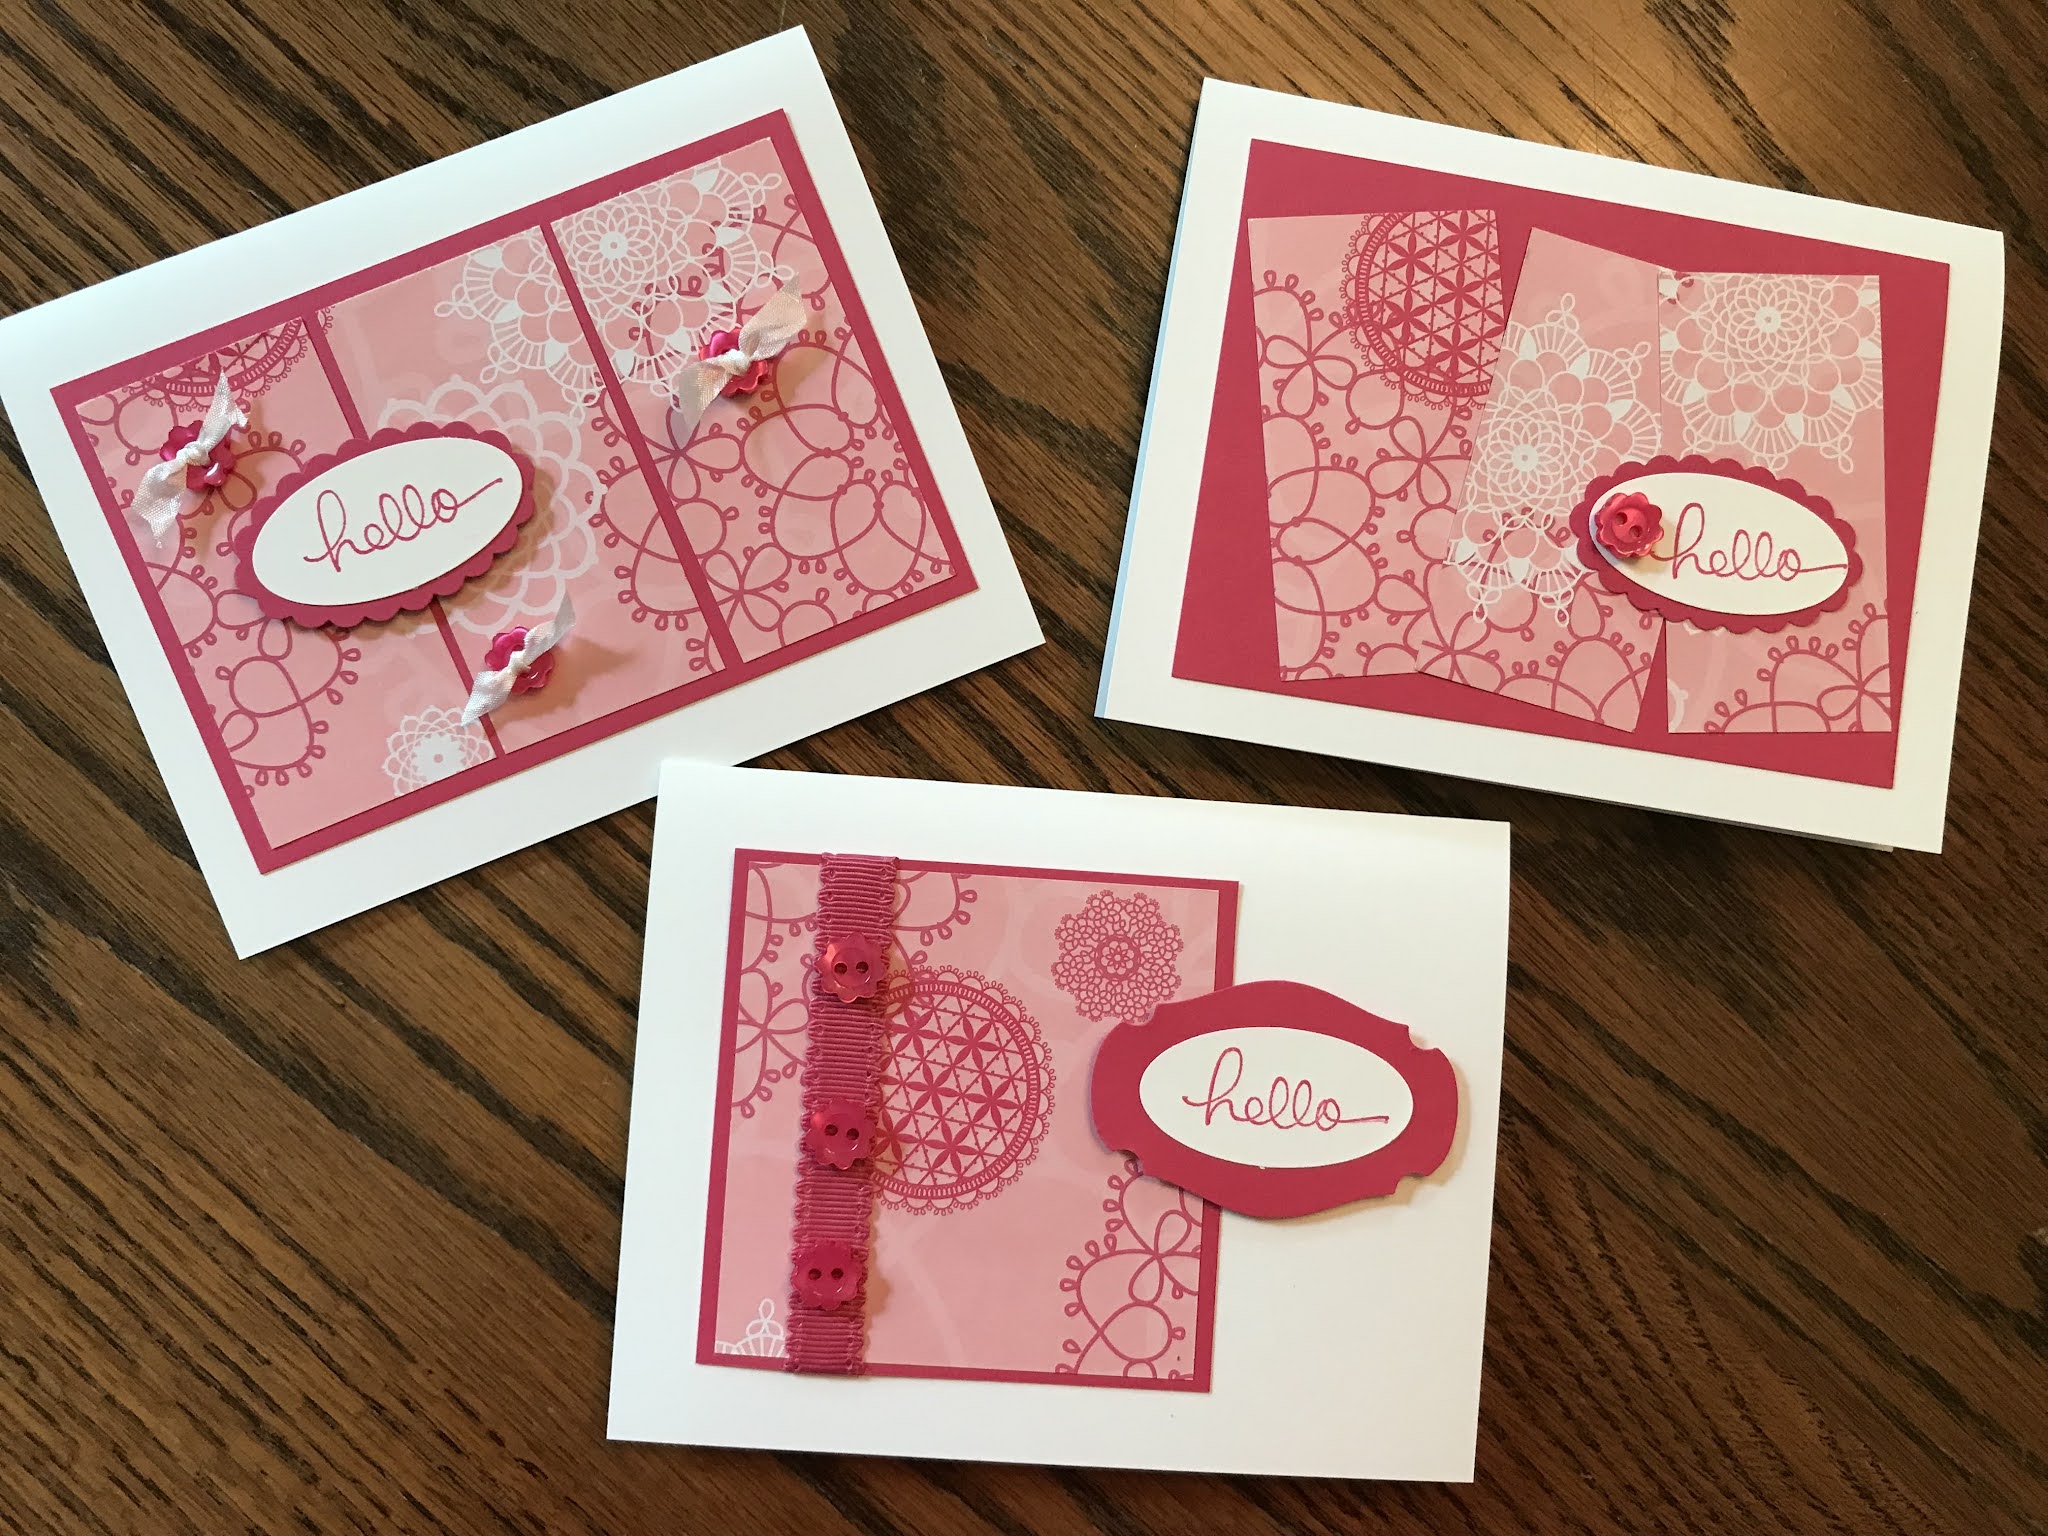
Three Panel DSP

 Three Panel DSP


Supplies

Card base cut 8 1/2 x 11 or 4 1/4 x 11 fold in half

DSP  3 1/2 x 1 7/8 (2),  3 7/8 x 1 1/2

Coordinating card stock 5 1/4 x 4

Ribbon

Scraps to coordinate 


Lay out the DSP on the card stock to be sure you know which piece goes where and decide which on arrangement.  Glue one of the 2 pieces that are 3 1/2 inches long in a corner as shown.  Use the corners to place evenly along both sides.  

Add the other 3 1/2 piece again matching up the corner  


Add the third piece using the corners to position. 


Decide where you want to place the ribbon.  

Wrap piece of ribbon around where desired and secure it using tape. 


Check placement on front. Adjust if necessary. 

Take a second piece of ribbon and place behind the attached ribbon and  tie loosely.  Adjust position to your liking then pull securely. 


Trim bow ends. 


Adhere to card front. 
Add sentiment using dimensionals. 


Split Front DSP


Split Front DSP


Supplies 

Card base 8 1/2 x 11 or 4 1/4 x 11 folded in half 

DSP 5 x 3 3/4  cut in half at about 2 inches from a short side  

Coordinating card stock 5 1/8 x 3 7/8

Coordinating ribbon and scraps 


Adhere larger piece of DSP using the corners to evenly spaced along the card stock edges  


Add second piece of DSP lining it up in the corners  it can overlap the first  


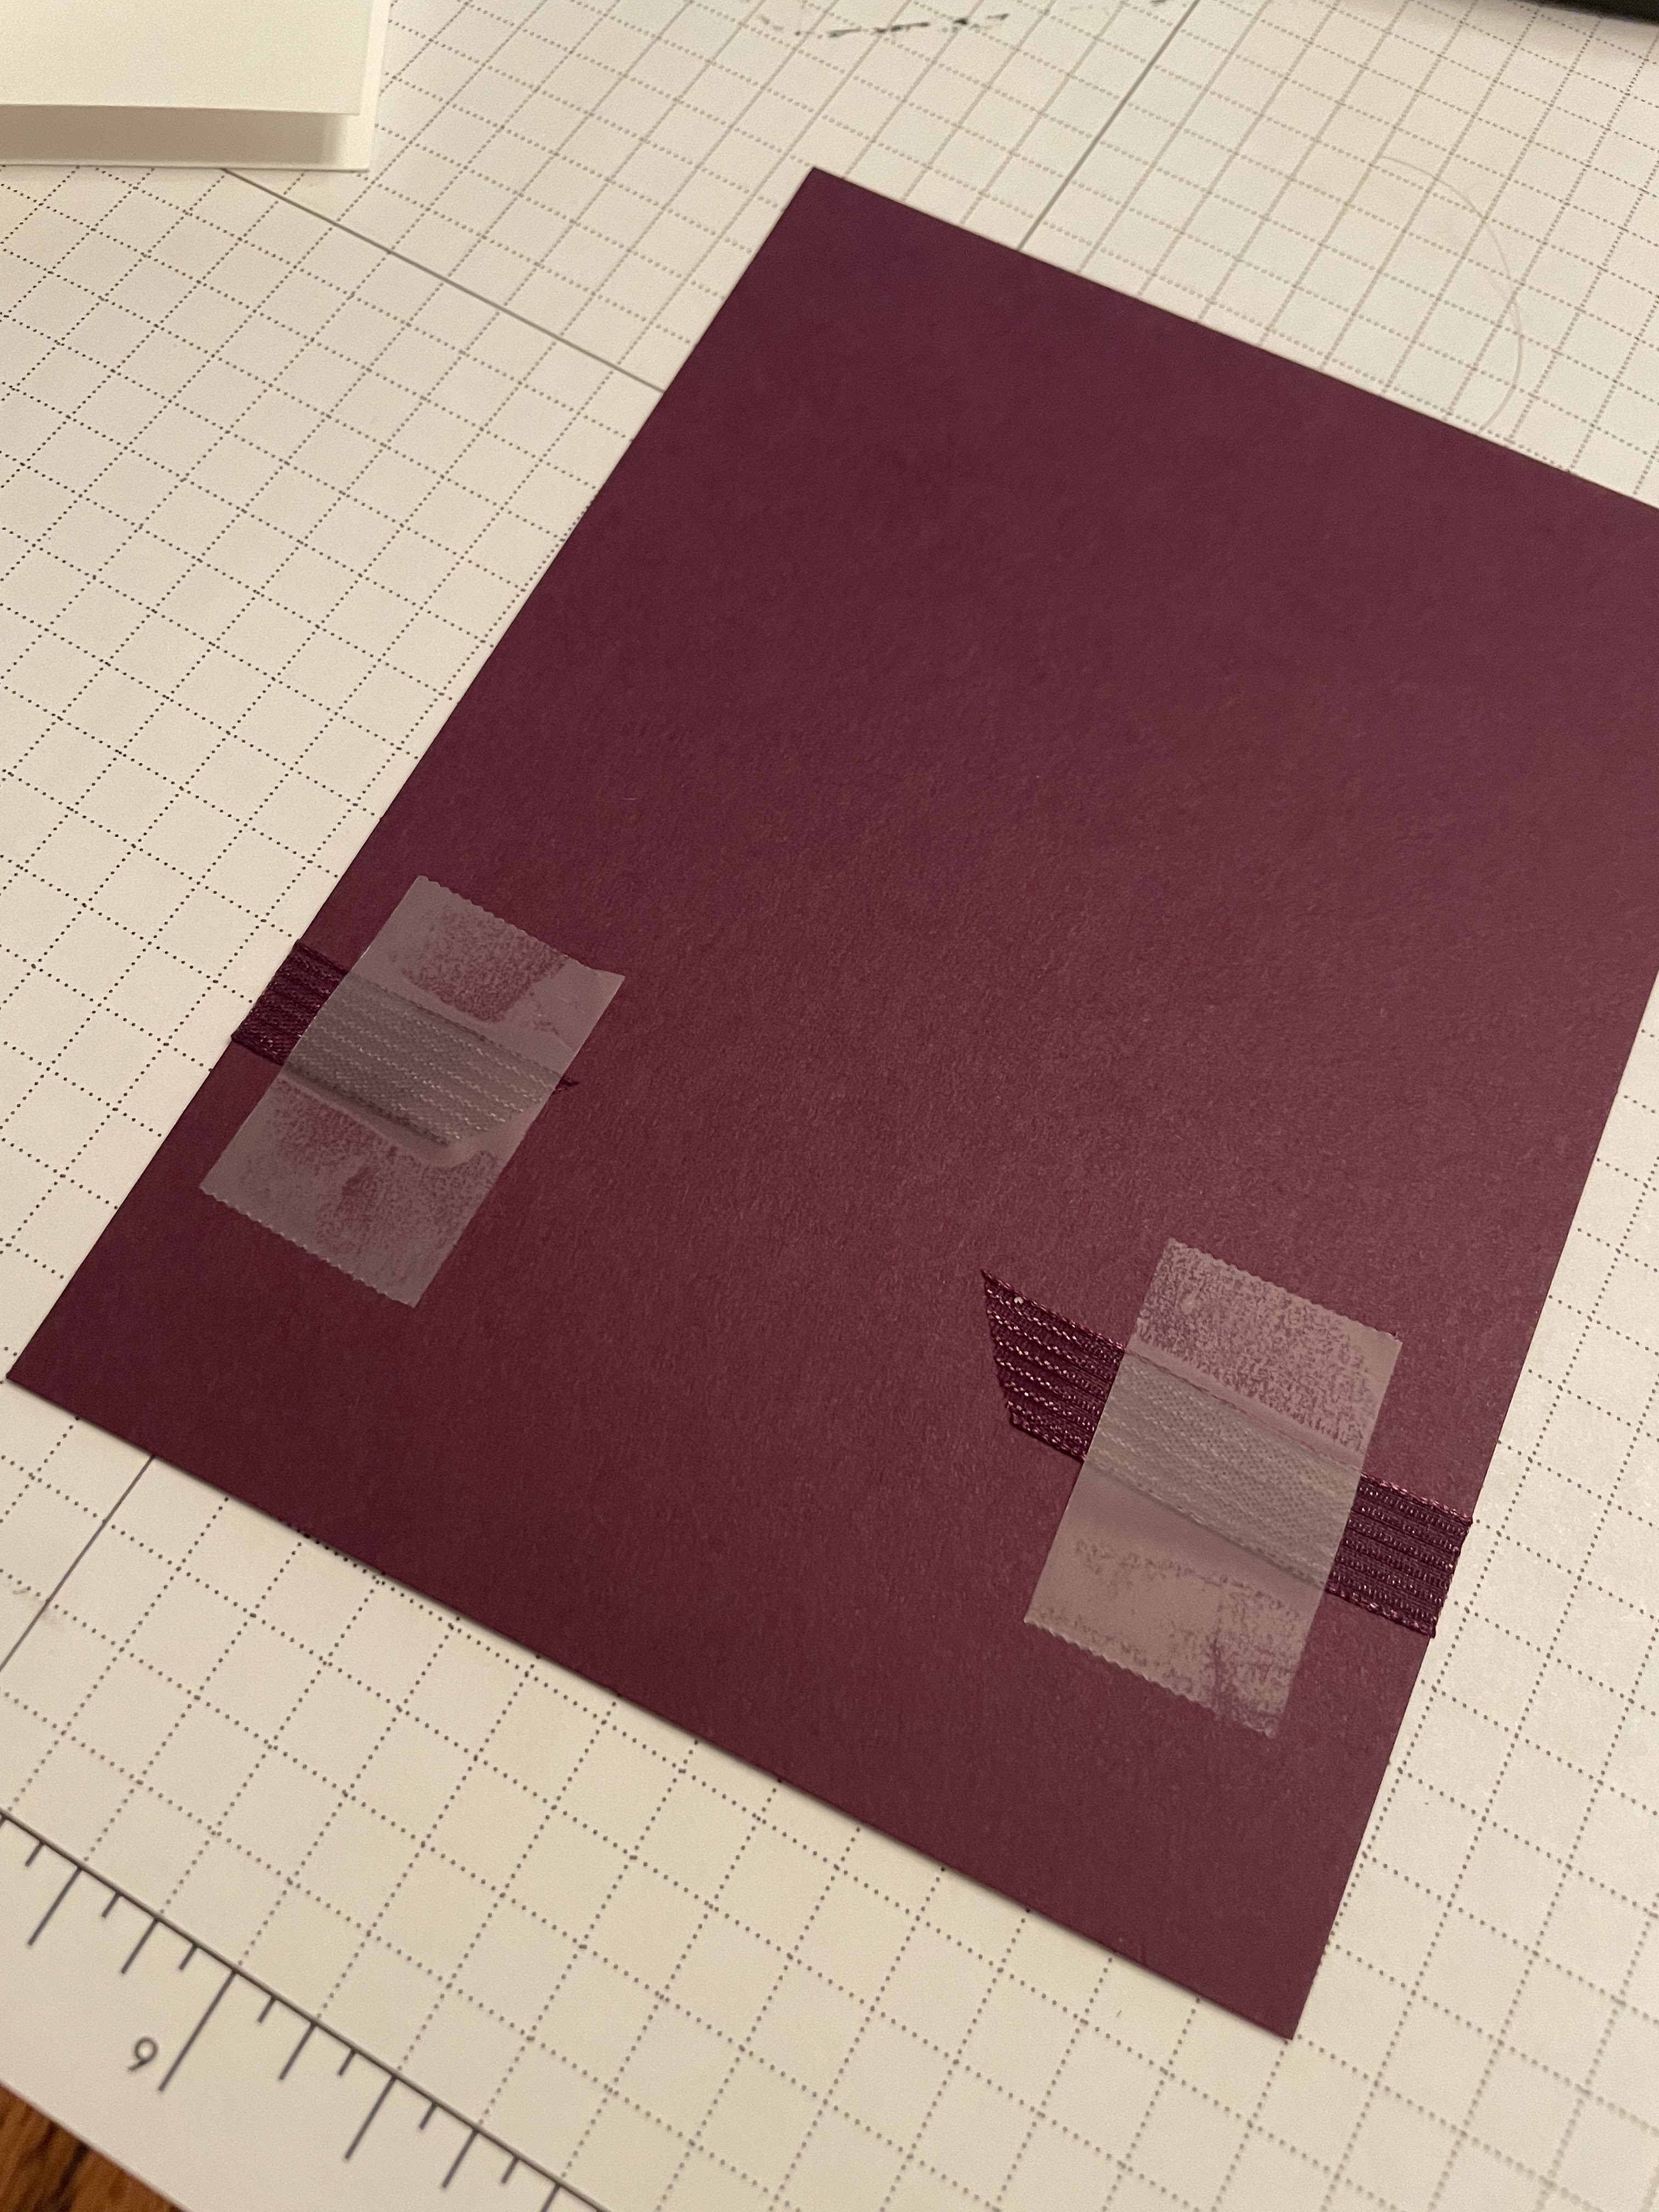
Fold ribbon back and forth and press against transparent tape to hold loops in place  


Place on back of sentiment and add dimensionals  


Trim ends of ribbon   Peel off protective paper from the foam pieces and place sentiment on card front  


Glue to card front  


Single panel DSP

 Single Panel DSP 


Supplies 

Card base cut 8 1/2 x 11 or 4 1/4 x 11  fold in half

DSP 3 5/8 x 4 7/8 

Coordinating card stock 3 3/4 x 5

Ribbon and scraps of card stock


Adhere DSP to card stock 5 x 3 3/4 


Wrap ribbon around and tape the ends on the back   


Add sentiment over the ribbon. 

Wednesday, July 21, 2021

One Sheet Wonder #3

This is the third of my one sheet wonder designs.  

Here are three clean and simple cards I made using this template. 

This is the template. I usually cut the 1 inch strip from the bottom first.  Then cut down at the 3 inch line. 
Card A :  The two rectangles are about 1/4 inch separated under the strip of DSP.

I used a mat under the narrow strip of DSP. 
The six one inch squares are randomly scattered on the card front. You could also place them neatly in rows of 3 squares. 


One Sheet Wonder #2

 This is the second of my one sheet wonder templates for 6 x 6 inch square of Designer Series Paper. 

I made two cards using this template. I wasn’t crazy about this sheet of DSP but I really love these cards. 
This is the template.  Cut the paper at 3 3/4 first.  If the is an up and down to the pattern be aware of how it will look on the care front. You can make the cards landscape or portrait to accommodate how the paper was cut. 
Cut 1 inch from the narrow end of the large rectangle.  This will give you a 3 3/4 x 5 inch rectangle for the card front and a 3 3/4 x 1 inch rectangle for a contrasting band.  
The 2 x 6 rectangle can be used to cover the envelope flap or can be used for a second card.  Here I opted to make the second card. 

Card A- Place the 5 x 3 3/4 piece on the card front. Add the 1 x 3 3/4 piece and flip it to the other design.  Glue it across the middle of the card front to create a contrasting band. Add sentiment of your choice. 


Card B- I lace the 2 inch strip along the fold of the card stock.  This can be turned landscape or portrait layout, whichever you like with your DSP. 
These cards can be stepped up by adding mats, adding ribbons, using embossing folders, etc. 

One Sheet Wonder #1

 This is a one sheet wonder for a 6 x 6 inch square of Designer Series Paper. 

This is template #1.  I made these 3 cards using this template. 


Basically cut the paper into 3x3 inch squares.  One of the squares you cut diagonally but not from corner to corner.  That is for Card C.  The other three squares you cut in half to make rectangles 3 x 11/2 inches. If the paper has an up and down pattern be sure to cut them all accordingly.  
Here are the three cards I made. They are clean and simple cut you can dress them up using mats, ribbons, embellishments, fussy cuts, embossing folders, etc. 

Card A - arrange three of the rectangles randomly on the card front. Add a sentiment and embellishments. 

Card B -  arrange three of the rectangles on the card front in a straight line.  I usually try to pull out three pieces that were side by side to make a continuous design but with the polka dots that doesn’t really matter. 


Card C - place one of the remaining pieces in the center top of the card front. Place the second piece below it lining up the sides and leaving a gap for a stamped sentiment.


Here is a set where I used mats and buttons.  Instead of cutting the one piece in the diagonal, I left it whole.