Saturday, November 23, 2013

Exploding Star Ornament

Exploding Star Ornament ( This is not an original design.  My sister found it on the Internet last year and we used it to make our family ornaments.  Pretty simple but impressive)

 Supplies needed:
DSP - Cut 4 squares of DSP.  I used 2 1/2 inch squares here and all the same paper.  You can vary the size and use 5 different papers for a patchwork look.
Coordinating ribbon - 1/8 inch works best
Coordinating button
Card stock in coordinating colors

 Fold the DSP squares diagonally.  The design inside at this point will be the design that shows when the star is formed.


Open up the DSP and fold horizontally so the inside design is now on the outside.  Repeat with a vertical design - making a + with the last 2 folds  with one diagonal fold.
 When open it will look like this.   Pushing up on the diagonal lines and folding on the vertical and horizontal folds will make ...

 a small square like this.    Be sure your folds are creased well.  If the edges don't match exactly it is okay. 

Here are all 5 folded and waiting to be assembled.  

Put adhesive on one of the small square sides.  Place two of the pieces together matching the outer points on the squares and the center of the squares. 

 Continue with the other 3 pieces.  DO NOT GLUE piece #1 to piece #5.  It should begin to look like a star. 


 Place a small strip of Sticky Strip lined up from the center to the outer tip of either the first or last square.  Remove the red film.

Cut 2 pieces of ribbon about 5 inches long.  Place one end of a piece of ribbon on the sticky strip. 
 Make some decorative accents to cover the ribbon ends. I stamped a Mosaic Madness design on Very Vanilla.   I then used the Mosaic punch and 7/8 inch scalloped circle punch.

Place a short strip of Sticky Strip on the back of the accent you just made.  I try to place it horizontally so it will be perpendicular to the piece that you added to the DSP for the ribbon. 
 Place the accent over the ribbon.    Repeat this with the other end.

Trim the ends of the ribbon at thin angles.  The thinner the better.  Thread each end of ribbon through one of the holes on the button. 


 Slide the button down to the ornament.  Straighten any twists in the ribbon is neeced.
 Make an overhand loop and tied a knot in the ribbon.

 This is the finished ornament closed up.  It is cute but look at what happens when you...
 slide the button up so the squares fan out  and.................
 slide the button back down the ribbon until .....
the button rests on top of the DSP.  You get a star in the center of that ornament. 

This one used a 2 inch square.  It was a little harder to work with because of the size but still not bad.
Here it is opened and you have the star.

Monday, October 21, 2013

Patina Technique


Patina Technique -
Supplies
Embossing folder and Big Shot
Neutral cardstock ( I used Crumb Cake)
Neutral ink - light shade ( I used Crumb Cake)
Blue ink ( I used Island Indigo)
Green ink ( I used Always Artichoke)
Neutral ink  - dark shade ( I used Early Espresso)
Sponges
Versamark ink pad
Metallic embossing powder (I used Pewter)
Heat gun

 Ink the embossing folder by rubbing the ink pad on the side part that has the Stampin Up Logo.   Place the card stock in the folder and run it through the Big Shot.  This will ink up the embossed areas.

 Sponge on the blue ink - covering the whole sheet of card stock. 

 Sponge on the green ink - this will give it the turquoise patina color ( the photo looks more 'green' than the actual card stock did).

 Sponge on the dark neutral color. 


Let dry completely - there is a lot of ink on the card stock and the embossing powder will stick to areas you don't want it if it is not dry.  You can dry faster using a heat gun or use the Embossing Buddy to pat the card stock to absord the moisture.
Once dry- tap areas gently with the Versamark ink pad.  You do ot want a lot of solid metallic areas so just lightly.  Add the metallic embossing powder.  If there is too much in some areas you can brush it off with your fingers or a tissue. 
Heat emboss.

You can see some cards using this technique here


Monday, September 2, 2013

Pop-Up Cards and Sponged Butterflies


Pop-Up Cards -  the butterflies are attached to strips of clear Window Sheet and appear to be floating on air. 


Start with 2 pieces of card stock - 5 1/2 x 4 1/4.  Score each along one of the short lengths at 3/8 inches.

 Apply a piece of Sticky Strip along the 3/8 inch tab you just created.


Cut 4 strips of Window Sheet about 1/4 inch wide and varied lengths.  These are not adhered to the card stock here - just laying on it so you can see them better.

 To make the butterflies - sponge Daffodil Delight ink on Whisper White card stock. 

 Sponge Melon Mambo in a 'V' around the Daffodil Delight, overlapping some on the edge.

 Using black StazOn ink, stamp the small butterfly design over the ink sponged areas.   This is not exact so each butterfly may have a little different look.   Punch using the small butterfly punch.

 Adhere one butterfly to a strip of Window Sheet.  Set the butterfly at an angle.

 Adhere a second butterfly over the back of the first -lining it up exactly. 

 Line up the strips as desired and attach them to the sticky strip on one of the pieces of card stock.

 Match up the tabs on the two pieces of card stock and adhere, covering the ends of the window sheet strips

 Decorate the card front as desires.  I made several more butterflies to decorate my card.

When you open the card, the butterflies are there to greet you.   You can see some more ideas for pop-up cards here.

Twister Pattern


This is the Twister pattern.  It is based on a quilt pattern I saw recently. 


You begin by cutting 1 inch squares of Designer Series Paper.  I am using some retired Bright Blossoms.   You need 4 squares of 4 different designs.


I adhered each set of 4 squares on Whisper White card stock.  I think the next one I will use just plain white printer paper.  The multiple layers of card stock makes the design rather thick.


I used the second smallest square of the Squares Framelits to cut out my design.  I 'twisted' the framelit until it just hit the edges of the square.   I used a pencil to make little marks on the framelit where the DSP designs meet (sort of like seams).  That makes it easier to line up the other 3 squares and make sure they are all identical.
Cut using the Big Shot.

Repeat with the other 3 pieces .  You will have 4 identical pieces. 

Arrange the pieces so the same designer paper meets up in the center. 

Adhere to white card stock (I will use plain white paper the next time).   Trim along the edge of the Twister square. 

Use your Twister square to decorate a card front.  I managed to cut a large scallop square using the large scallop square from the framelits set but it was not as easy as I thought it would be.  I will have to play with that some more and post if I get it figured out.  

Friday, August 16, 2013

Baby Wipe Plaid

This is a simple technique to make a one-of-a-kind background for a card.  It can be messy.

You will need
Glossy Card stock
2 baby wipes - any brand
3 colors of ink refills
Paper towels and rubber gloves if you don't want ink stained hands.

I am using Basic Gray with two retired colors of Not Quite Navy and More Mustard. 

Cut a piece of glossy paper a little larger than what you need for your final project.  You will trim it down to the deisred size after it has dried.

 
Stack the two baby wipes and fold into thirds in one direction. Then turn it and fold up in thirds the other direction.

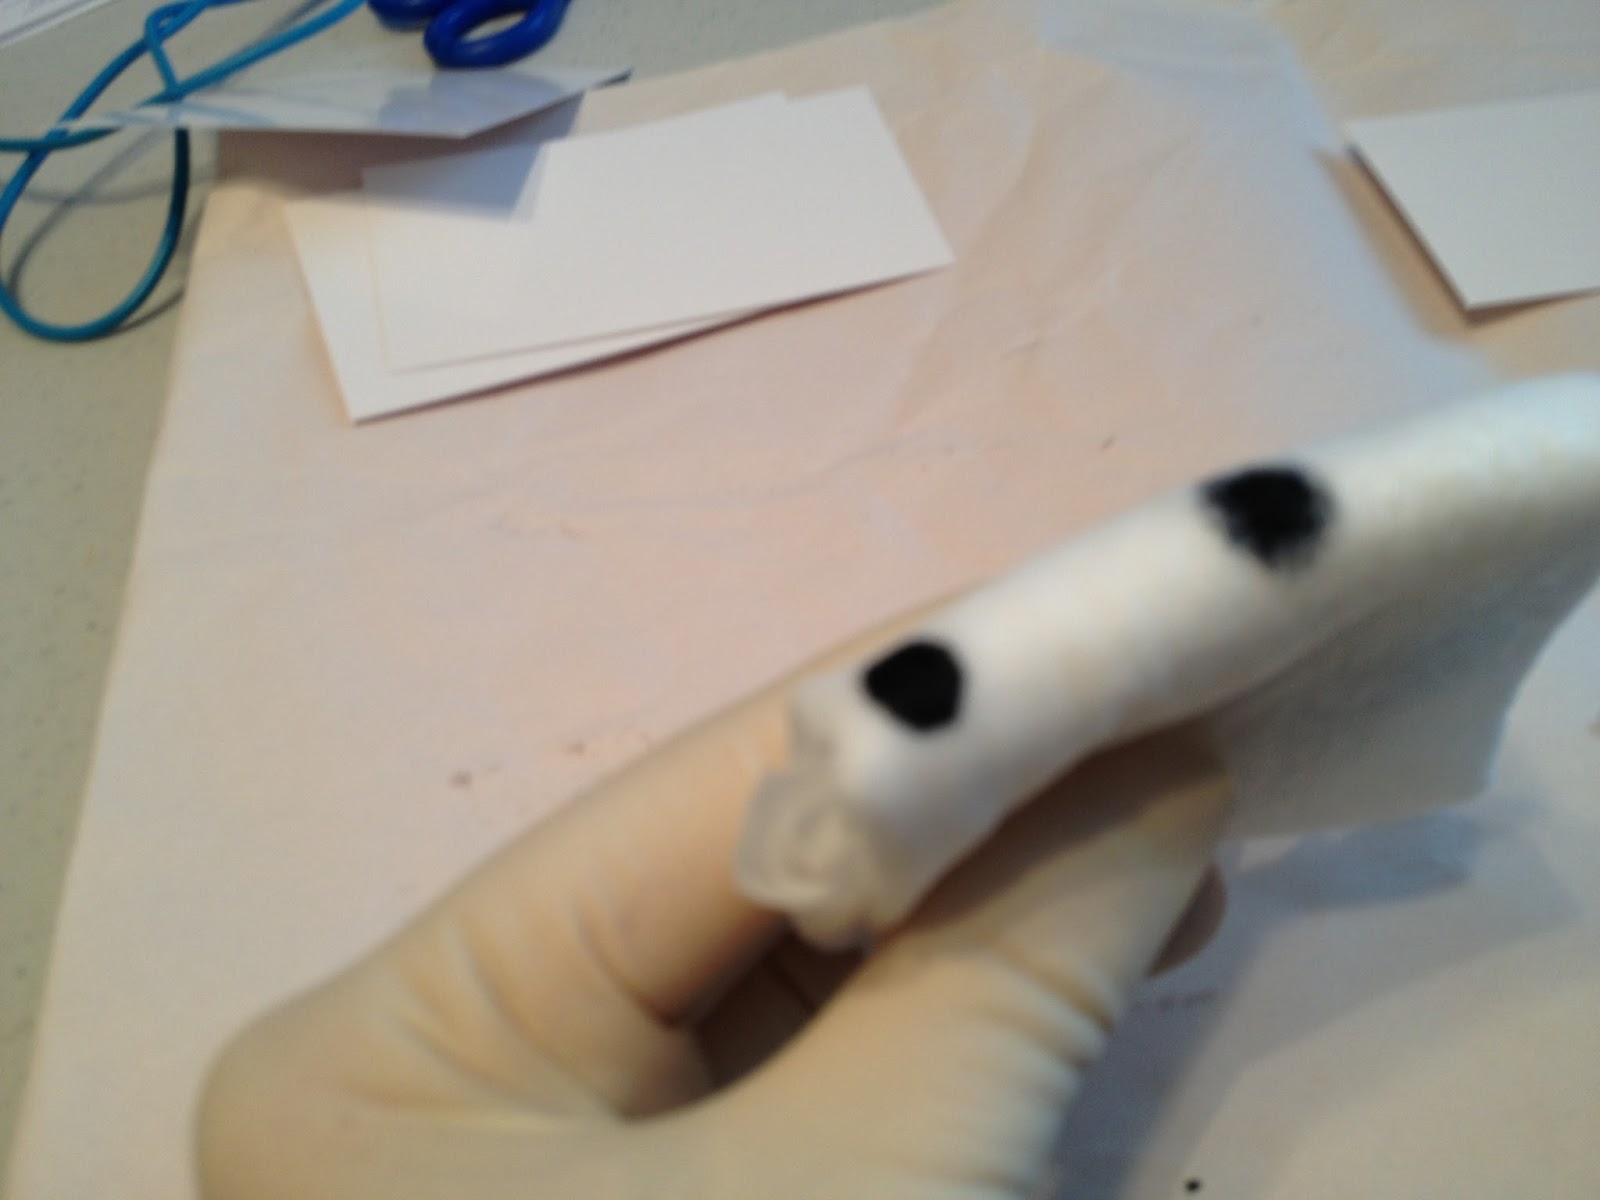
You will have a small thick rectangle piece that will be your applicator for the ink.

Hold the baby wipes applicator in one hand and add drops of ink in a pattern - 1-2-3-1-2-3.  I added the Not Quite Navy first.


Then added the More Mustard next to the first drops. Just one good drop at each position is all you need. You want a little white space between them.


And lastly the Basic Gray.   Now you are ready to apply the ink to the glossy paper. 
 
 
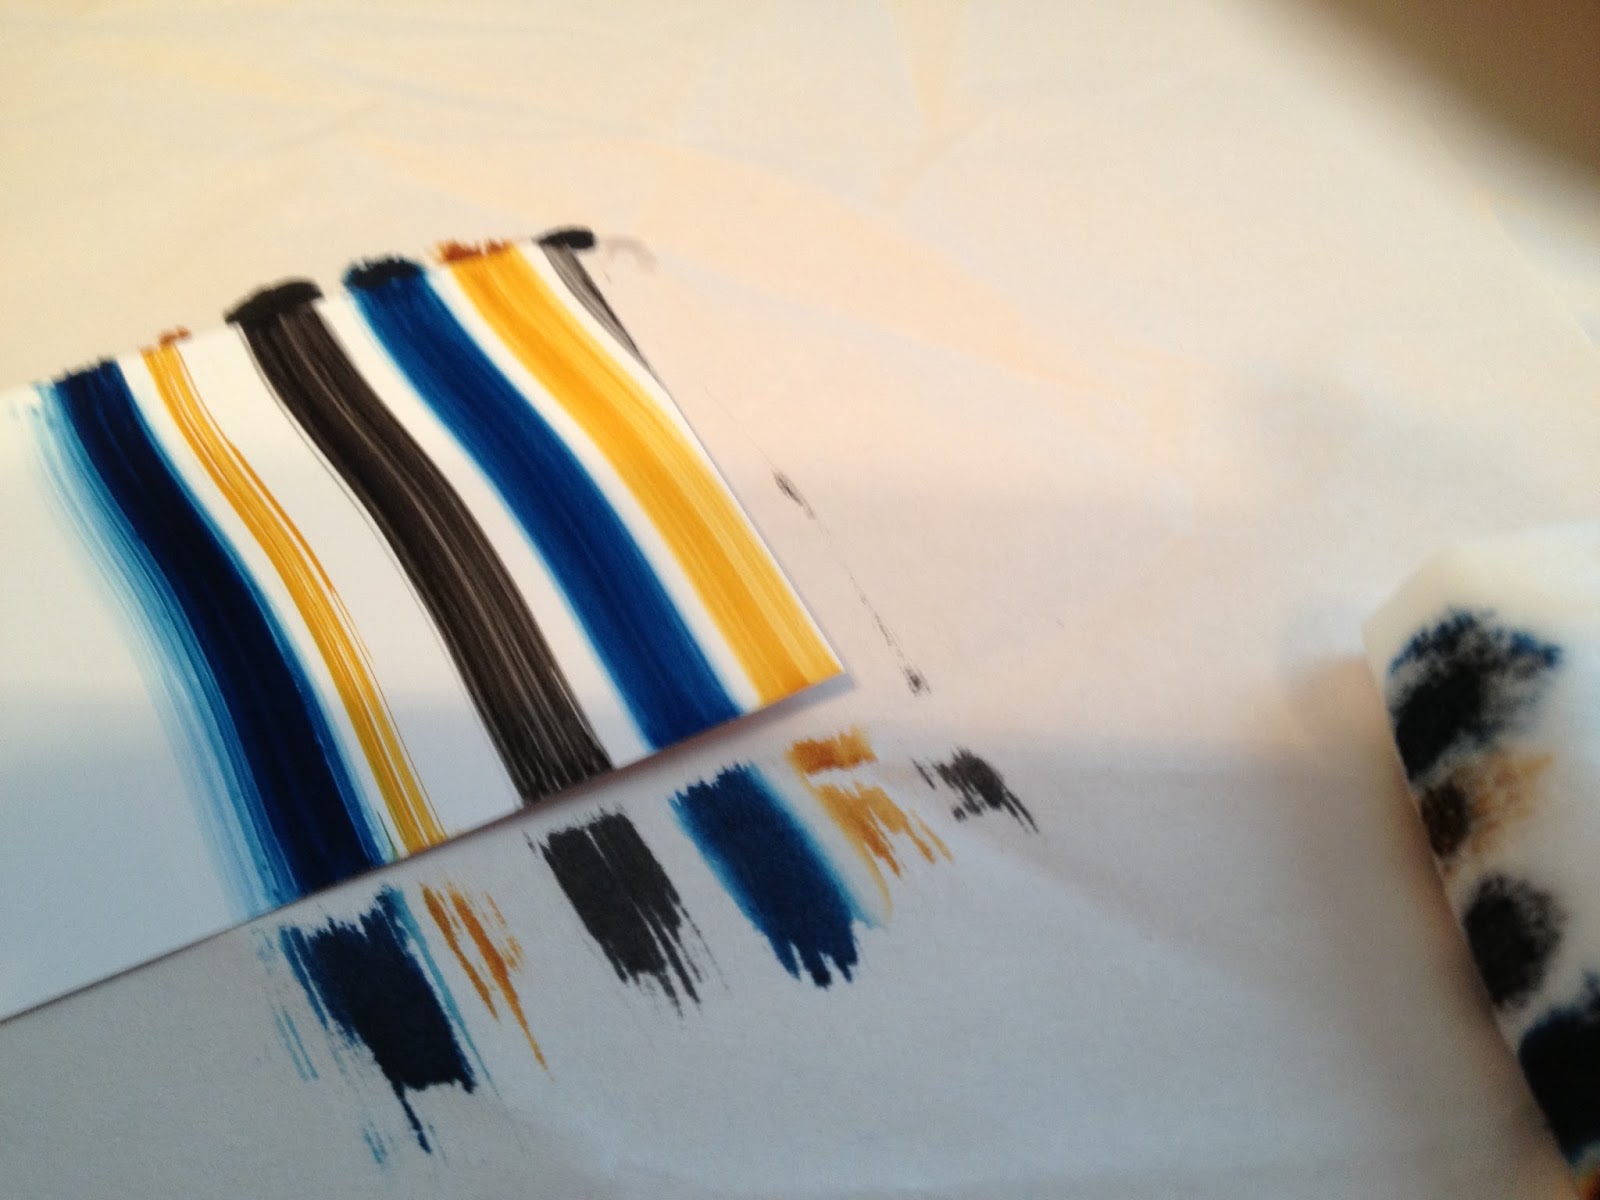
Place the applicator with the inked edge touching one edge of the glossy paper.  Drag it down to the other edge.  Try to make the line as straight as possible, however none of mine were very straight.  That is what makes it unique.


That makes the first set of stripes.   You can see from the photo that my first stripe on the right (gray) did not get on the glossy paper and the yellow stripe towards the left did not cover very well.  You can go over it if you want but you will be dragging more ink across the area later so it is not necessary to touch it up now.
 
Flip the applicator so the colors are in the opposite orders now and overlap the far right color on the applicator to the far left stripe on the paper.  If you mess up and don't get them lined up in the order you planned - don't sweat it - the design is pretty forgiving,
 
Repeat until you have covered the glossy paper with top to bottom strokes.
You may want to re-ink your applicator at this time.  Be sure to put the new drops of ink in the same order and in the same location on the applicator edge.
 
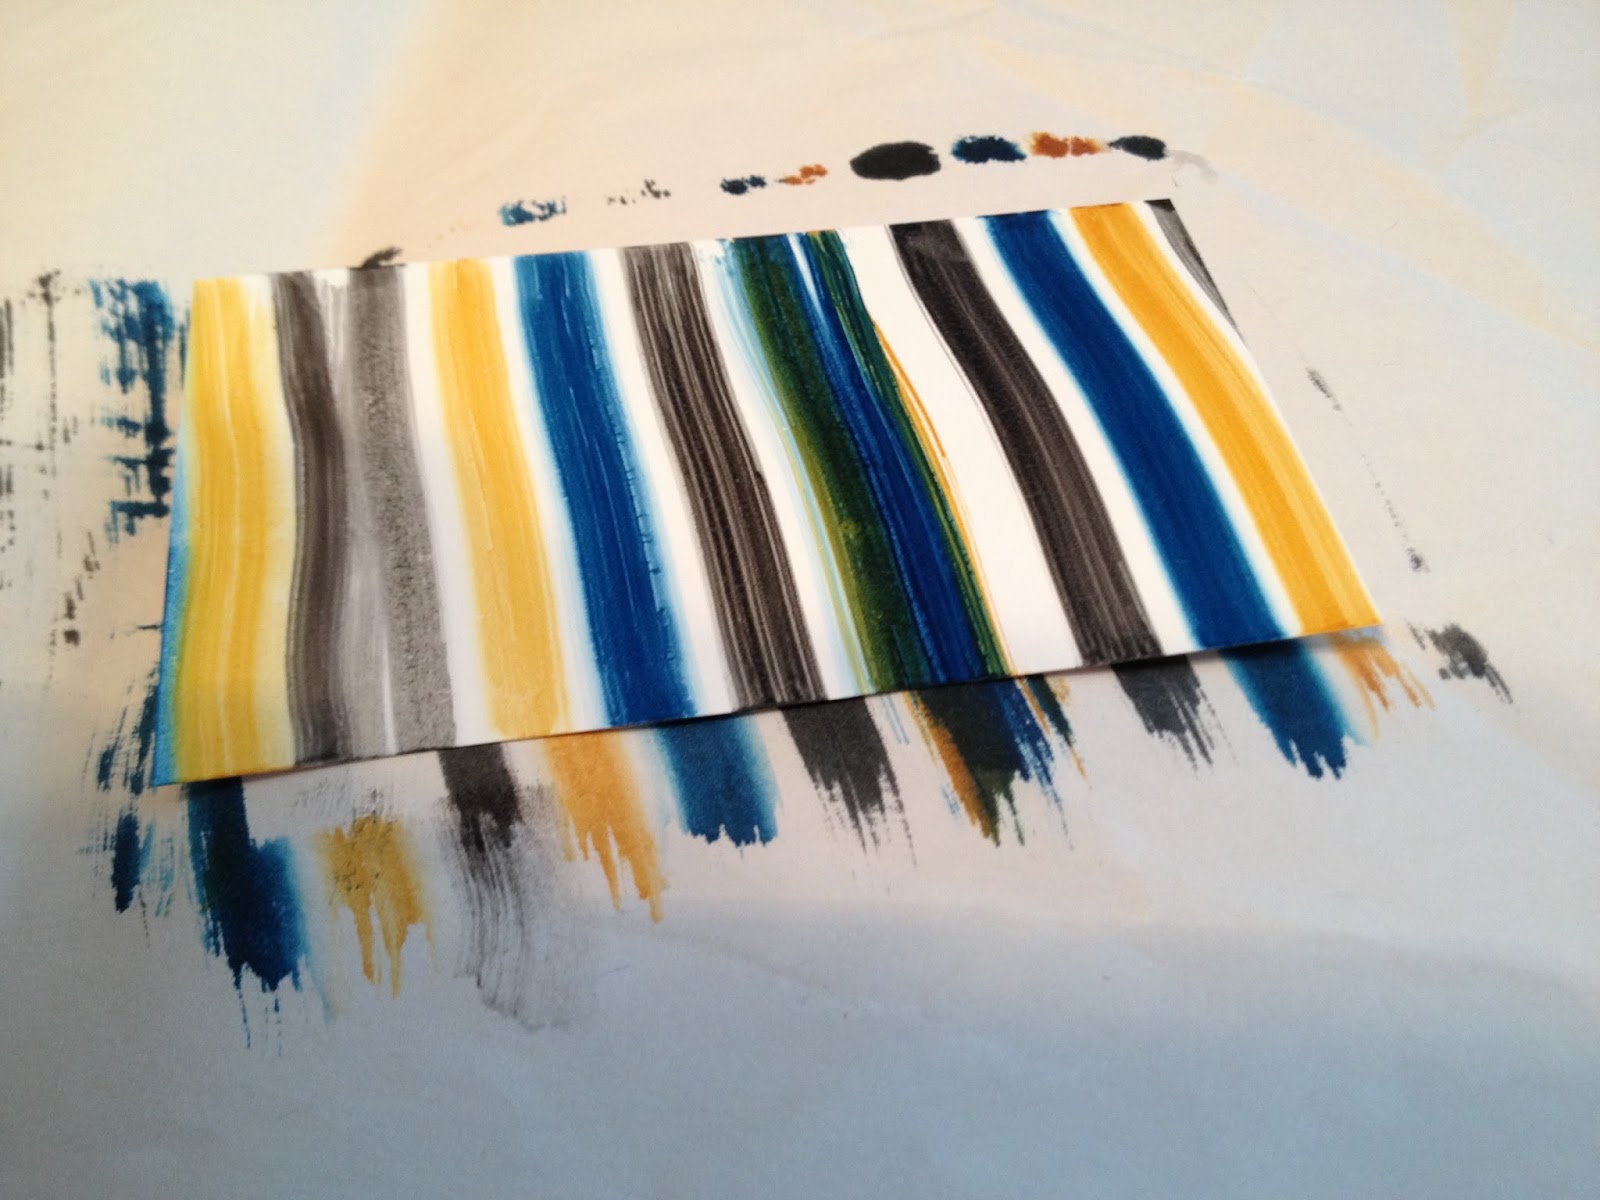
Turn the glossy paper at right angle to the original layout and drag the applicator down at right angles to the original stripes - making the plaid design.  Continue flipping the applicator between each swipe until you have covered the whole area.


In order to use up more of the ink on the applicator I continued making plaid designs without reinking.  I was able to get four pieces inked before discarding my baby wipes.
 
Trim the plaid piece to fit your design.  This is a good time to get rid of uneven or uninked edges.   Use in your card making to add an interesting focal point to your card front.