Monday, June 21, 2021

Matchbook Cards

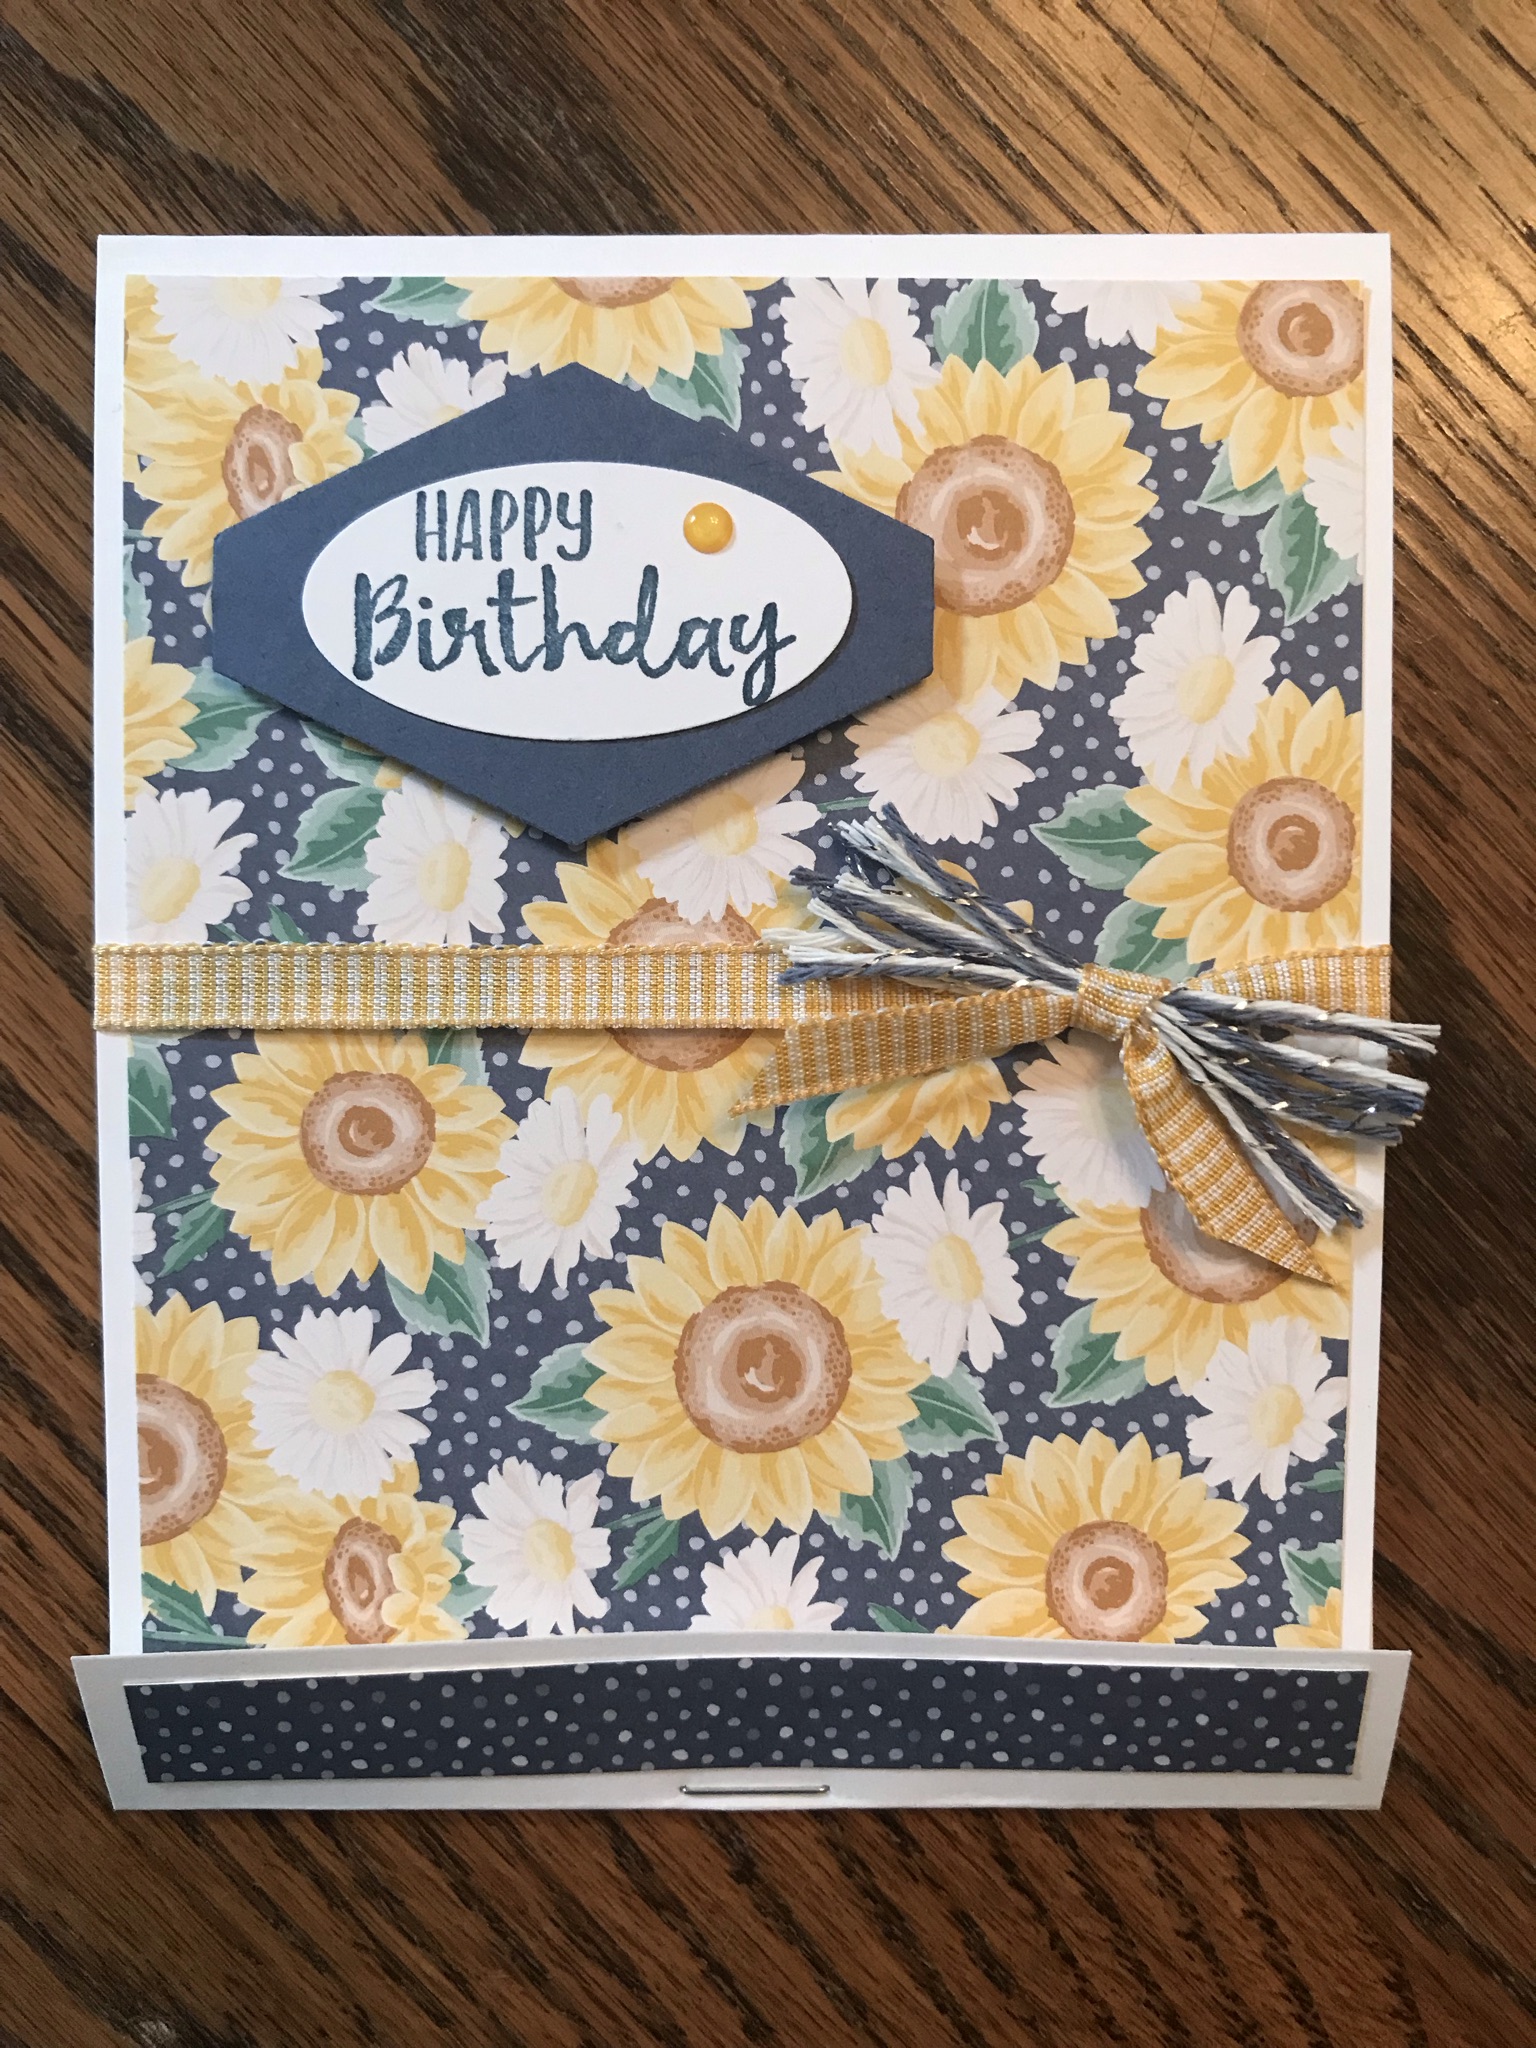
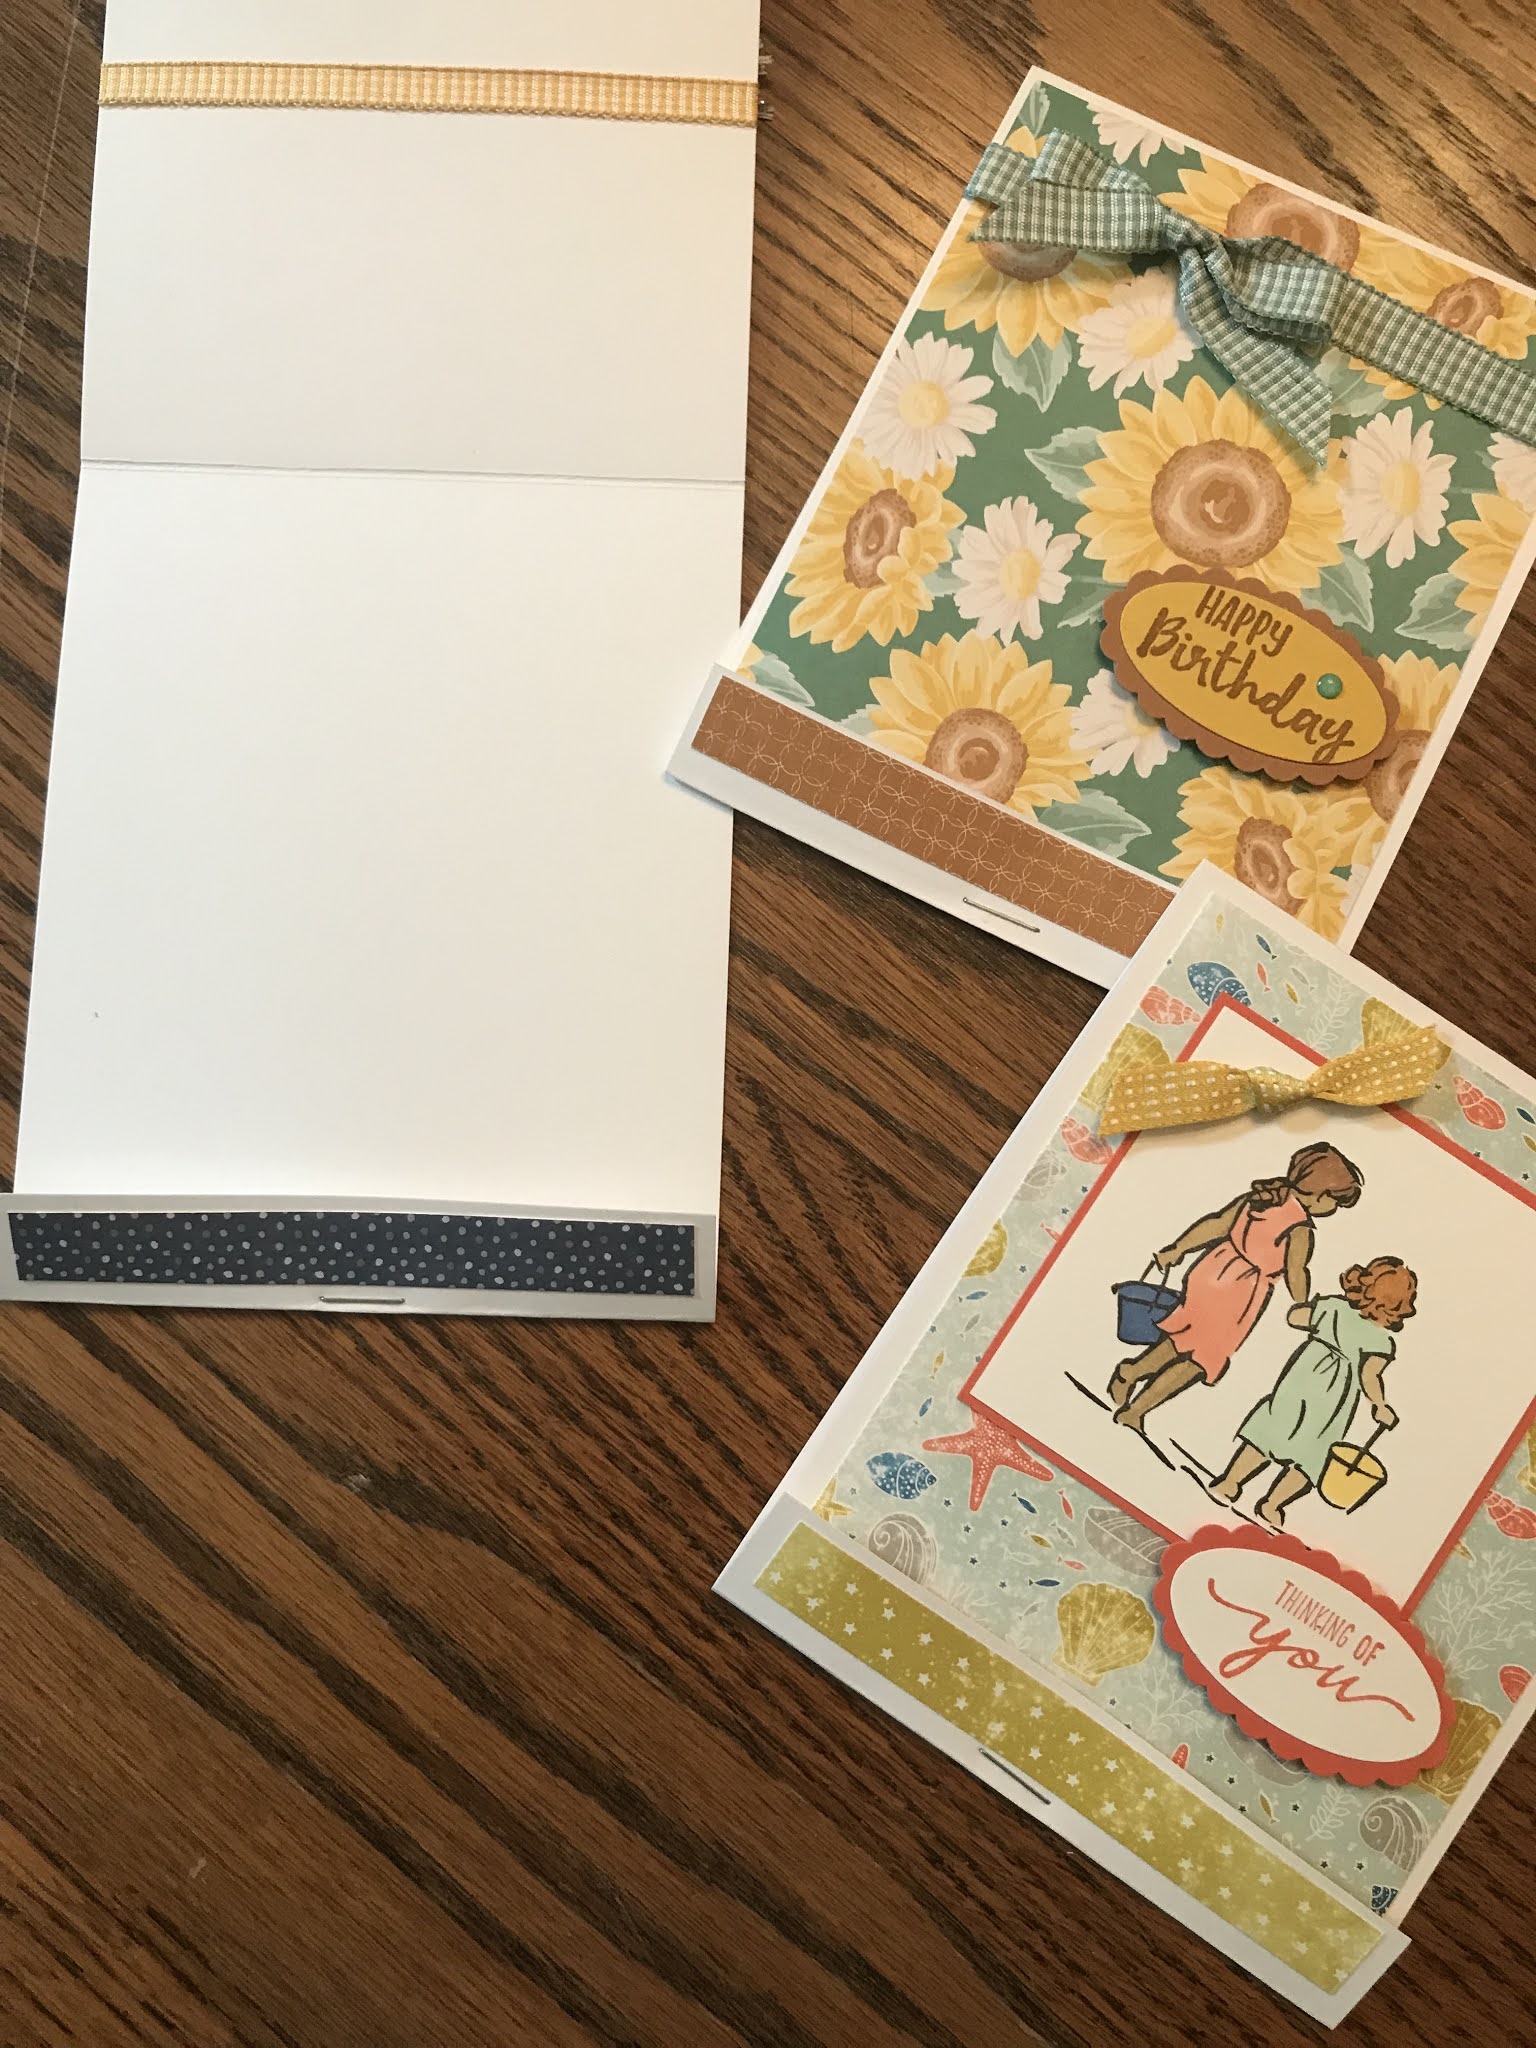
Matchbook cards


Card stock base 4 1/4 x 11 inches.  Score at 3/4 inch and 6 inches. Fold up the 3/4 inch flap and staple close to the fold.  Tuck long end into the 3/4 inch flap like an old-fashioned matchbook  


Decorate as desired with DSP, ribbon, embellishments, etc.  I cut a strip of DSP 1/2 x 4 and added it on the flap.  


Coordinating DSP cut 4 x 4 3/4 added to the front. Ribbon and sentiment with an enamel dot was added to the front. 


These are so quick and easy. 
 

Thursday, June 10, 2021

Double sided images


 I love the animals in A Little Wild but feels wasteful using two images glued back to back when I could just as well stamp on both sides and get 2 double sided images instead on just 1.  (sometimes you need two glued together because you are putting something between them but most times I don’t need that).

So I figured out a way to use my stamparatus to stamp on both front and back easily.  

I took a piece of scrap basic white - doesn’t matter that it has some ink smudges on one side. This is just my


I taped it down using post-it tape and marked the corners so I can place it back in the exact same spot later. 


Stamp the image. I used the elephant. 


Die cut the image. Tape the outline to the stamparatus in the same position as earlier. 


Place the cut out image face down in the template. Notice the little circle tab is on the right side now. 


Stamp the image on the backside.  The one on the right didn’t stamp clearly but I could have stamped it again since I’m using the stamparatus. 

Just cut apart and trim off the tab and you have 2 double sided elephants.  

Don’t throw out the template.  Store it with the stamp set and/or dies and you can use it over snd over.  Here I did a second set on gray card stock. 


Friday, January 29, 2021

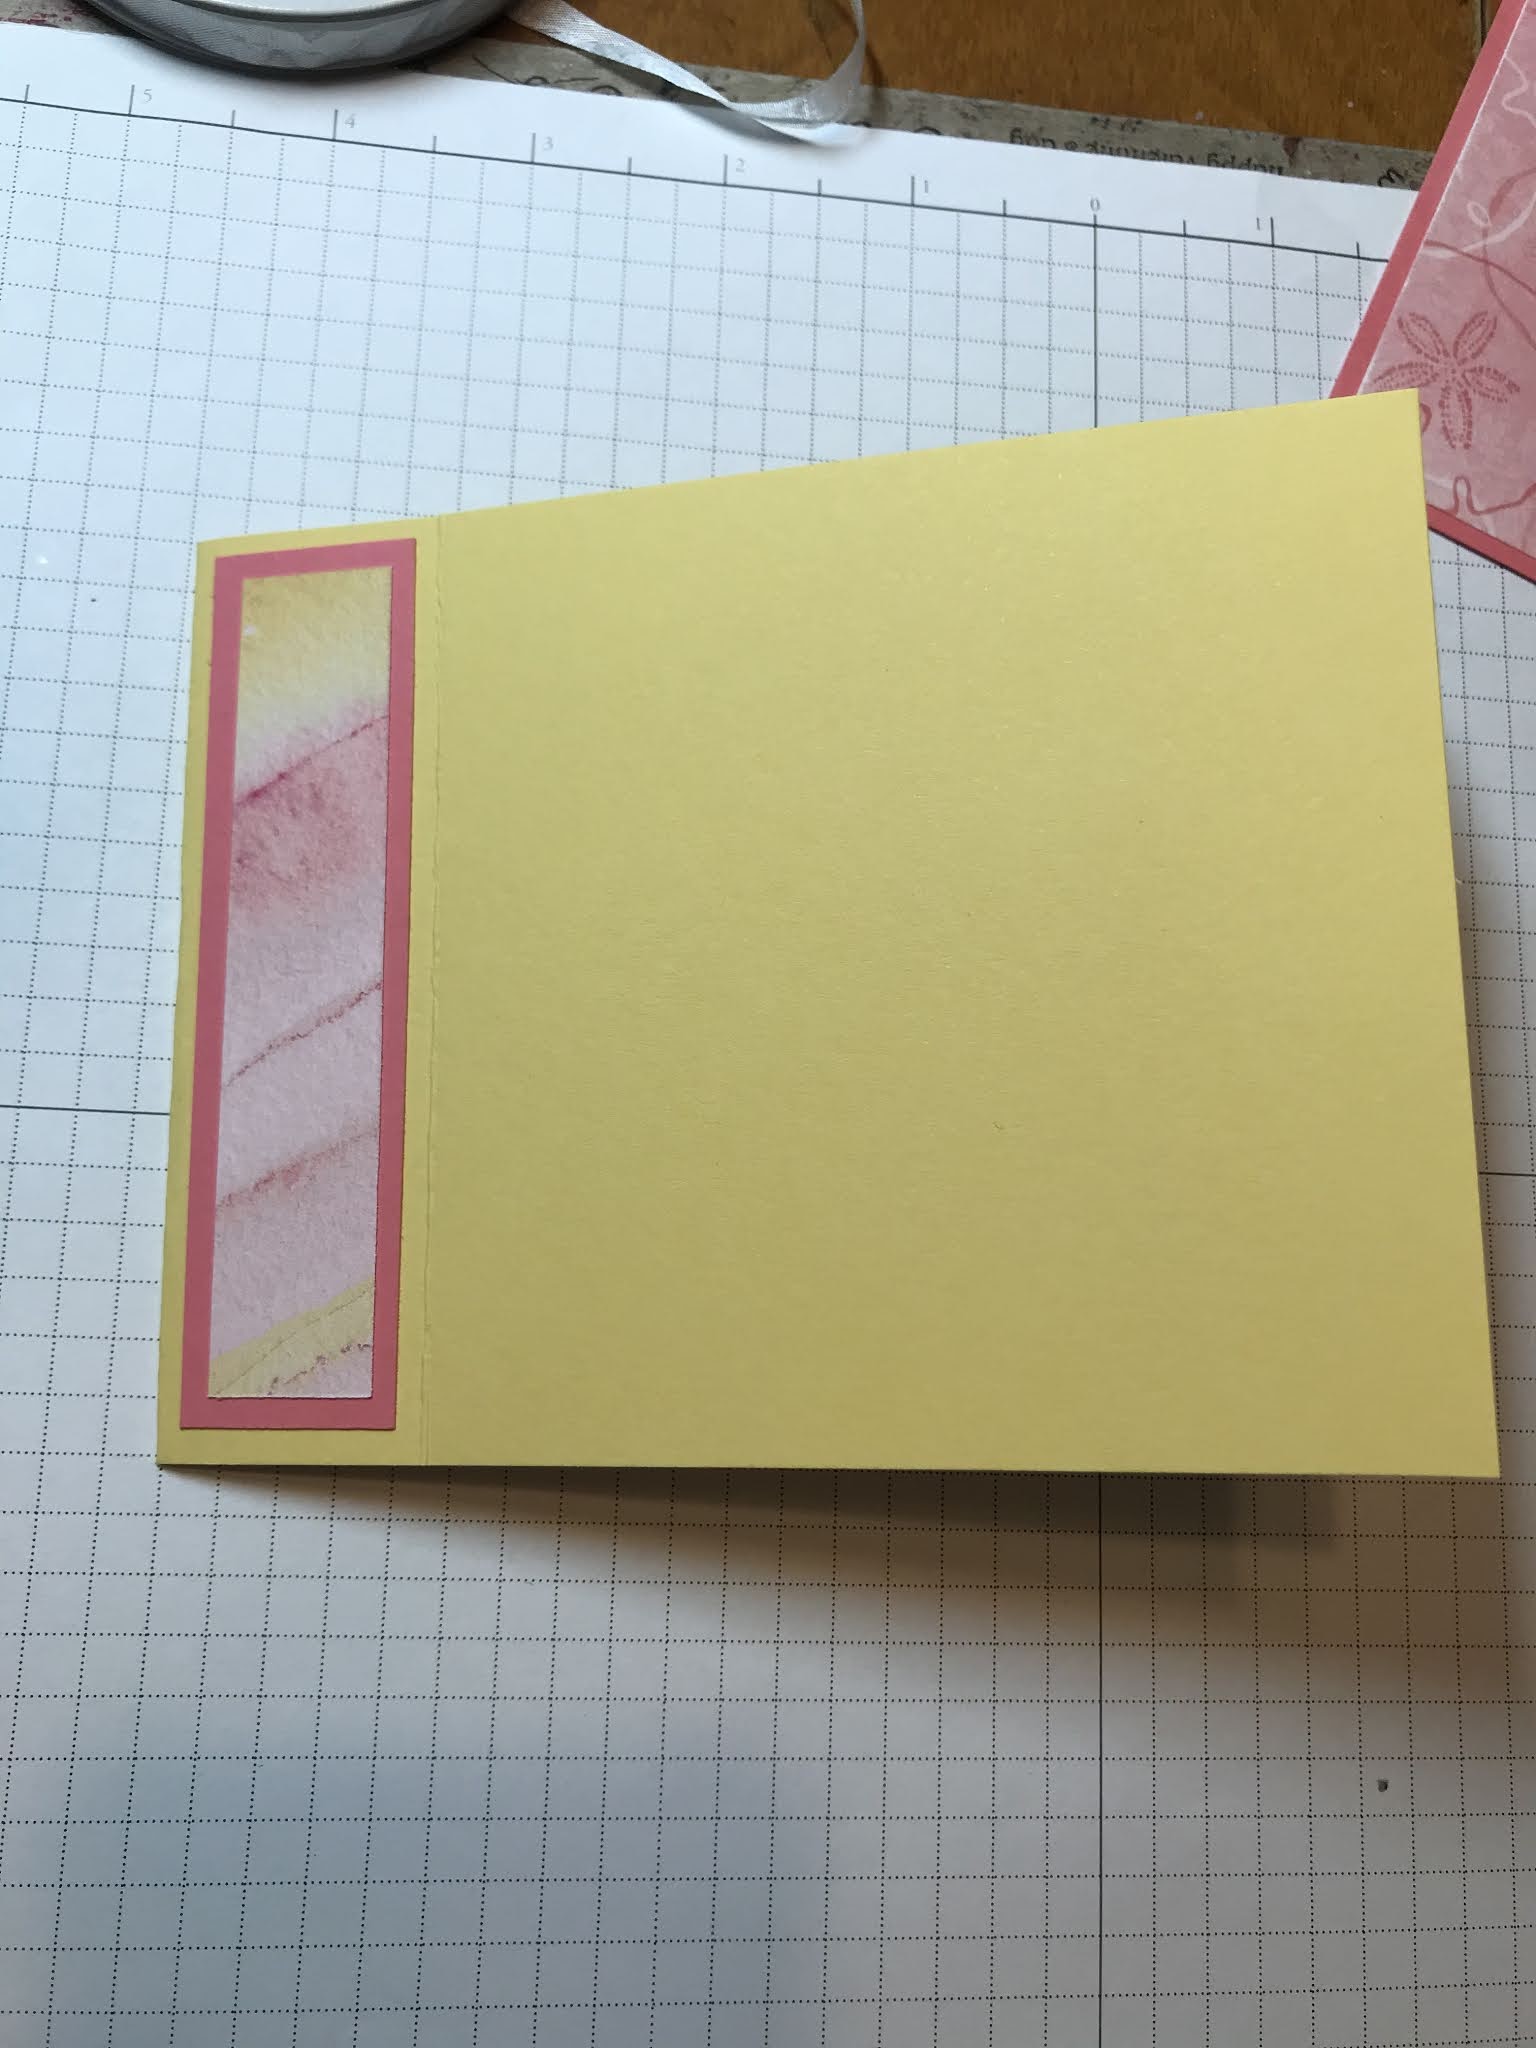
Book fold


Book fold card

Card stock #1 - 4 1/4 by 11 inches.  Card base  


Card stock #2 -  4 x 4 inches and 4 x 1 inches

DSP #1 - 3 3/4 x 3 3/4 inches

DSP #2 - 3 3/4 x 3/4 inches 

Coordinating ribbon

Scraps for sentiment


Score the card base  at 4 1/4 and 5 1/2 inches. 


Mount DSP on the pieces of card stock. 


Adhere narrow strip to the 1 1/4 section on the left side. 

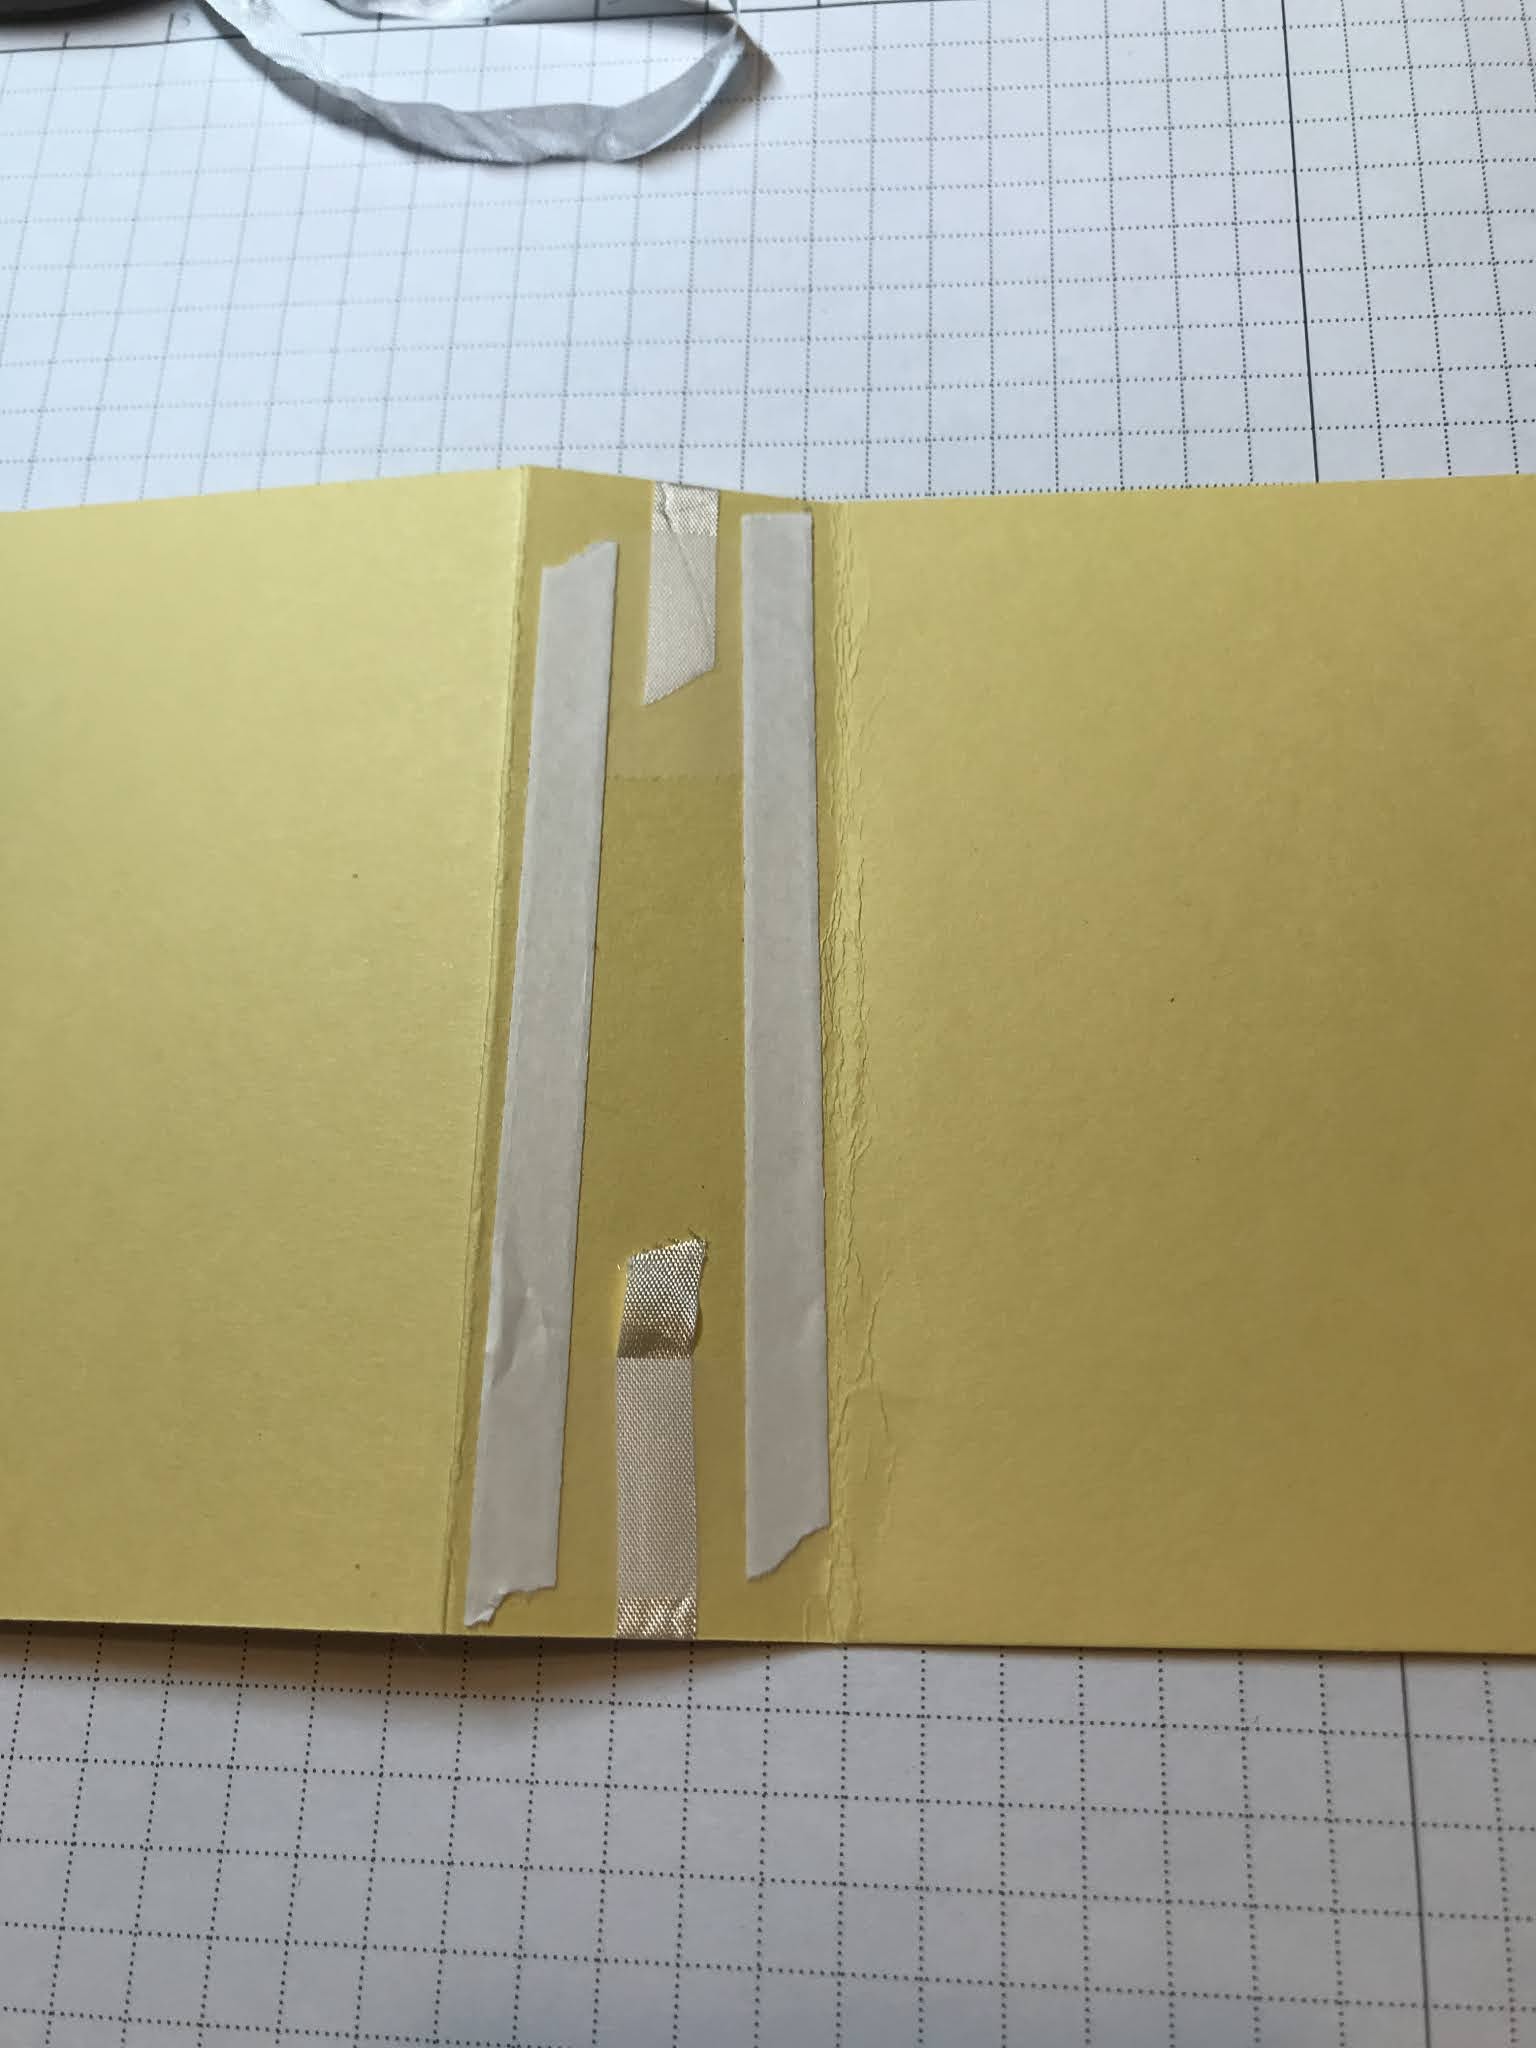
Attach one end of ribbon behind the narrow section. 


Wrap ribbon around front and attach bottom inside. 


Adhere square piece on card front. 


Add a strong adhesive to the narrow section and press against card back. 


This creates the ‘book fold’. 
With additional ribbon tie a bow or knot on the attached ribbon. 
Add sentiment as desired. 


Friday, May 29, 2020

6 x 6 step by step with variations


 This is how I usually cut my 6x6 squares of DSP.  Very little waste and many ways to vary the card. This is s good way for beginners to learn cardmaking.


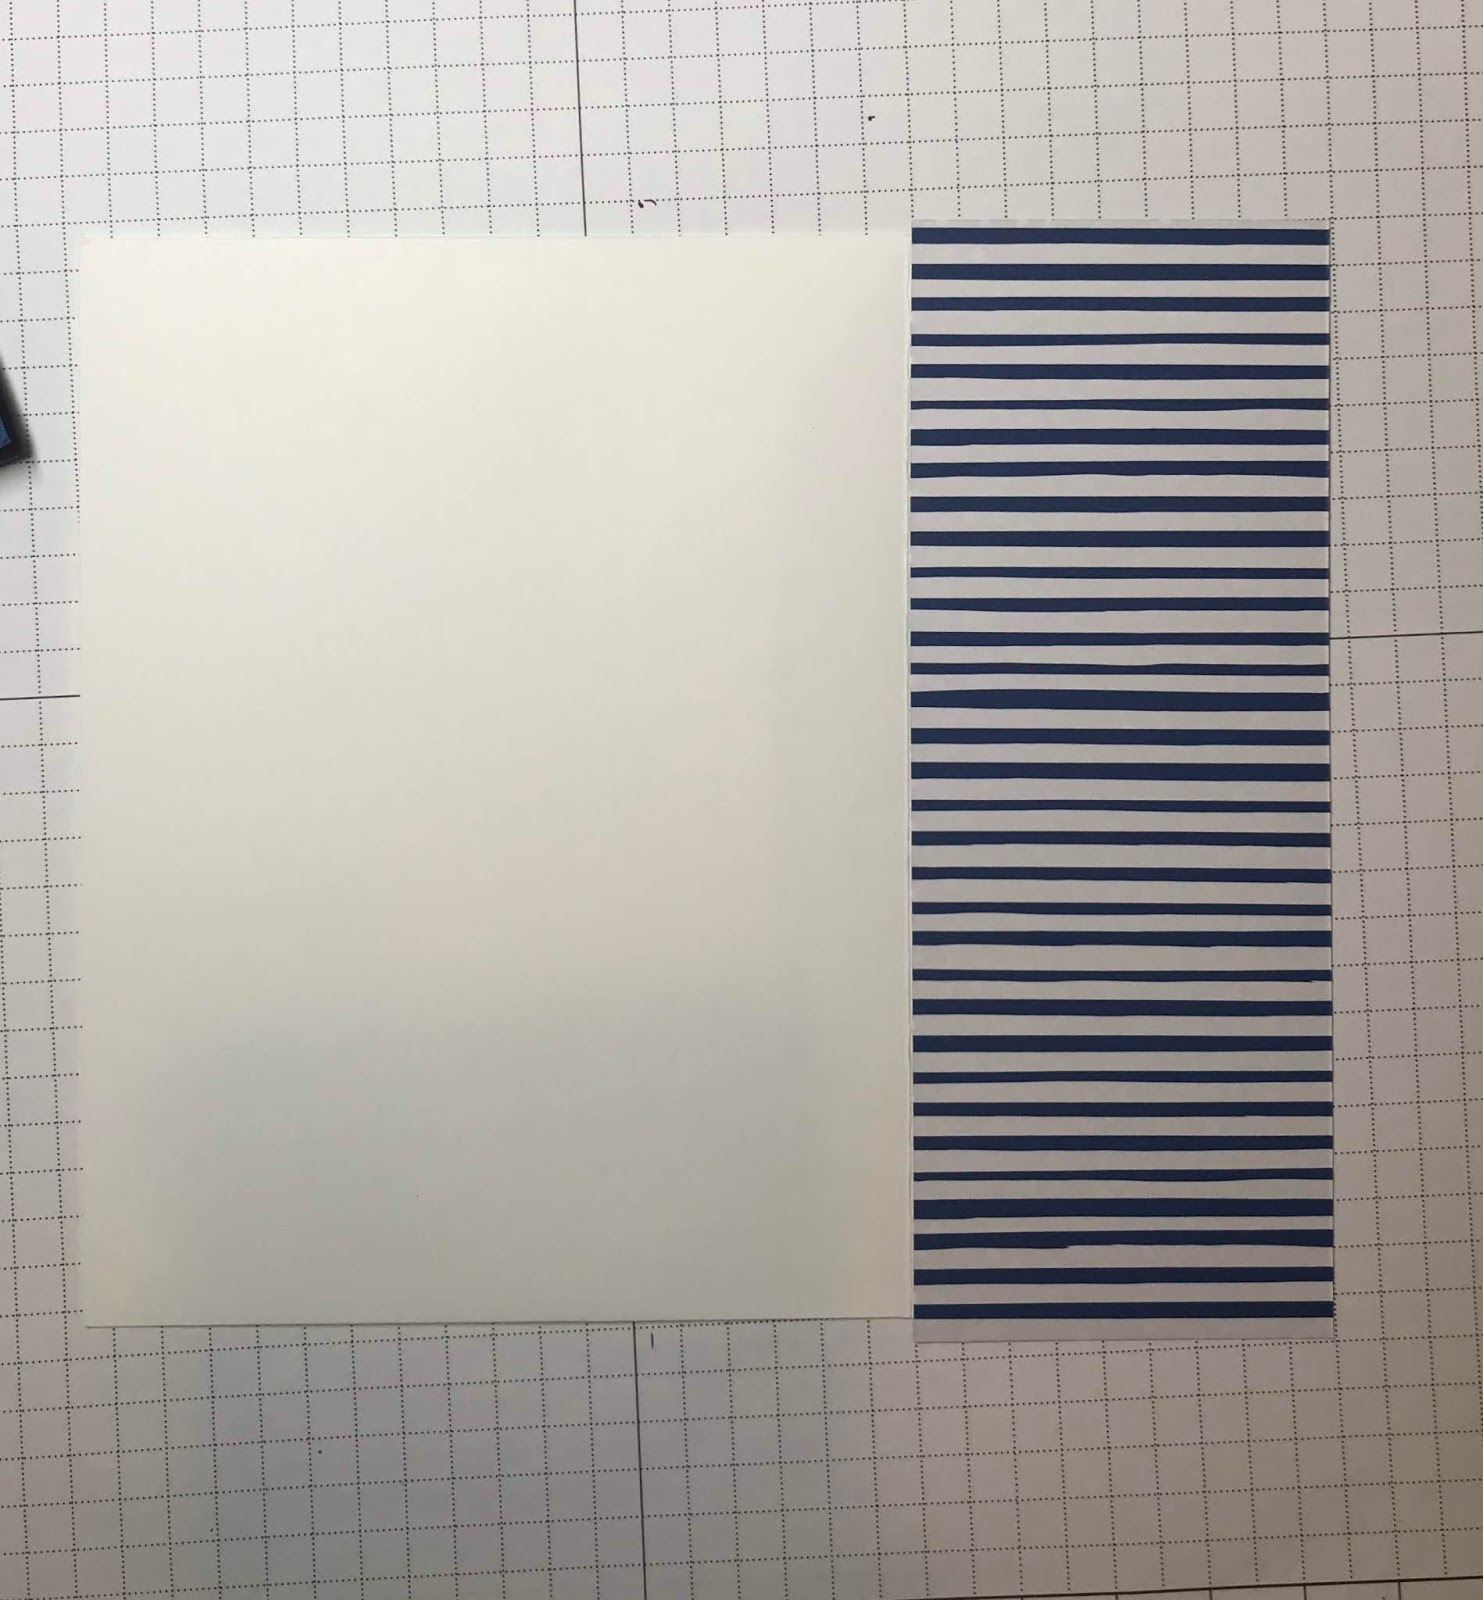
 Cut at 3 3/4 first.  Then cut the larger rectangle to 5 inches.  Reserve that strip of 3 3/4 x 1 inch - you can use those for another layout.

Here are the cut pieces.  

Cut a piece of card stock in half at 5 1/2 alone the 11 inch edge. 
Fold in half and adhere the DSP to the card front.

Stamp your image and trim it down. Measure the sides and cut another card stock mat 1/4 inch larger.  In this case, the image was 2 3/4 x 3 so I cut the mat 3 x 3 1/4. 


Position the image on the card front. 

You can use the 2 1/4 x 6 piece to decorate the envelope flap. Add adhesive to the flap as close as possible to the fold and edges.  Place the DSP on the adhesive 

Turn the envelope over and trim off the excess DSP. 

A beautiful combo. 
Check out the variations below.

On this one I cut the DSP at 3 inches.  I flipped one over then attached them to the card front. 

You can also cut the rectangle on a diagonal and use one triangle on the card front 

To cut the diagonal, place the corners in the cutting track. 

If you cut opposite diagonals on 2 pieces of card stock you can flip one and use 2 triangles on the add front. 
An interesting twist


For this one I cut a 7/8 inch strip off the DSP.  I scored the card front 1 inch from the fold 
then glued that 1 inch section to the back of the card.  I added the images and it’s done. 


Here are my 5 basic cards. Still some more ideas to share. 


 M
Now those 1 inch scraps of DSP. I added those to a card stock mat. I place the first strip I’m the corner with a border of card stock.  Then place the second next 2 it, watch the edges that they line up evenly. Then add the third strip.  Trim down any excess card stock. 

Another technique I like to use is paper piecing. I stamp the image on a scrap of DSP and cut out the portion I want to use.  Glue the portion over that area of the blank stamped image.  

Adding some enamel dots and tilting the image gives it a unique look 


For this one I did a little different fold of the card base. Use the 8 x 5 1/2 card stock and score 2 1/4 from each of the short sides. Fold the ends together meeting in the middle but not overlapping.


 Cut the 3 3/4 x 5 piece of DSP in half lengthwise ( 1 7/8 ).  Adhere to each side of card front.  

Add adhesive to only one half of the image. 

And if you don’t want to decorate the envelope,  trim that piece to 5 inches. 


Mount the DSP to the card front off to one side and add the image.

Or mount the DSP to a piece of card stock 5 1/4 x 2 1/2. 

What other ideas do you have for using the 6 x 6 DSP. 


Saturday, May 23, 2020

6 x 6 waste not, want not

I’ve seen several demonstrators share ideas for get the most out of the 6x6 DSP, so thought I would share my idea.  


This is the template I use.  I cut it at 3 3/4 and then cut that piece at 5.  That gives me a piece that layers nicely on a card front.  I use the 2 1/4 x 6 strip to cover the envelope flap and combine several of the 3 3/4 x 1 inch strips on a card 
 Here is a piece of DSP cut using the template. You have to be conscious of directional designs.  Since the 5 x 3 3/4 could be either landscape or portrait on the card front, I make the first cut so the envelope flap looks right and then adjust the card front. 


Here is the finished card and envelope. 


Here are several made using the template.  

And here are some cards made using the 3 3/4 x 1 inch scraps 
You can mix or match them. 
The only waste is the tiny bit of excess I had to cut 
around the envelope flap. 

Monday, February 3, 2020

Pocket Cards Tutorial

These cards are an outer pocket of DSP with a piece of card stock inside.  I have done these in a couple sizes. The tutorial is for 5 1/2 x 4 1/4 so they fit in a medium envelope.


Cut a piece of DSP to 6 x 9 1/4.  Card stock for the insert should be 5 1/2 x 4.  


Score the DSP along the long edge at 2 3/4 and 7.  

 Scoring at 7 inches


Along the short edge at the bottom of the pocket (be sure to check that you are placing this score at the bottom if there is an up and down to the design.  


Here you can see the scoring.  Fold all in the same direction. 


Cut away the small rectangles on the left and right, leaving the center piece.  I angle the but a little to make it lay flatter.  


Test the folds by closing the rectangles on the left and right.  Lift the bottom flap up and make sure it lays flat.  If not, trim off a little bit more on the left and right side. 

Place adhesive on the right said on one edge and the wrong side on the opposite edge.   I like to use tear and stick