Sunday, April 22, 2018

Envelope liner - tutorial - kit instructions


If your kit contains an envelope liner, here is how I attach them. 
The liner is printed on both sides, so first you have to decide which design you want to show when the envelope is opened. 

 Slide the insert into the envelope.  Line up the indentation on the liner with the crease in the envelope - both sides.

Place fingertips against the fold line as you fold up the envelope flap - closing the envelope.

 Press firmly to crease the liner. 

 Lift just the envelope flap - holding the insert down. 

 Put glue on the exposed (back side) piece of the liner. 
Close the flap again - pressing firmly. 
The lining that matches the card inside adds a little extra something to your card. 

Coloring page card - kit instructions


Kit contents:

Coloring page section
White envelope
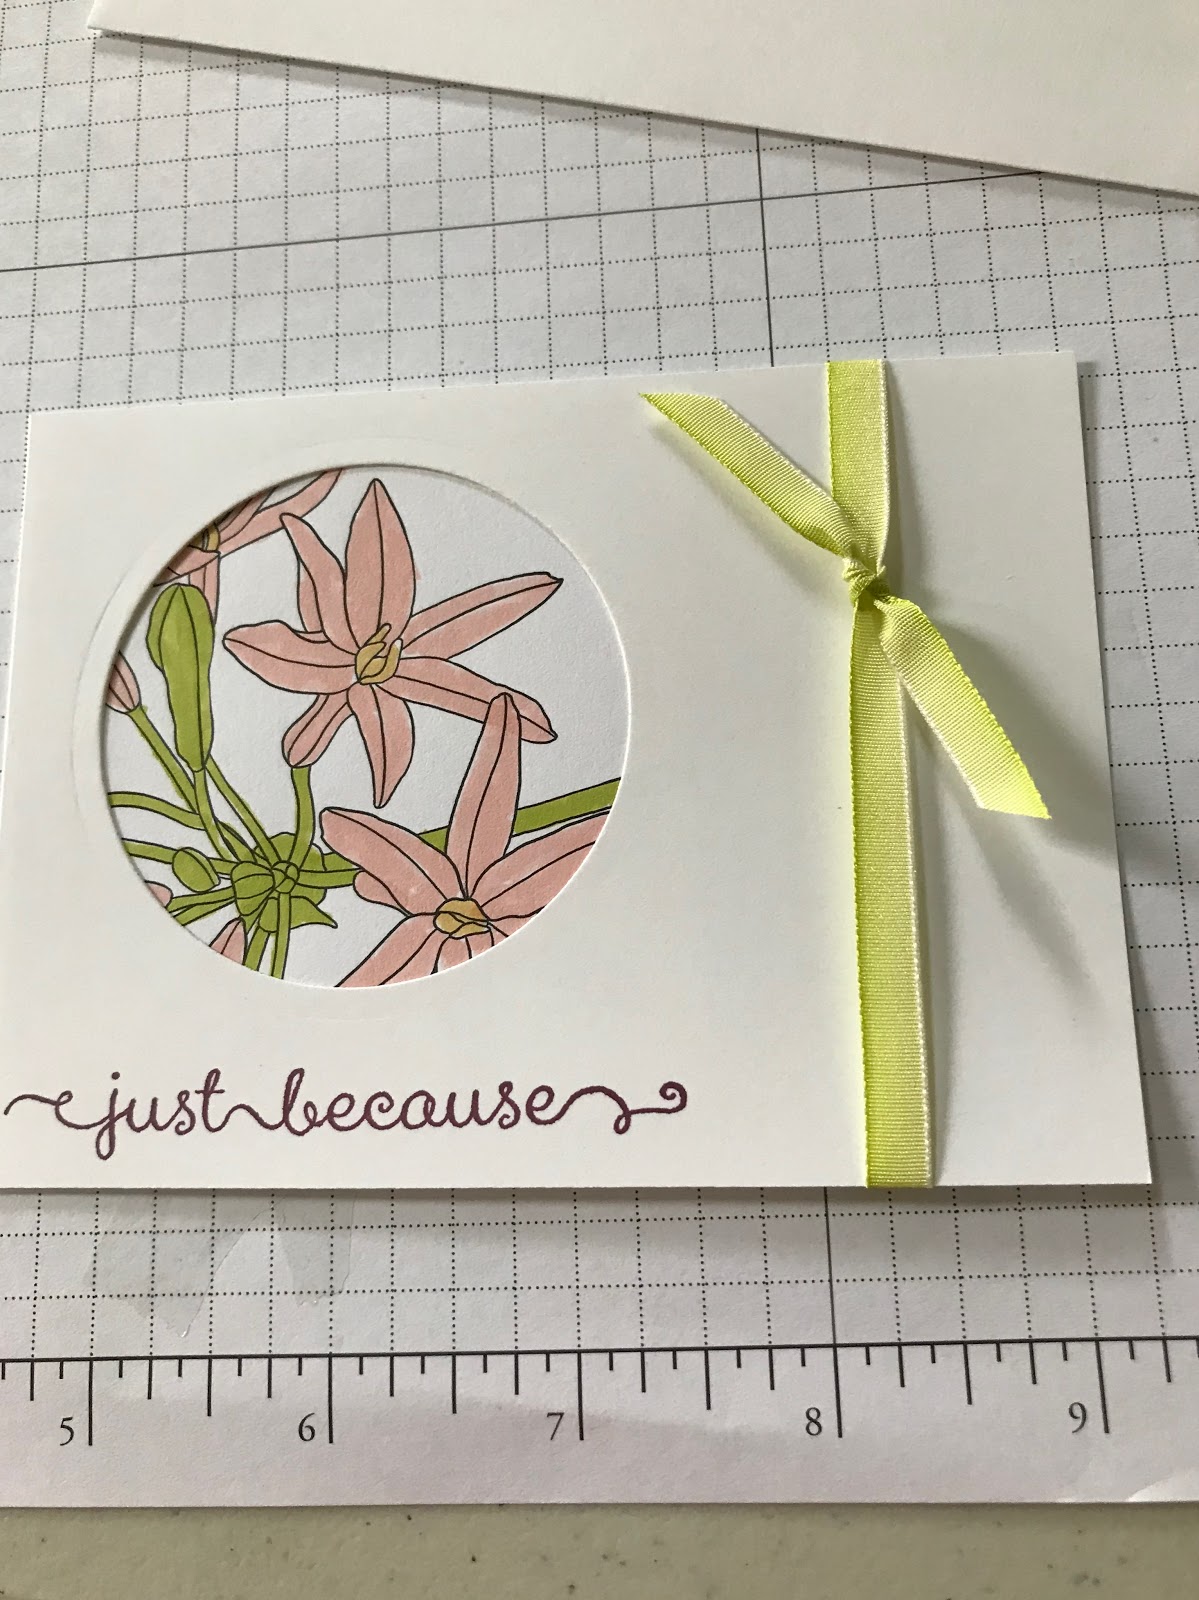
White card stock - 8 1/2 x 11 folded in half,  5 x 3 3/4 with hole punched and sentiment stamped on it.
Foam adhesive dots (dimensionals)

Place colored image behind the circle opening and adjust to get the image you want.   If the color page extends past the edges of the white card stock, trim off the excess. 

 Holding the colored image in place, flip over and tape down to secure. 


 Decide where you want to place the ribbon - horizontal or vertical.  Cut a length about 1 inch longer than the length/width of the card where the ribbon will lay. 
Wrap one end behind the card stock and tape down.

 Make sure it is laying flat on the front and pull the other end behind and tape down. 

Turn the piece over and make sure it looks straight on the front.  If not, remove one taped end and adjust. 

 Take the remainder of the ribbon and slide it under the attached ribbon, cross over the ends. 

 Wrap one end over the other like tying a knot.  Pull the ends loosely 

 Adjust the position to where you want the 'bow' to sit by sliding the loop along the attached ribbon.

 When placed where you want it, pull the ends securely. 

Trim ends.
Add foam dimensionals - I like to do the corners and then one in the center on a larger piece like this.
Adhere to the front of the folded card stock. 


I did not get a photo of the finished card from the tutorial photos but this is another that I did.  

Pink Posies card - kit instructions

 Kit contents:
White envelope with flowers stamped to match the card
White card stock 8 1/2 x 11 folded in half.
Gray card stock rectangle
Circle or oval stamped with flowers.
Striped ribbon
Foam adhesive dots (Dimensionals)


Place ribbon and flowers on card to determine where you want to place them.  Here I have them laid out with the ribbon horizontal. 

 I also laid it out vertical to see which one I liked best. 
I decided to place it vertically for this card.

 Tape one end of the ribbon on the back then make sure it is laying smoothly on the front and tape the other end.  Adhere to the white card front. 

 Lay image on the card front and then flip over.  Add foam adhesive dots to the back of the stamped images - try to place the dots so the piece straddles the ribbon.  

Finished card - quick and easy!

Donut Card - Kit instructions ( Celebrate card)

Kit contents -


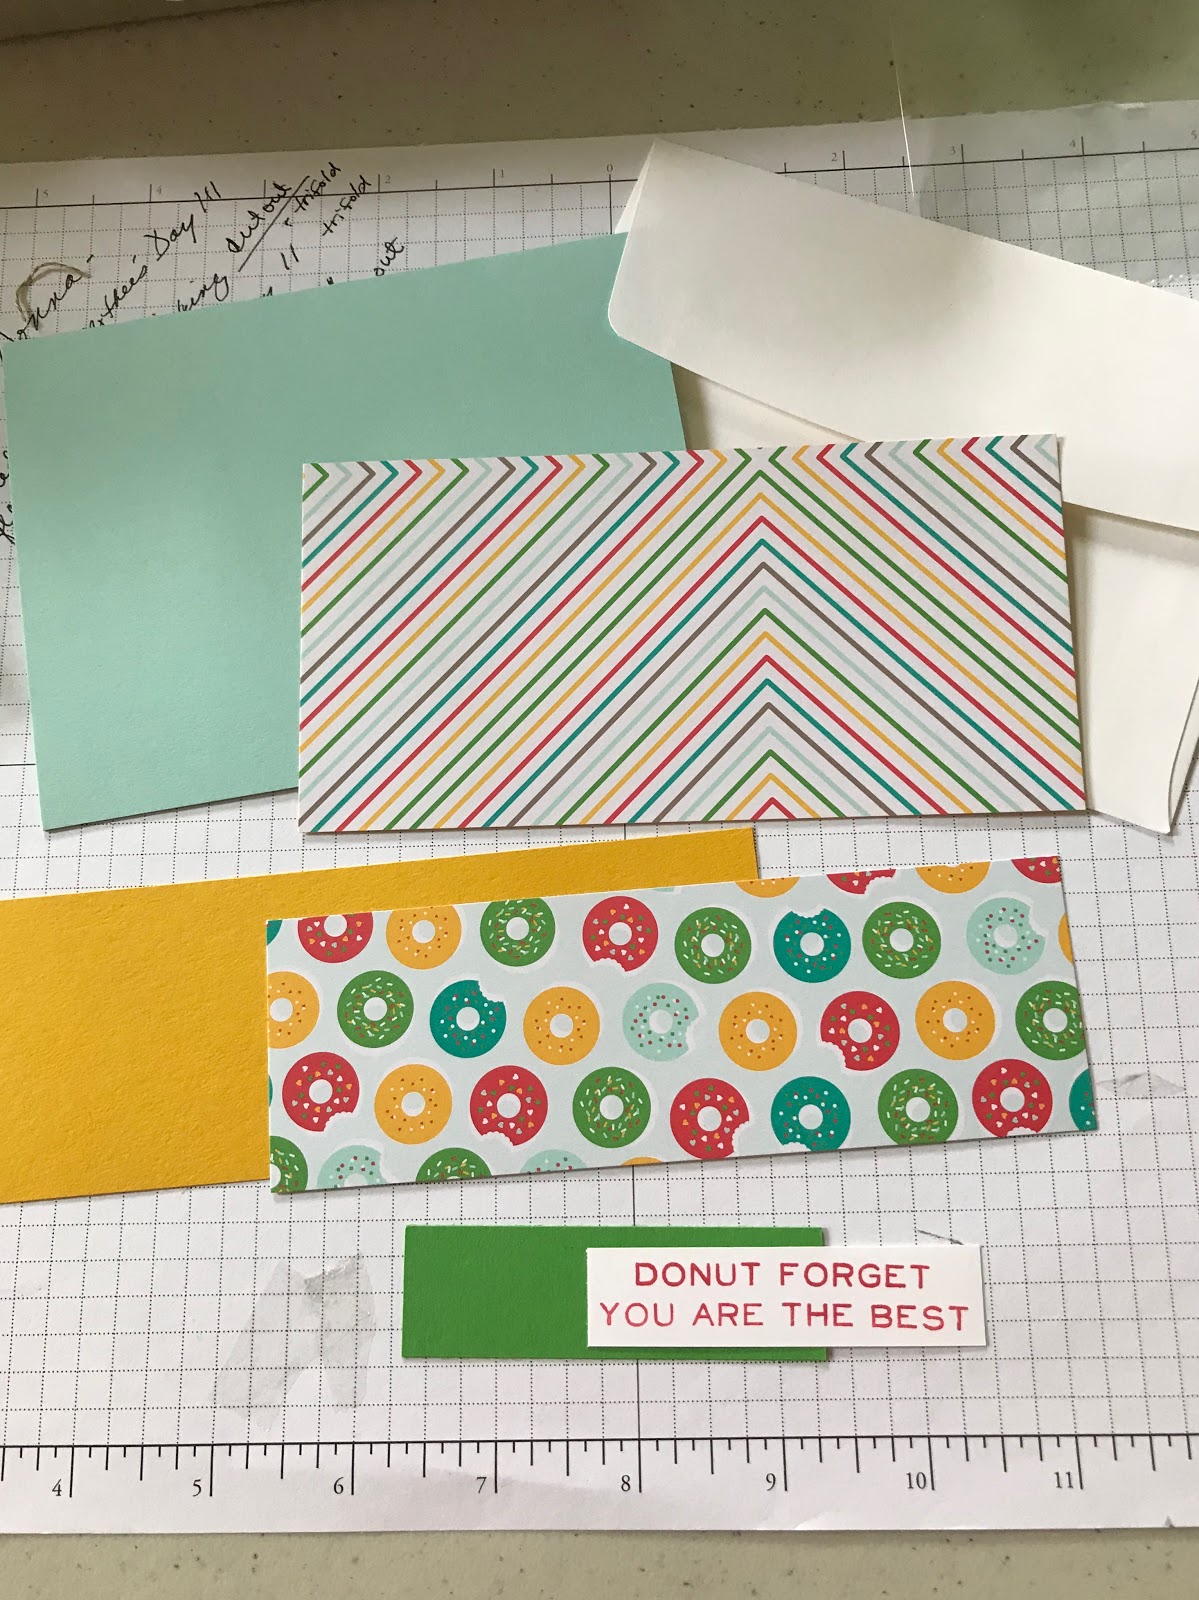
Card stock - Mint Macaron 8 1/2 x 5 1/2 folded in half,  Crushed Curry 6 inch by 2 1/2 inch,  small rectangle of Gumball Green card stock , small rectangle with sentiment (colors are listed based on the photo.  Kit colors may differ)   CELEBRATE Card also contains a punched balloon of Crushed Curry
DSP (Designer Series Paper - two-sided print) - 2 inch x 6 inch piece.  2 1/4 x 6 inch piece
White envelope


Adhere sentiment to the small rectangle.  


Adhere 2 x 6 inch piece of DSP to the 2 1/4 x 6 inch piece of card stock.  The card stock should create a thin border on the long sides - but not on the short sides. Adhere strip to the card front  - line up one end and the strip will extend about 1/2 inch.


From the back side, trim the DSP/card stock strip to match the card front.

 Peel the paper backing off the foam adhesives of the sentiment strip and then place where you want the sentiment.


If making the Celebrate card, Adhere balloon using the foam dimensional attached to the back.  You may want just a drop  of glue on the lower portion of the balloon so it adheres to the sentiment piece.  


The 2 1/4 x 6 inch piece of DSP is to decorate the envelope flap.

 Add glue to the outside of the flap.

 Place the piece of DSP onto the flap, lining it up to the fold. . 


From the back of the flap, trim the strip.

 Finished donut card and envelope. 

Finished Celebrate card.

Saturday, April 21, 2018

Brick wall - cut out card - Kit instructions


Kit Contents
Card Stock : Elegant Eggplant - 4 1/4 x 5 1/2 inches, Whisper White  4 x 10 1/2  inches (folded in half), Whisper White 4 1/4 x 3 (embossed with Brick Wall), Mossy Meadow 4 1/2 x 3 1/4, three Pale Plum flowers, 2 leave stems of Tip Top Taupe,  linen twine.


Using adhesive of choice, adhere brick wall piece to Mossy Meadow -

 Place the brick wall piece for the Mossy Meadow creates a frame.


Using the linen twine, wrap around the narrowest part of the Mossy Meadow/Brick Wall piece.   Tie in a knot,  


Trim the ends of the twine if desired.


Place foam adhesives (dimensionals) on back of Mossy Meadow pice. 


Adhere to Whisper White folded piece.  Be sure sentiment shows. 

 Adhere the folded Whisper White to the Elegant Eggplant rectangle.


 Card should look like this now.  Just need to add the flowers and leaves.

 Arrange the leaves and flowers in various places to see where you like them best.  Place the two stems with leaves down, then place flowers over them.
There is no right or wrong placement - just where you like them best.

 One option is to put them at the upper left of the brick wall. 


Or lower left.....


I chose lower right, below the cut out.   When you have decided where to place them, put very small drops of glue on a couple of the leaves. Place them on the brick wall.  You may want to trim the stem a little.   Add 2 of the flowers using glue.  Add third flower with foam adhesive (dimensional).