Monday, September 3, 2018

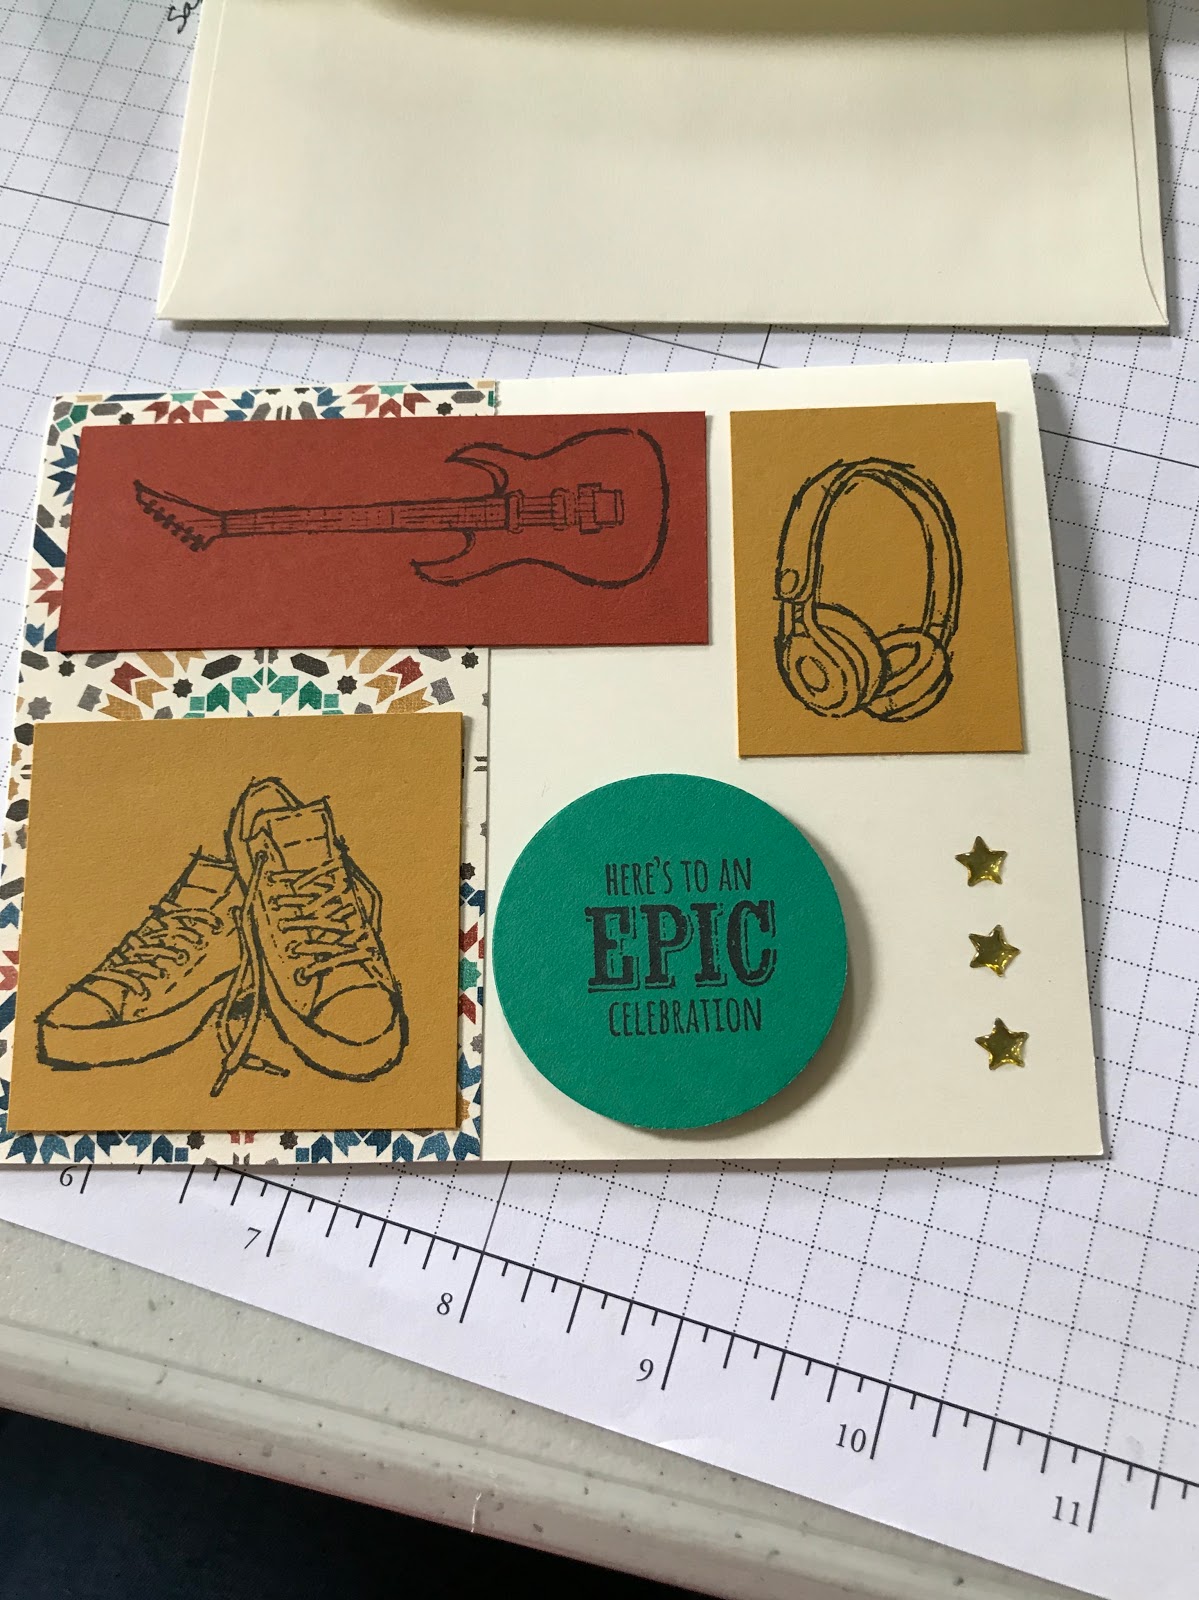
Awesomely Epic kit instructions


Adhere DSP along the left edge of the card front.  It will extend a little
A simple way to trim off the excess DSP is to turn the card over and cut using the card bases cardstock as your guide. 


Perfect!


Arrange the stamped pieces on the card front to determine the layout you want to use. 


Adhere the pieces and add the star embellishments as desired. 


Add some glue to the envelope flap. 


Place the longer strip of DSP on the flag, lining it up against the fold for the flap.  

Turn it over and trim off the excess. 

Sunday, April 22, 2018

Diagonal fold card - kit instructions

This is one of the diagonal fold cards.  Your kit may contain different supplies but the method is the same.

 Kit contents
Diagonal fold card base stamped with 'celebrate'
White envelope
DSP (designer series paper) triangle and envelope liner
Crushed Curry oval
Mint Macaron oval with stitched border
You die cut in Melon Mambo


 Using glue, put very small amounts on the back of the 'you' die cut.

 Place the 'you' die cut on the Mint Macaron oval.

 Add glue to the back of the Mint Macaron oval (it is always best to apply your adhesive to the smaller item when layering)

 Center the Mint Macaron oval on the Crushed Curry oval. 

 You will want to place the oval over the opening on the front of the card.  Only adhere it to one of the flaps or the card will not open. 
Without any adhesive, lay the oval on the front to determine where you want to secure it.   Hold the to the flap you do NOT want it to be adhered to.  Holding it firmly open that flap so you can see the back of the oval exposed - this is the half of the oval that will be adhered to the other flap. 

 In the example, I want the oval to be attached to the lower flap, so I am holding it with the top flap so i can add adhesive to the half that will be attached to the lower half. 

Add dimensionals to the back of the oval that is exposed.  This will get adhered to the lower flap in the example. 
Remove the protective papers and holding the oval in place, close the top flap back onto the lower flap, in the process you are adhering the oval to the bottom flap using the foam adhesive dimensionals. 

 This photo shows the oval adhered to the lower flap - from the back side.

Finish the envelope by inserting the liner and lining the indent with the fold in the envelope. 


 Press your fingers against the fold as you close the envelope. 

 Press along the fold to make a crease in the liner. 

 Lift the envelope flap only, leaving the liner folded down against the back of the envelope. 

 Add glue to the exposed side of the insert flap.

 Close the flap again and press firmly to adhere.

A beautiful liner - such an easy way to make a card special. 
Envelope liner - tutorial - kit instructions


If your kit contains an envelope liner, here is how I attach them. 
The liner is printed on both sides, so first you have to decide which design you want to show when the envelope is opened. 

 Slide the insert into the envelope.  Line up the indentation on the liner with the crease in the envelope - both sides.

Place fingertips against the fold line as you fold up the envelope flap - closing the envelope.

 Press firmly to crease the liner. 

 Lift just the envelope flap - holding the insert down. 

 Put glue on the exposed (back side) piece of the liner. 
Close the flap again - pressing firmly. 
The lining that matches the card inside adds a little extra something to your card. 

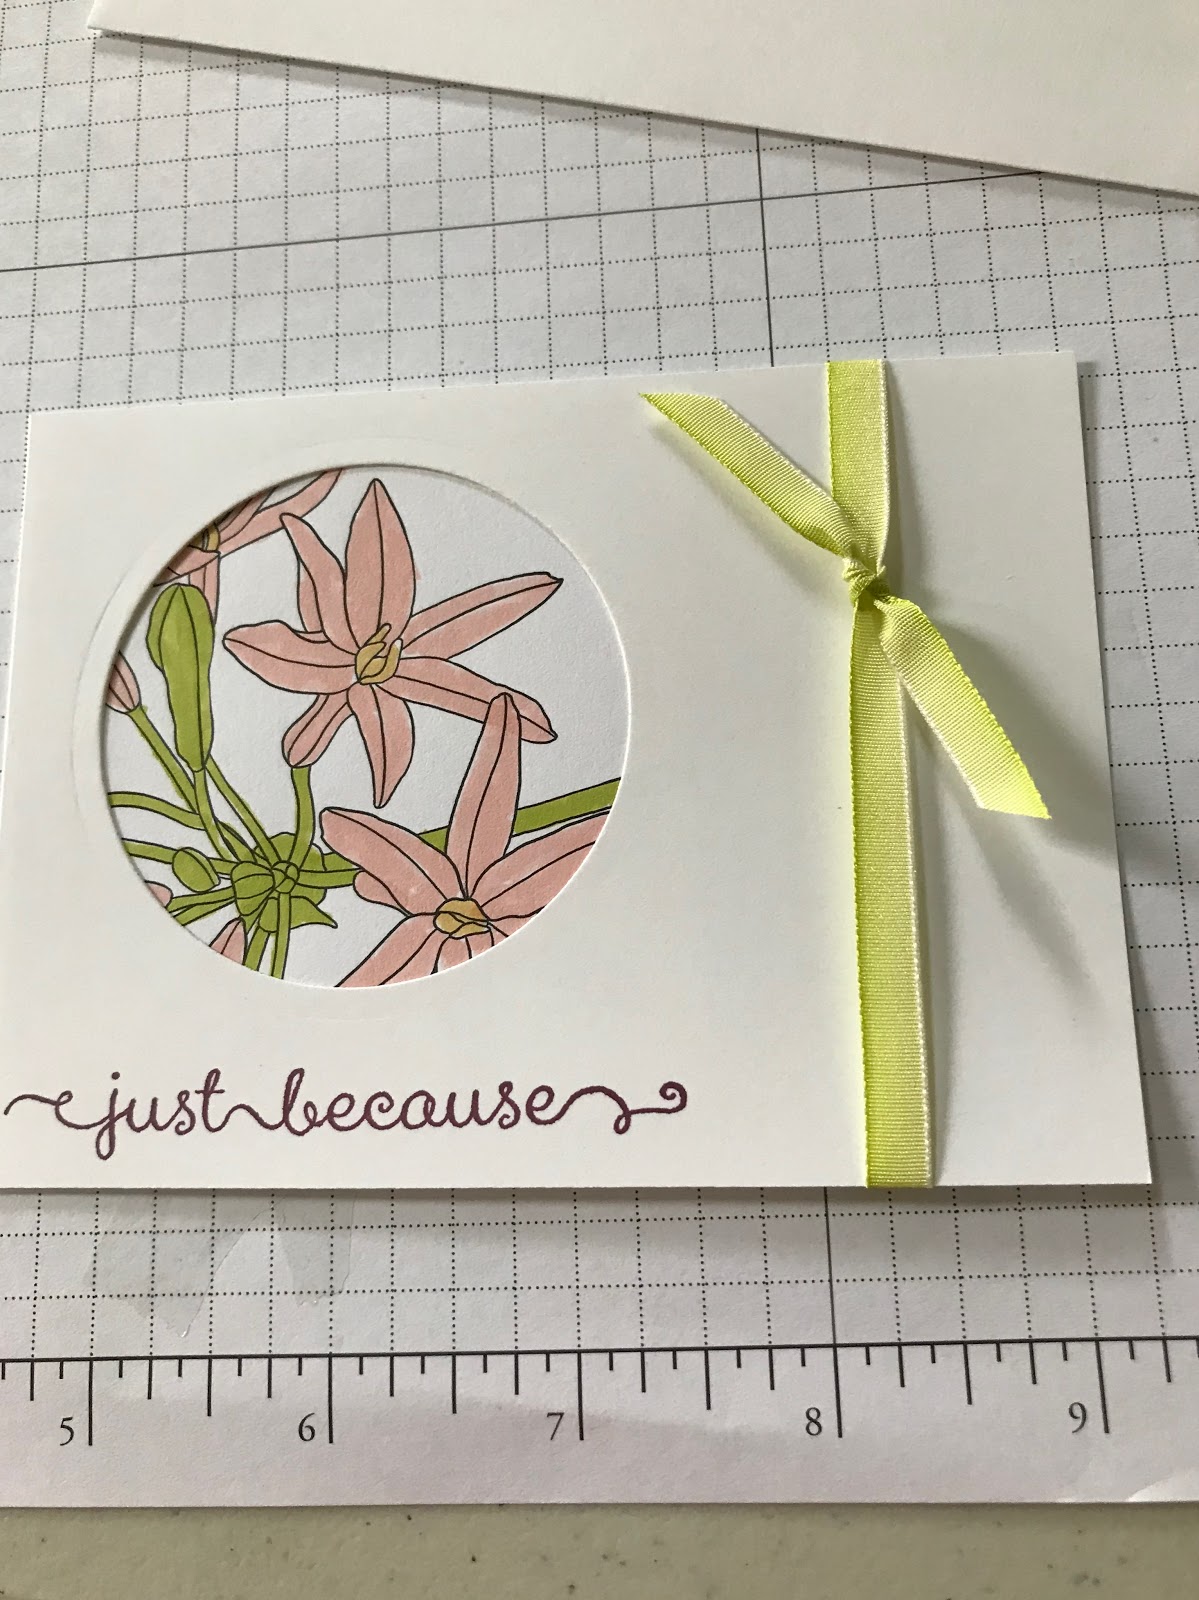
Coloring page card - kit instructions


Kit contents:

Coloring page section
White envelope
White card stock - 8 1/2 x 11 folded in half,  5 x 3 3/4 with hole punched and sentiment stamped on it.
Foam adhesive dots (dimensionals)

Place colored image behind the circle opening and adjust to get the image you want.   If the color page extends past the edges of the white card stock, trim off the excess. 

 Holding the colored image in place, flip over and tape down to secure. 


 Decide where you want to place the ribbon - horizontal or vertical.  Cut a length about 1 inch longer than the length/width of the card where the ribbon will lay. 
Wrap one end behind the card stock and tape down.

 Make sure it is laying flat on the front and pull the other end behind and tape down. 

Turn the piece over and make sure it looks straight on the front.  If not, remove one taped end and adjust. 

 Take the remainder of the ribbon and slide it under the attached ribbon, cross over the ends. 

 Wrap one end over the other like tying a knot.  Pull the ends loosely 

 Adjust the position to where you want the 'bow' to sit by sliding the loop along the attached ribbon.

 When placed where you want it, pull the ends securely. 

Trim ends.
Add foam dimensionals - I like to do the corners and then one in the center on a larger piece like this.
Adhere to the front of the folded card stock. 


I did not get a photo of the finished card from the tutorial photos but this is another that I did.  

Pink Posies card - kit instructions

 Kit contents:
White envelope with flowers stamped to match the card
White card stock 8 1/2 x 11 folded in half.
Gray card stock rectangle
Circle or oval stamped with flowers.
Striped ribbon
Foam adhesive dots (Dimensionals)


Place ribbon and flowers on card to determine where you want to place them.  Here I have them laid out with the ribbon horizontal. 

 I also laid it out vertical to see which one I liked best. 
I decided to place it vertically for this card.

 Tape one end of the ribbon on the back then make sure it is laying smoothly on the front and tape the other end.  Adhere to the white card front. 

 Lay image on the card front and then flip over.  Add foam adhesive dots to the back of the stamped images - try to place the dots so the piece straddles the ribbon.  

Finished card - quick and easy!